house post

House Goals: Year 2 Recap & Year 3 Goals

Here’s the year 1 roundup, and stating of intentions of goals for year 1. (I mark years according to when we closed on the house, not calendar years.)

So let’s recap my stated year 2 goals first:

– finish garage (and by extension, basement reorganization)


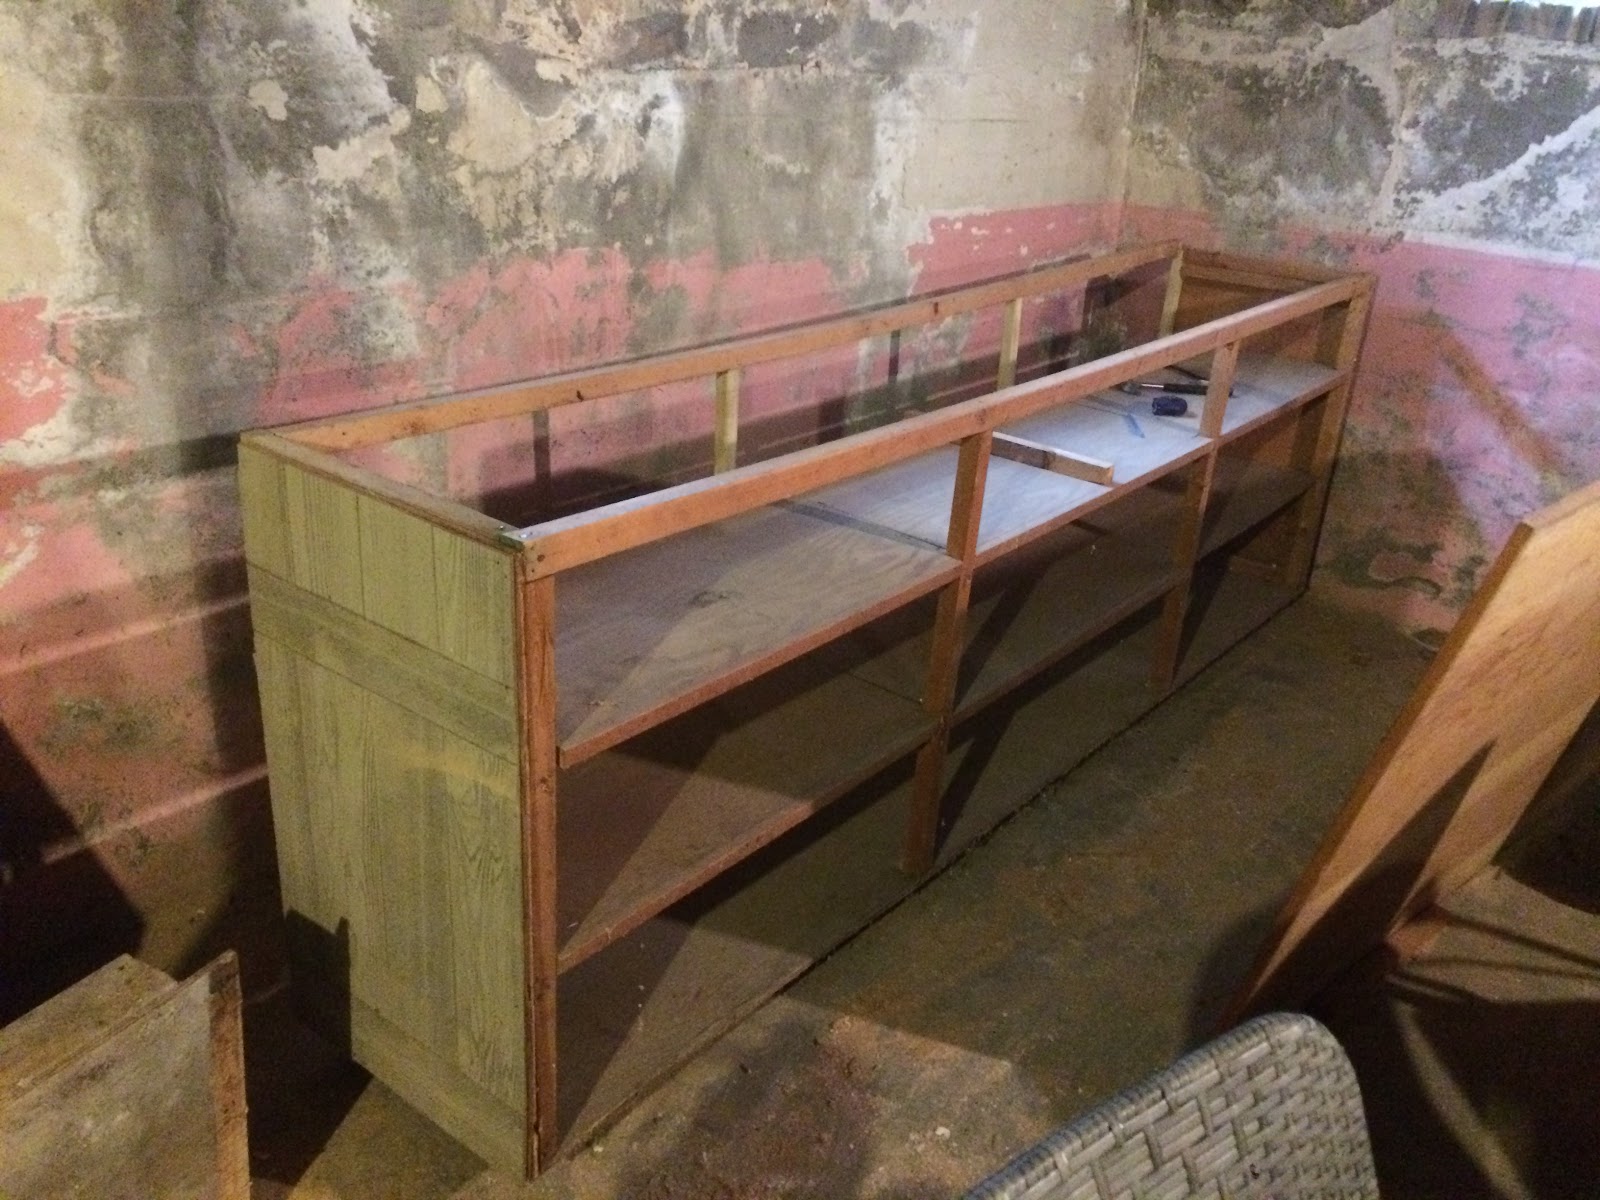
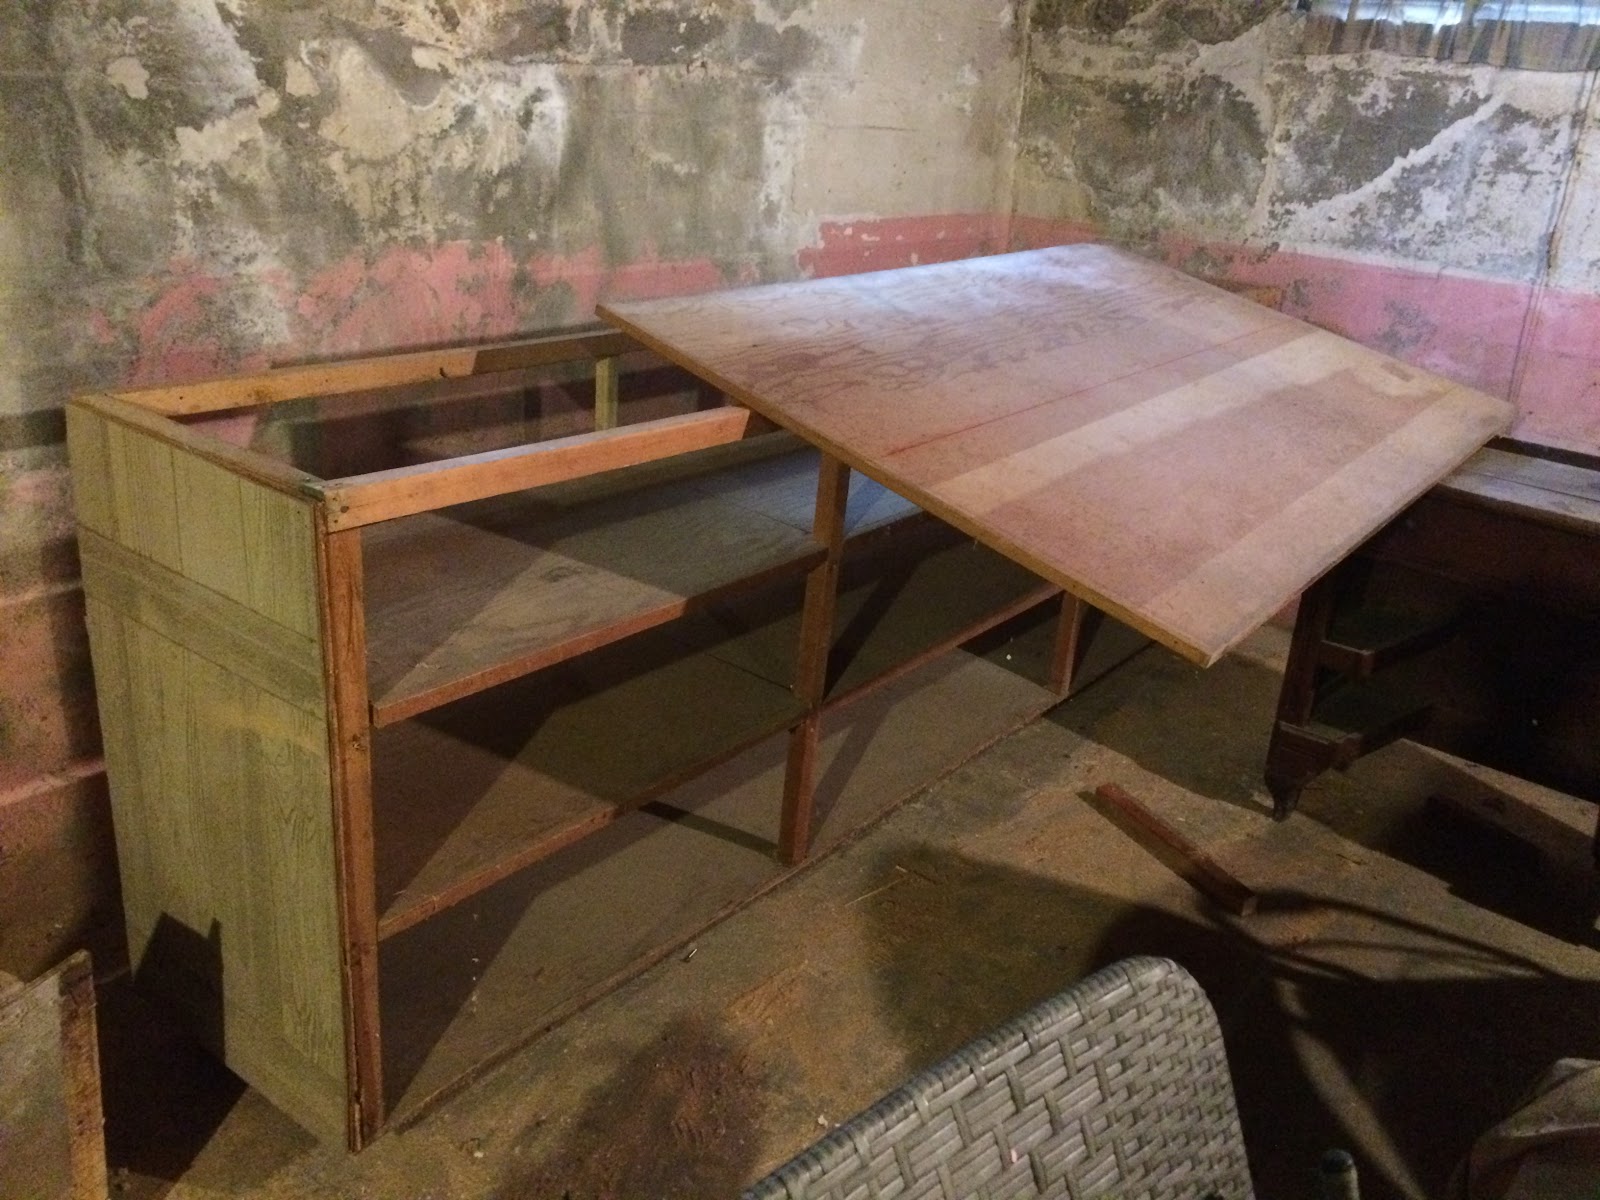
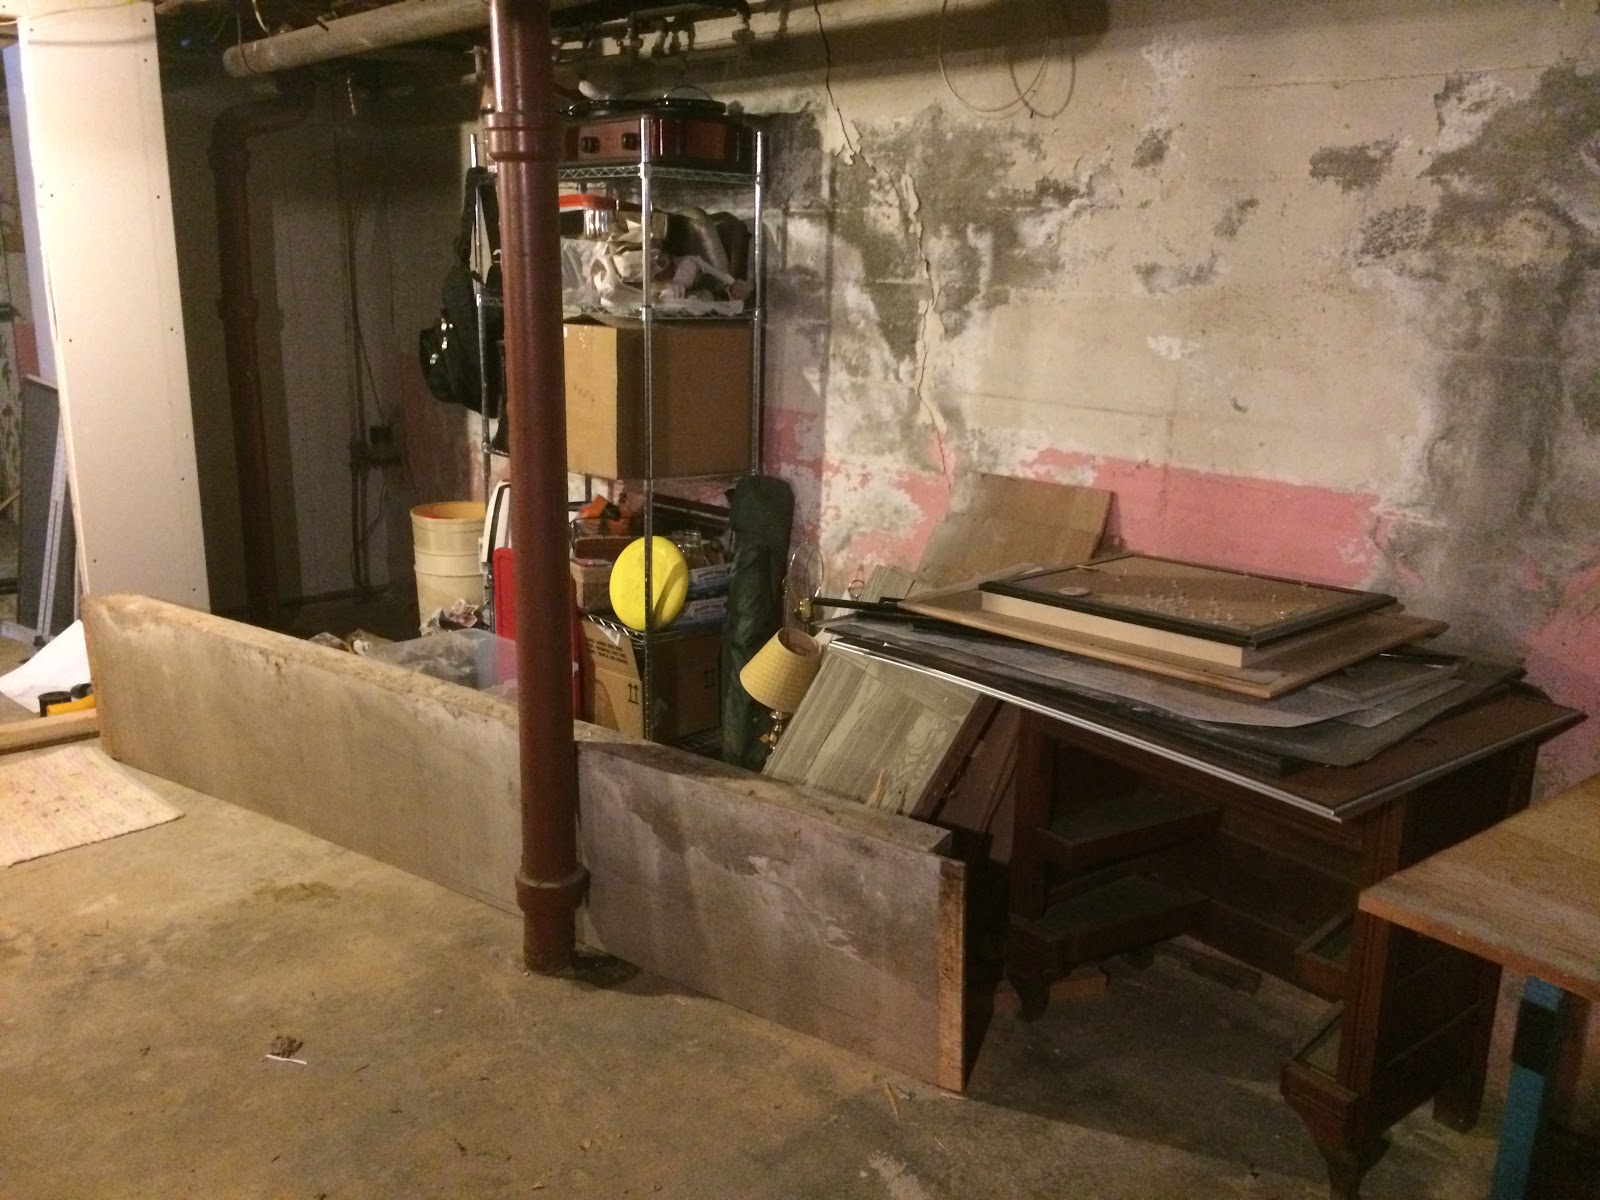
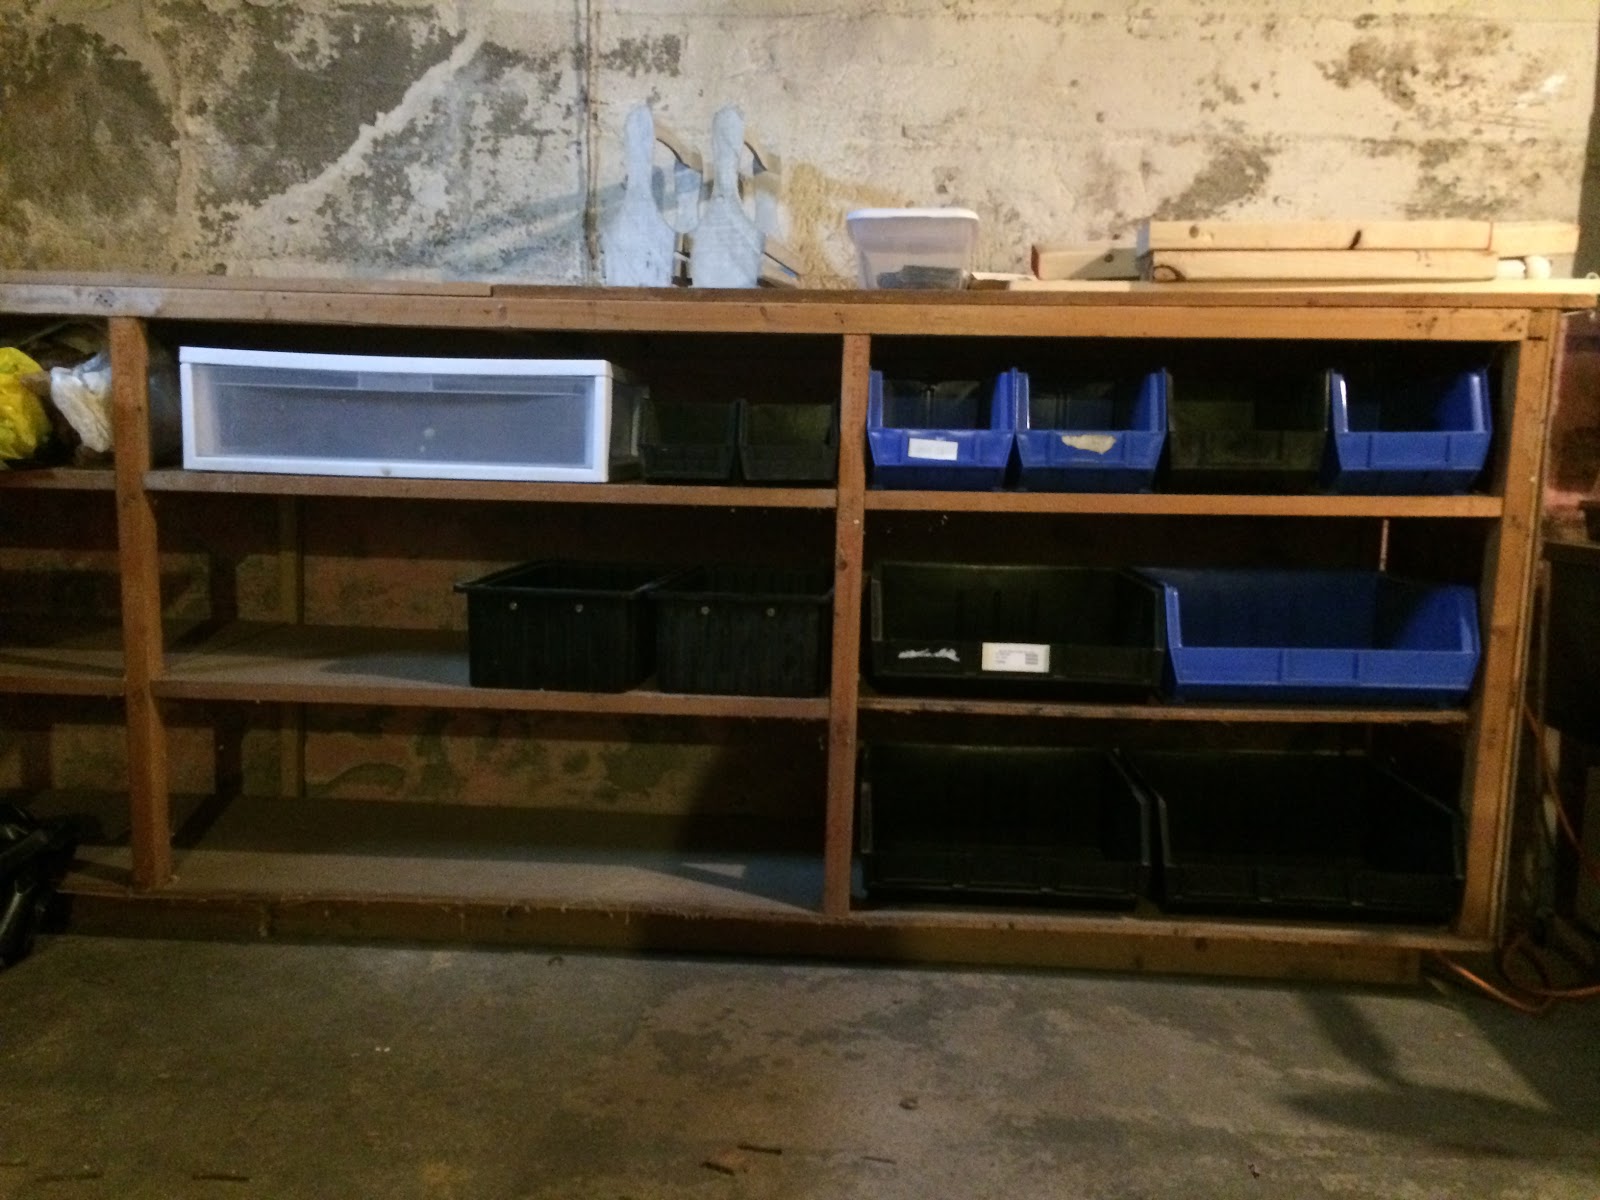
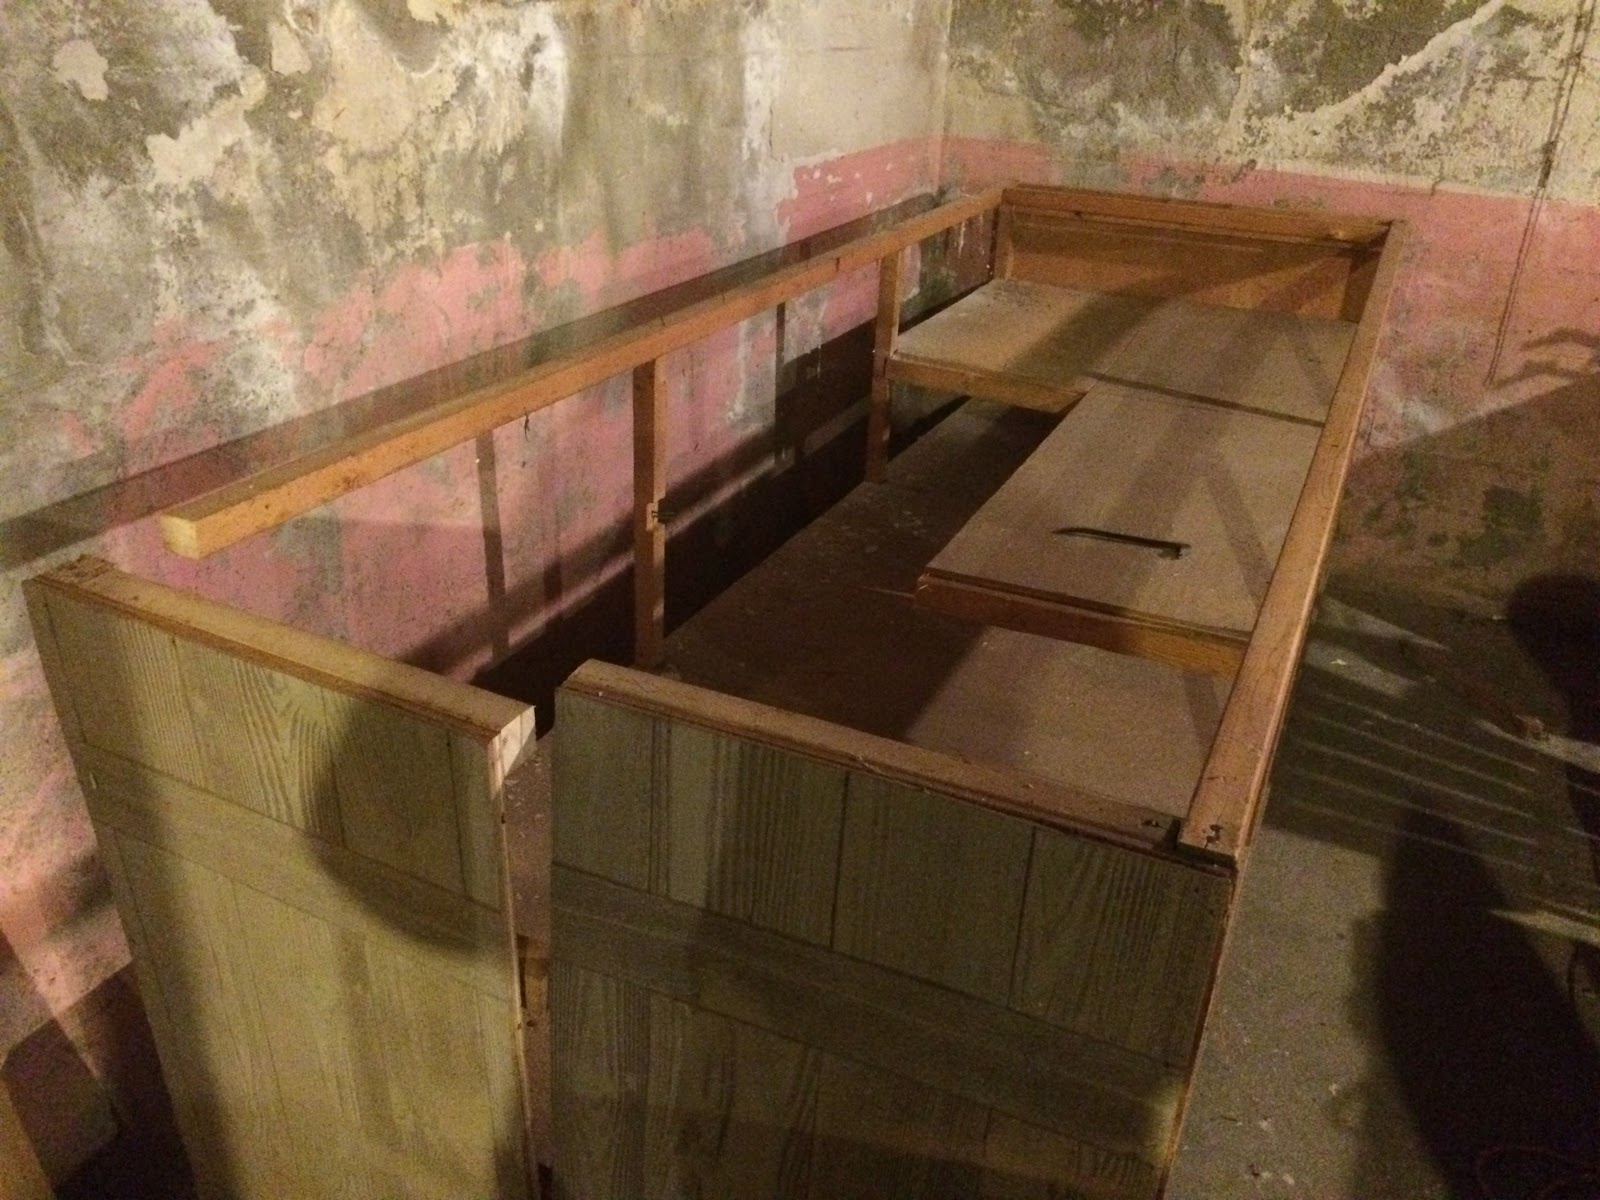
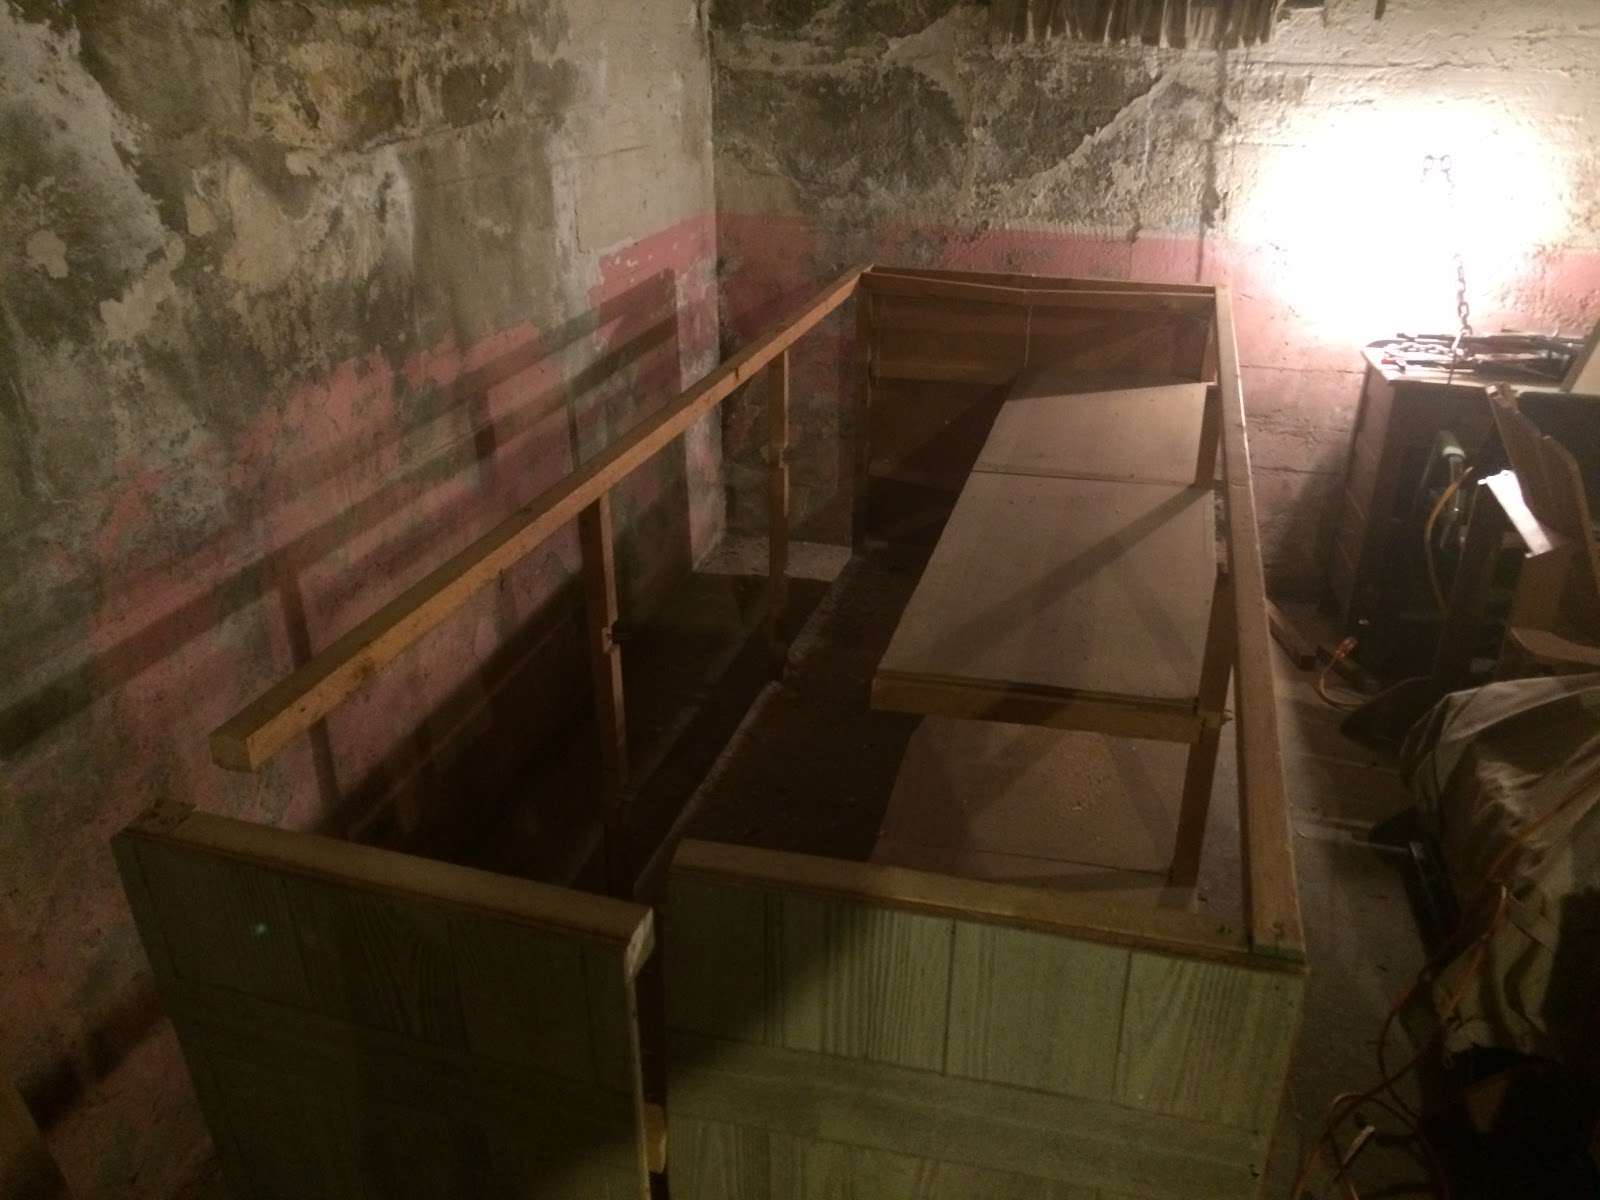
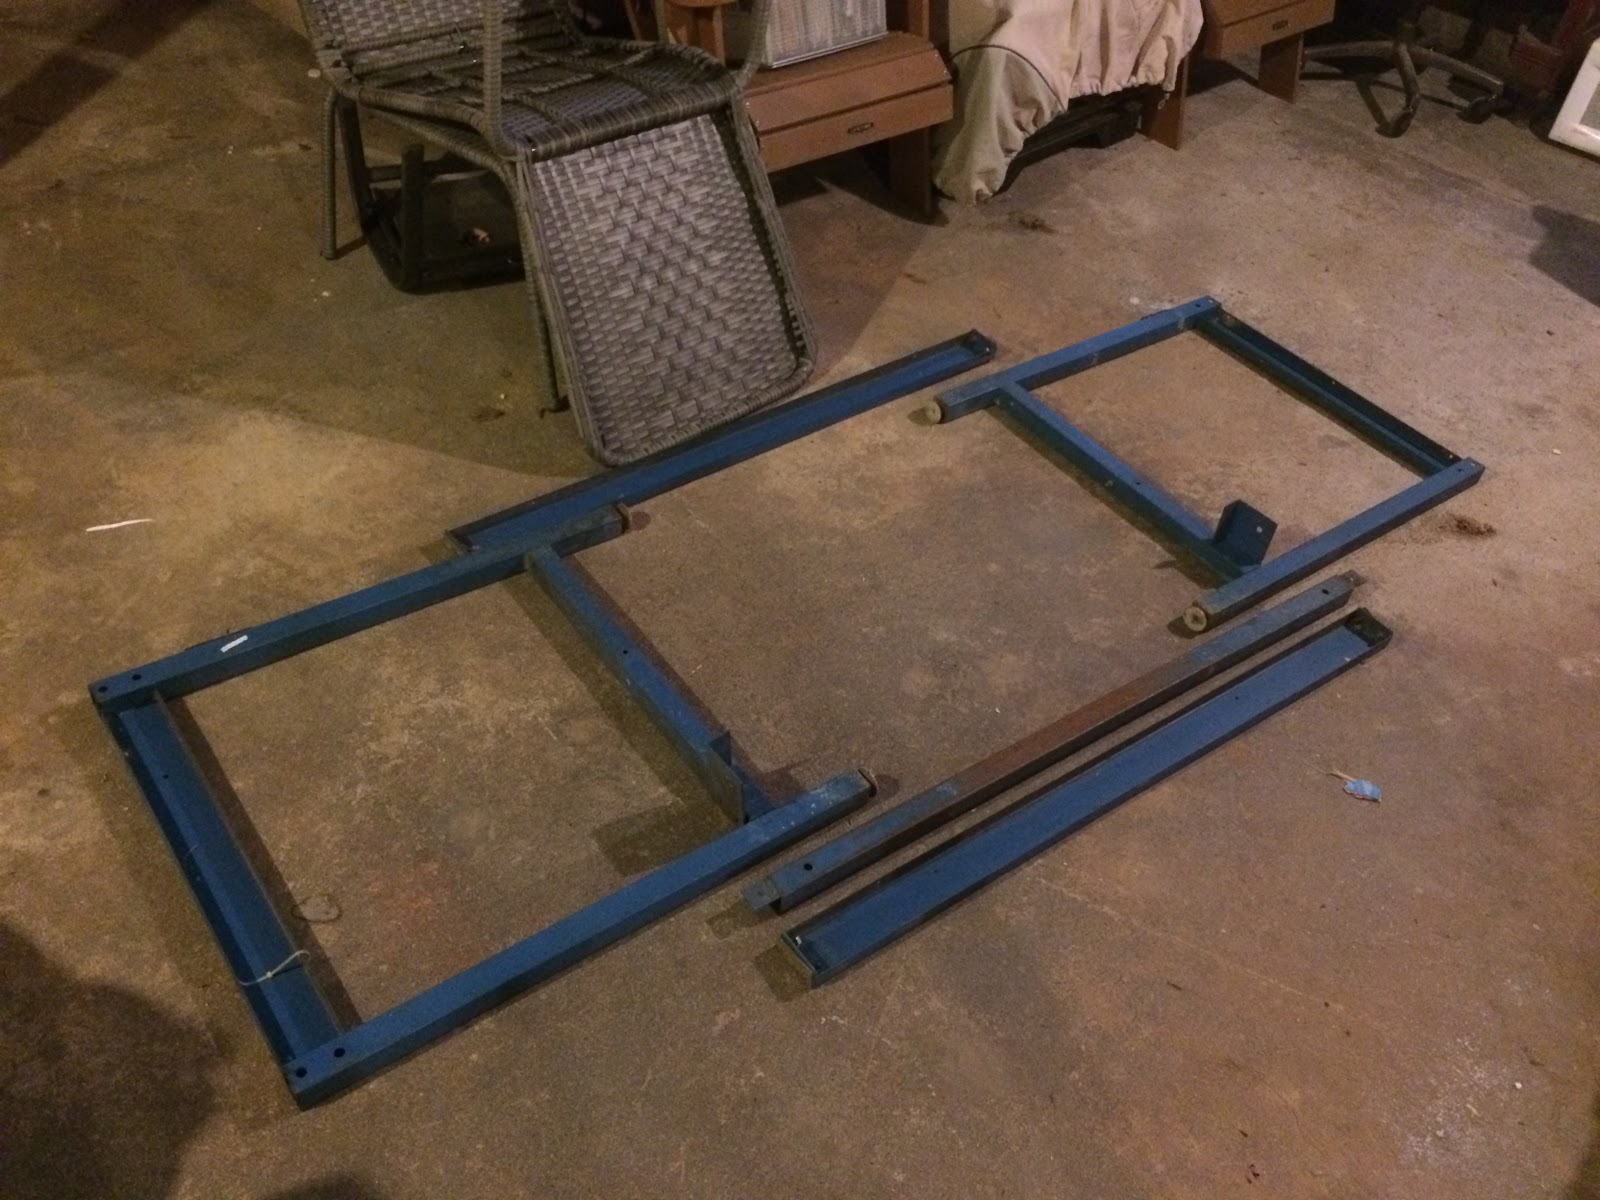
Mostly, actually – and the last of the necessary work is scheduled. I’m particularly happy with the basement reorganization.
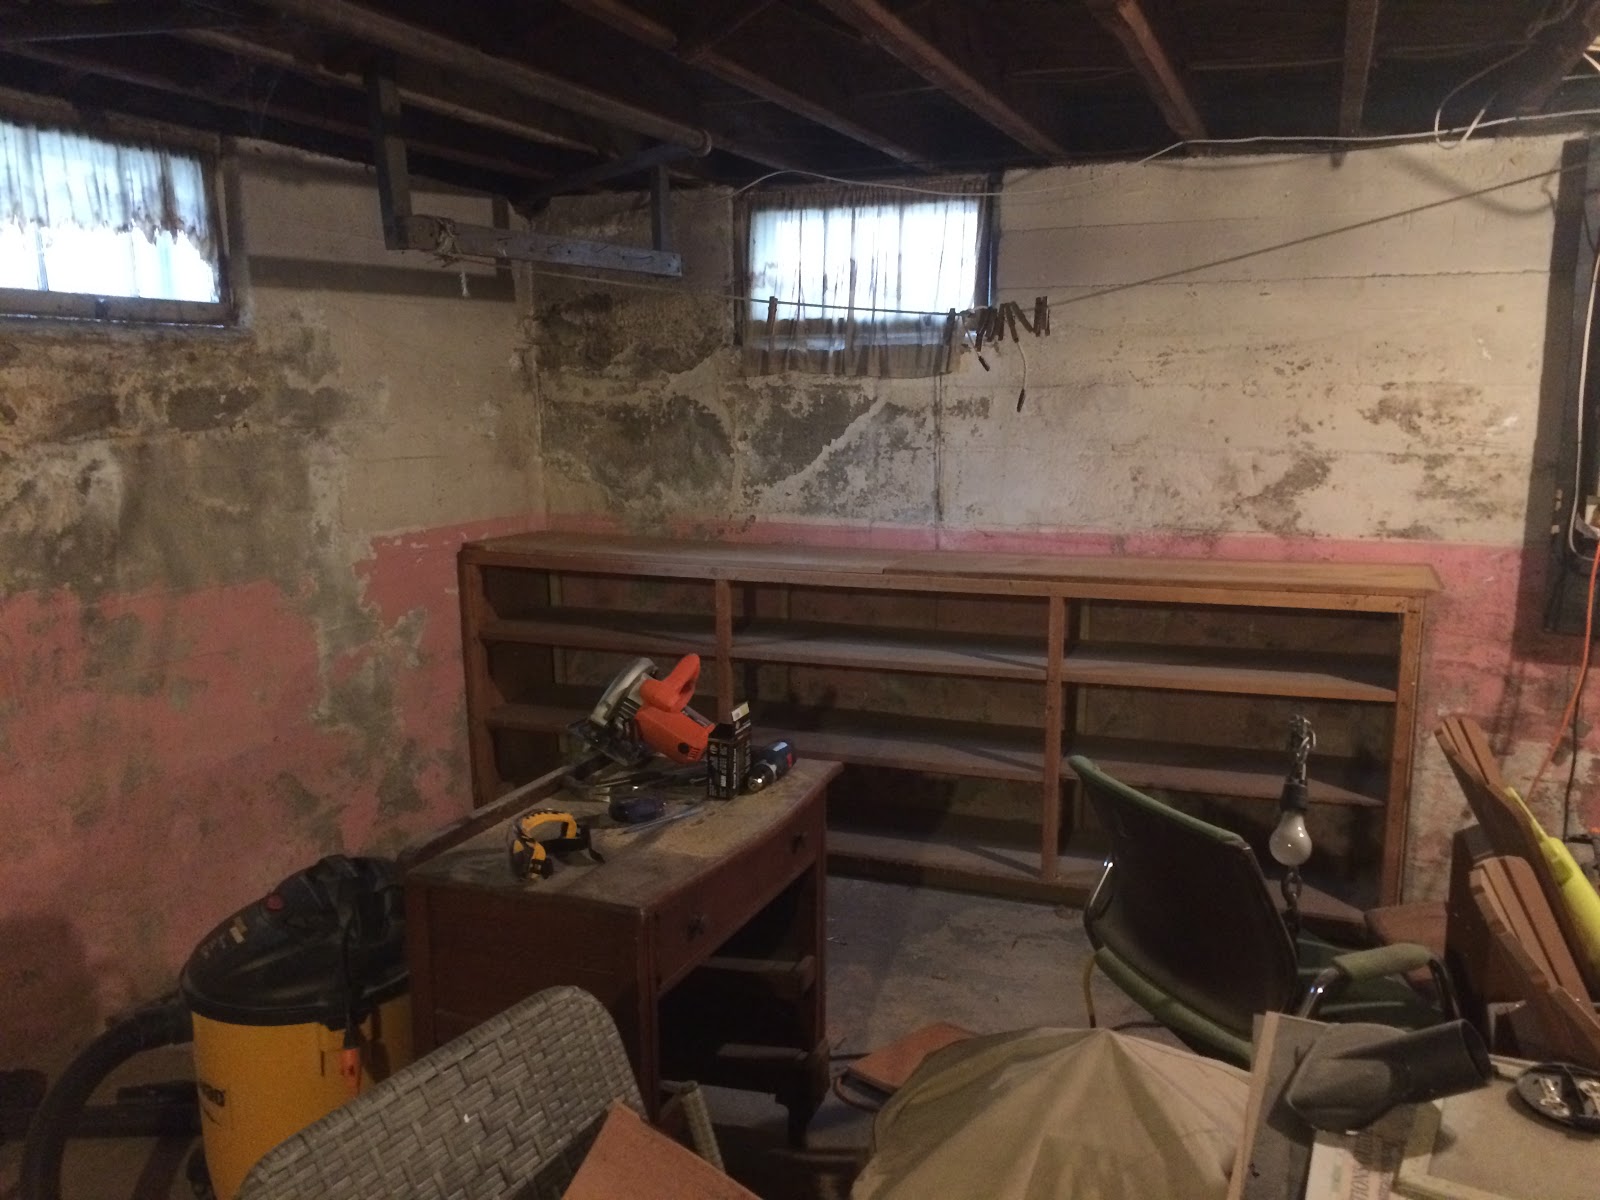
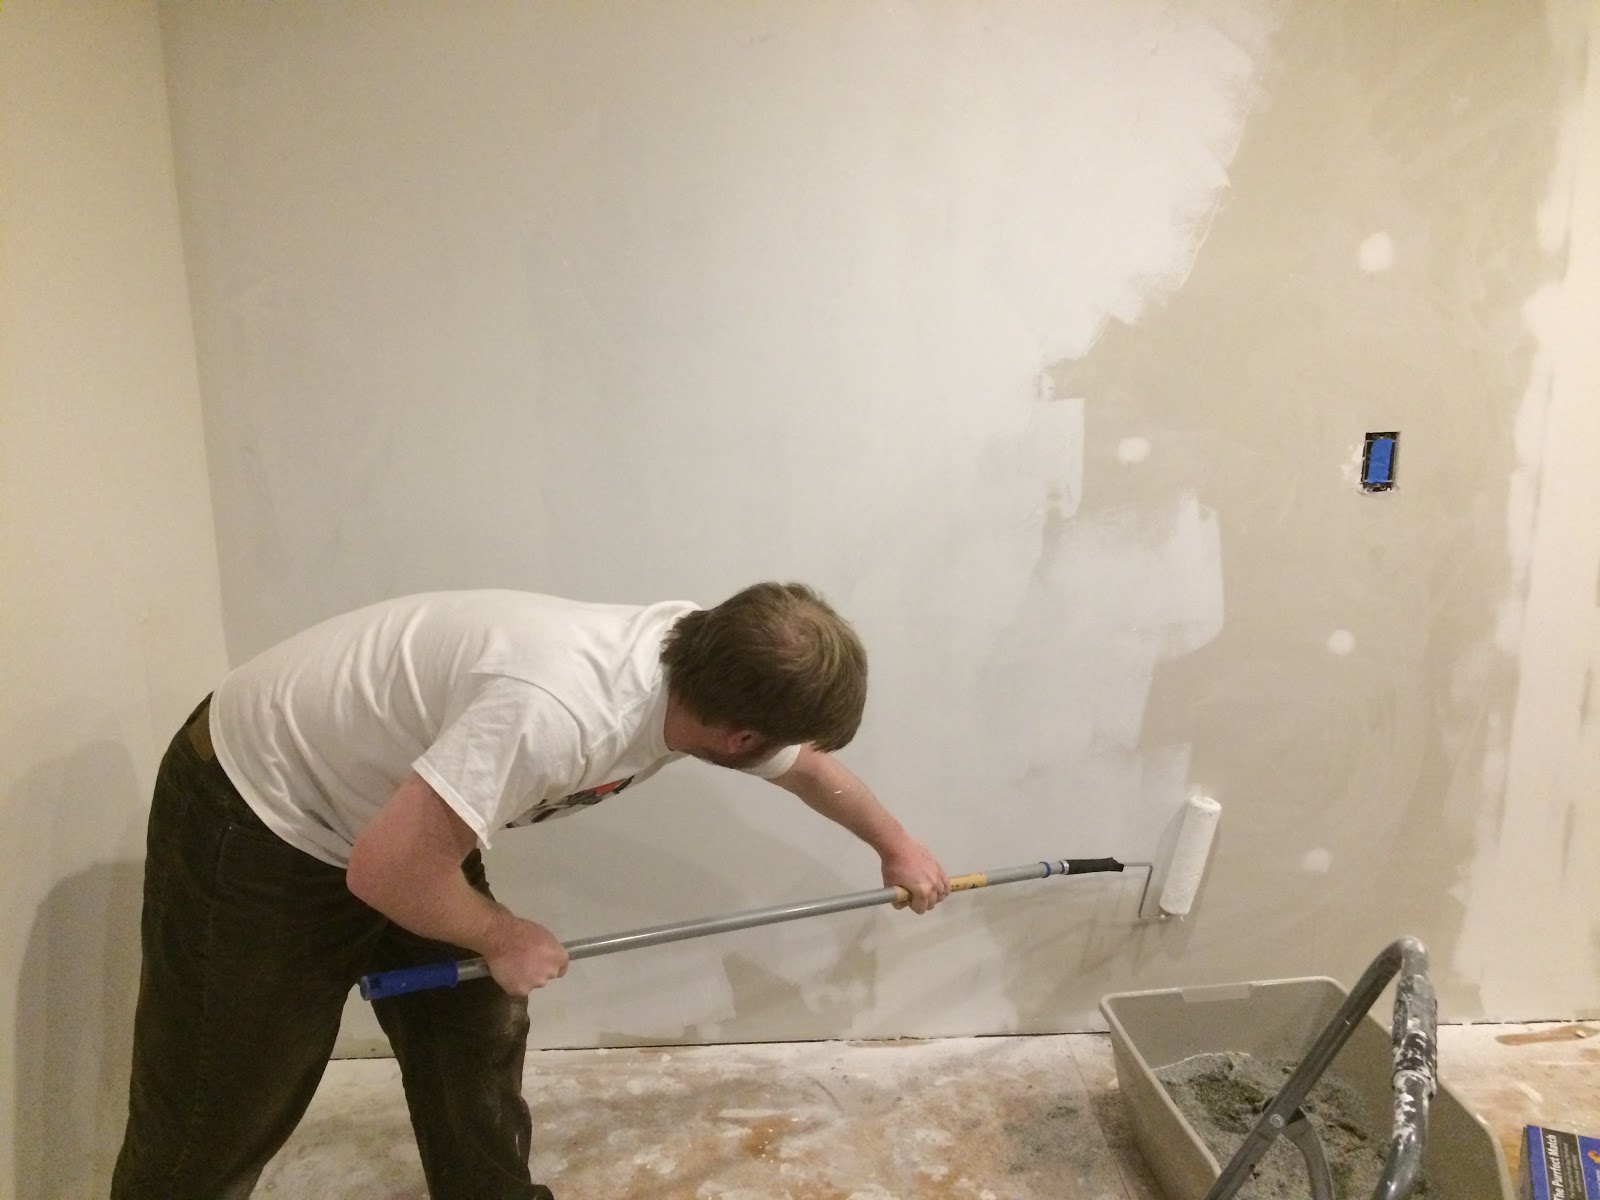
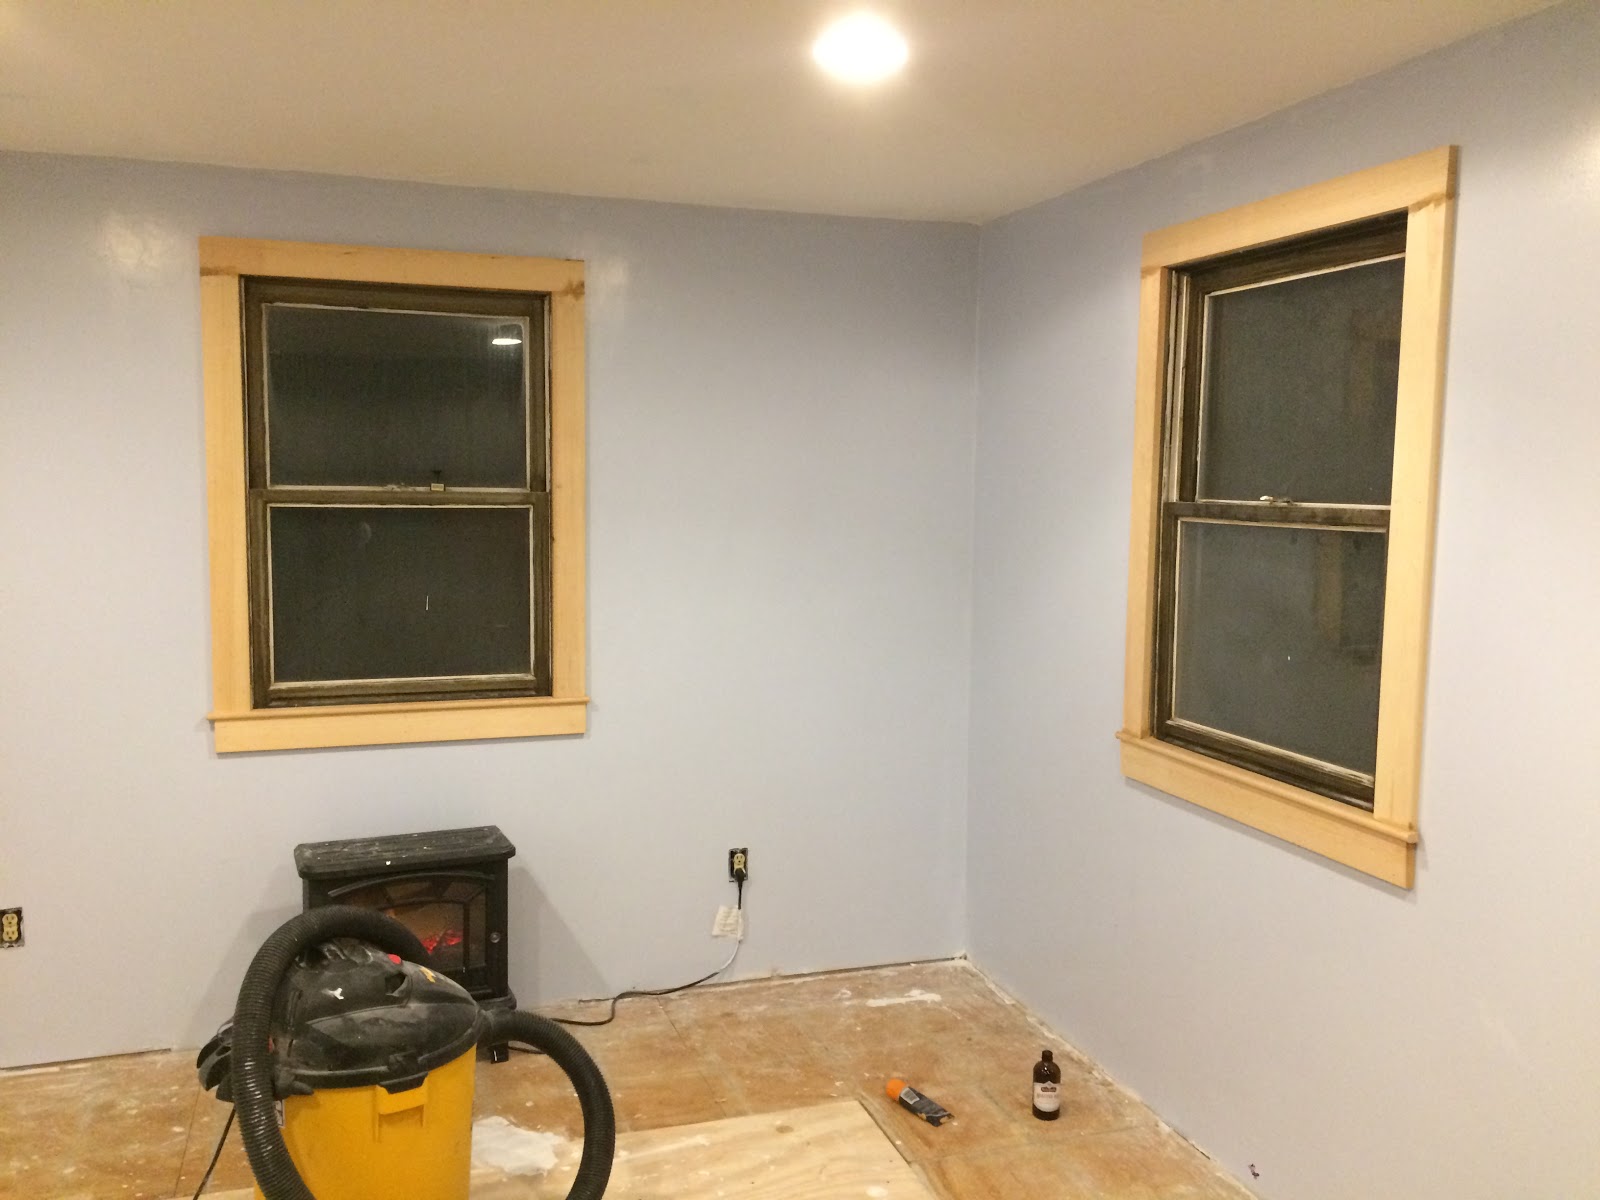
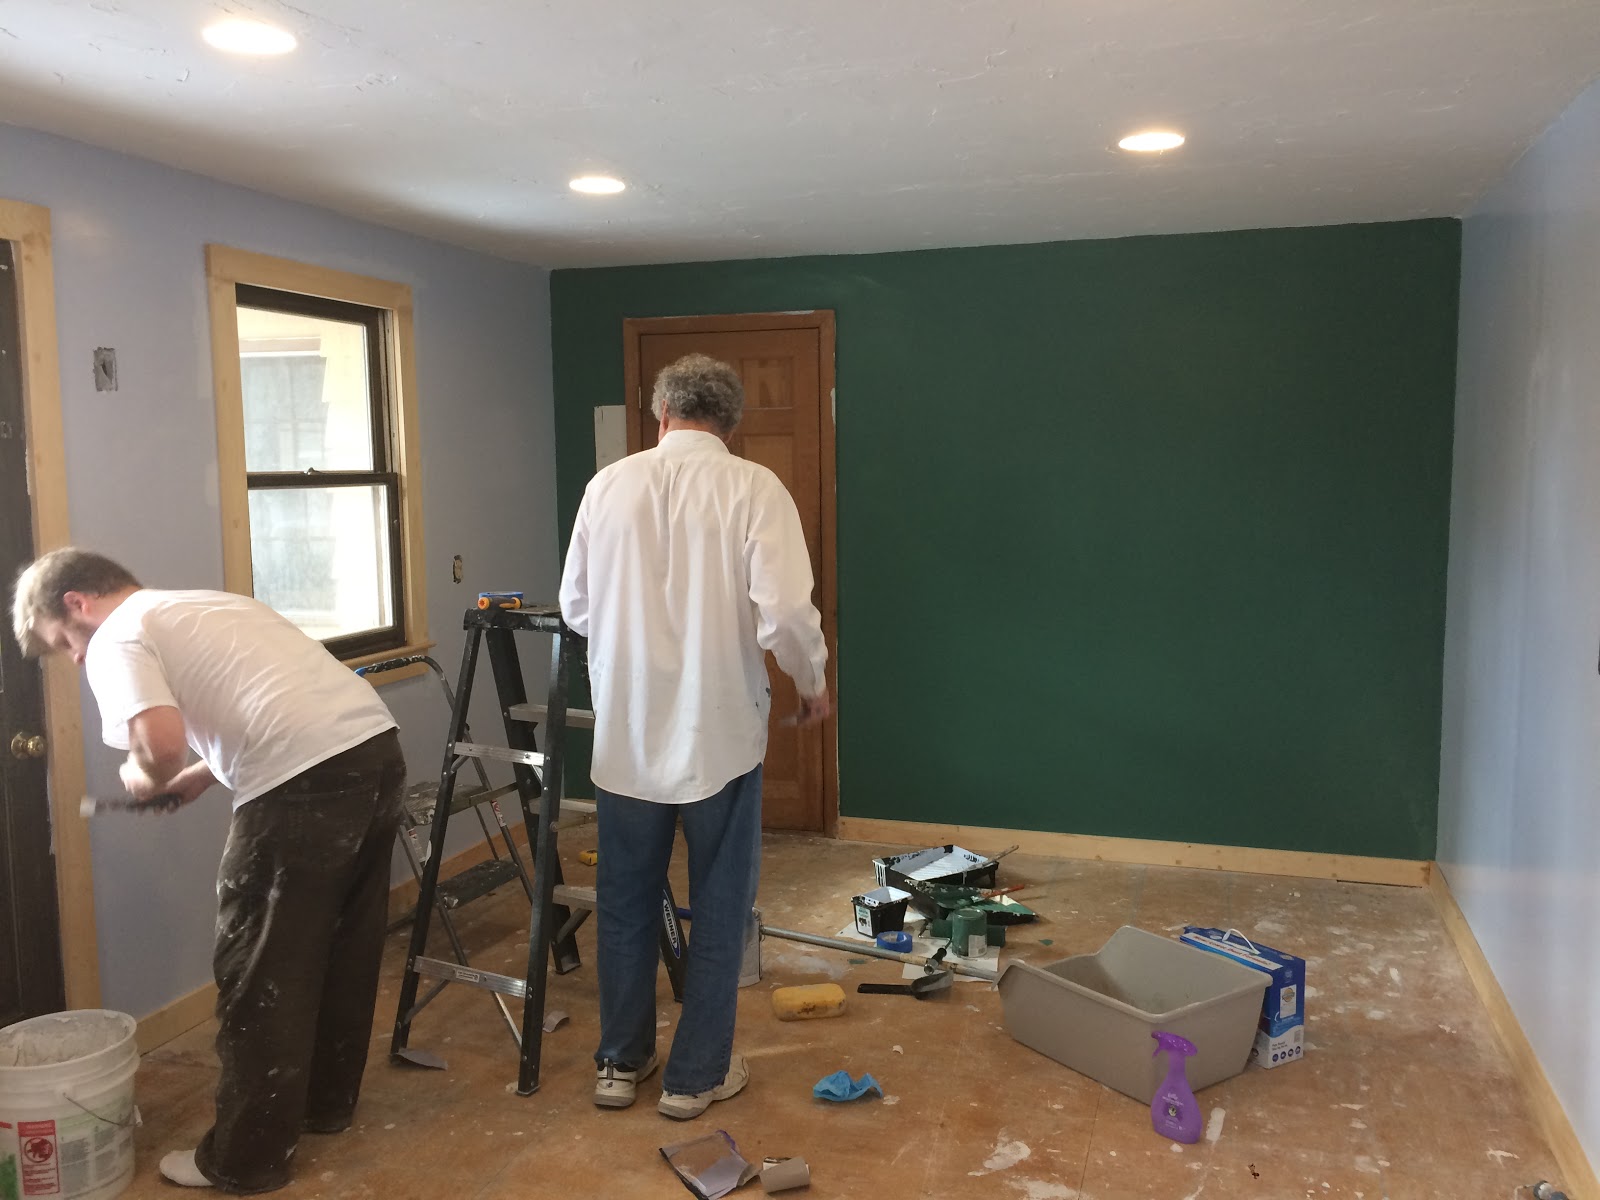
– gut weird back room and turn it into a man cave

SO CLOSE. Just needs some touchup paint and then flooring.
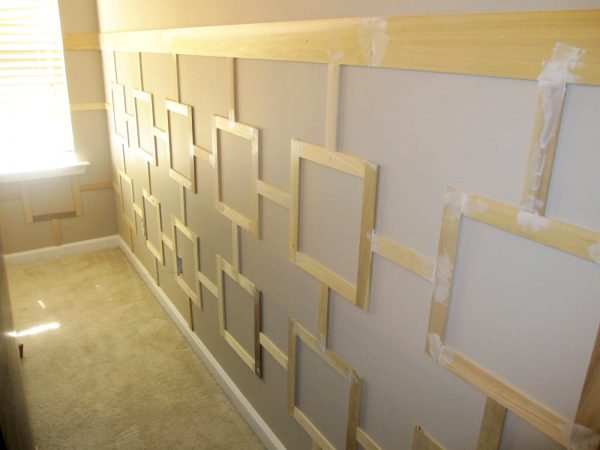
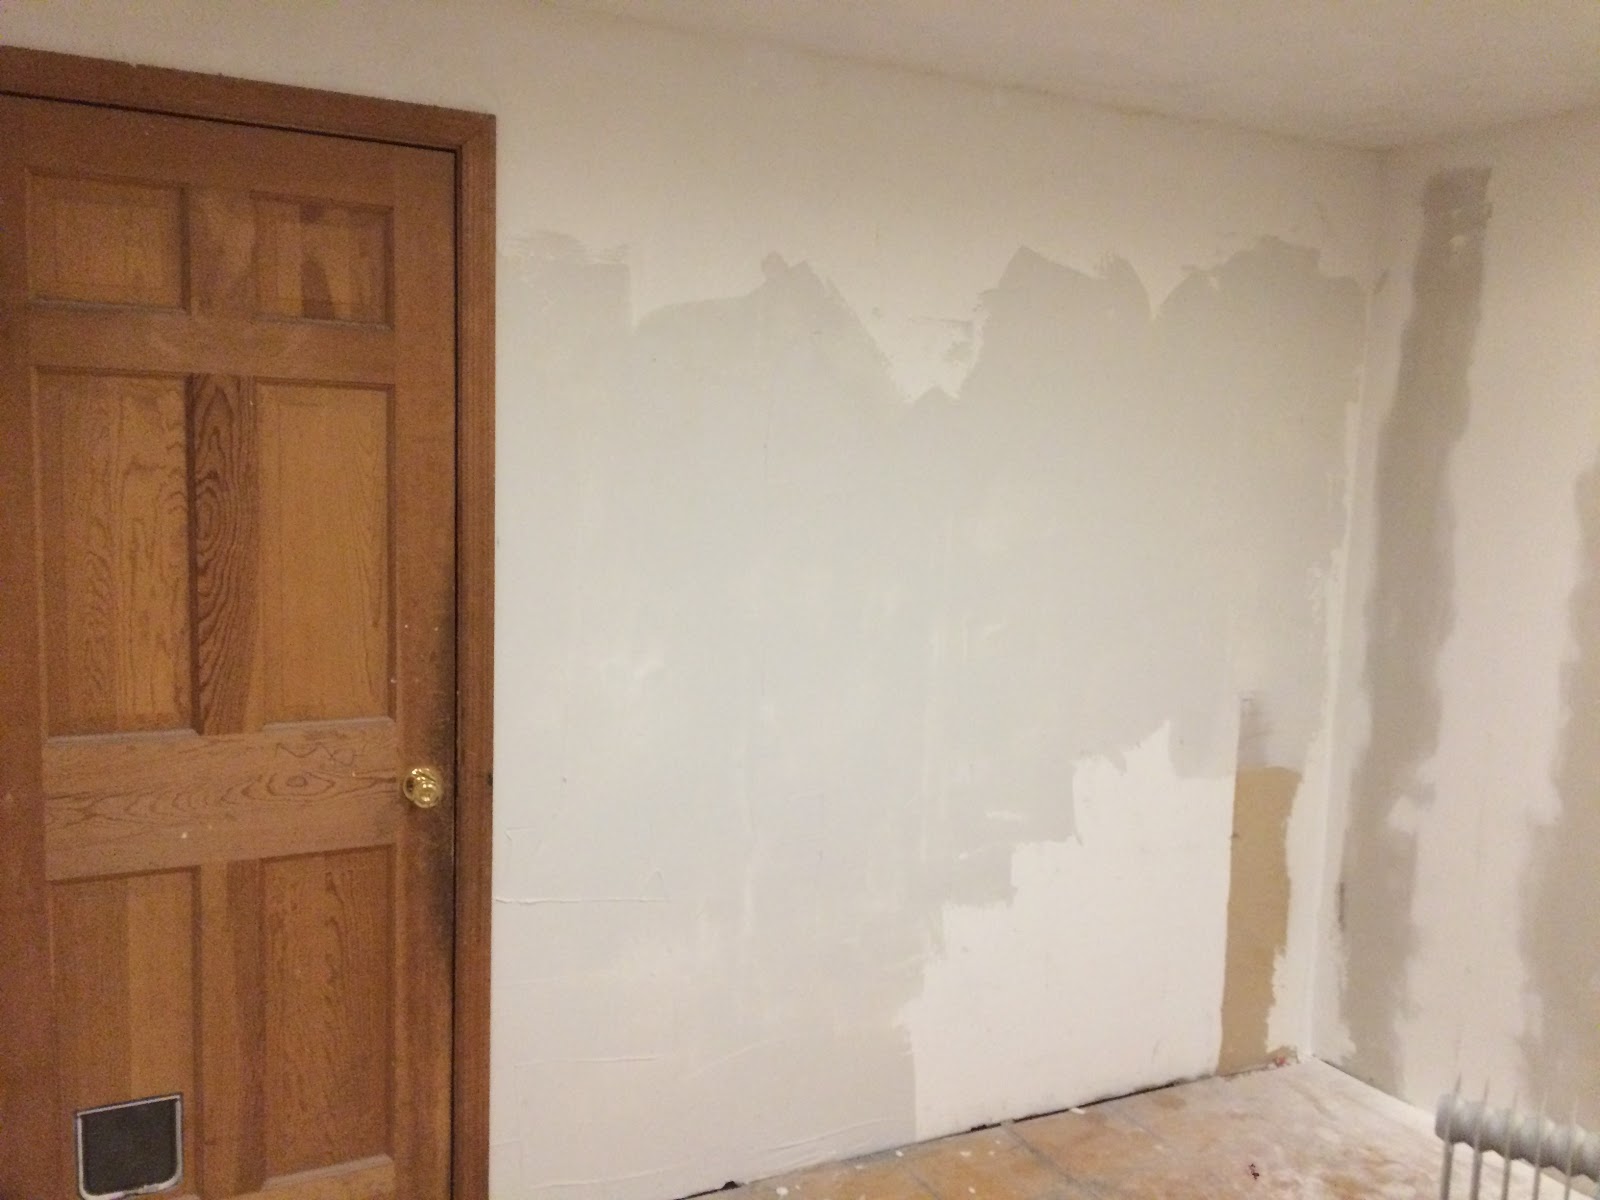
– strip wallpaper and repaint: back bedroom, front bedroom, office, front hallway, nook area/game room
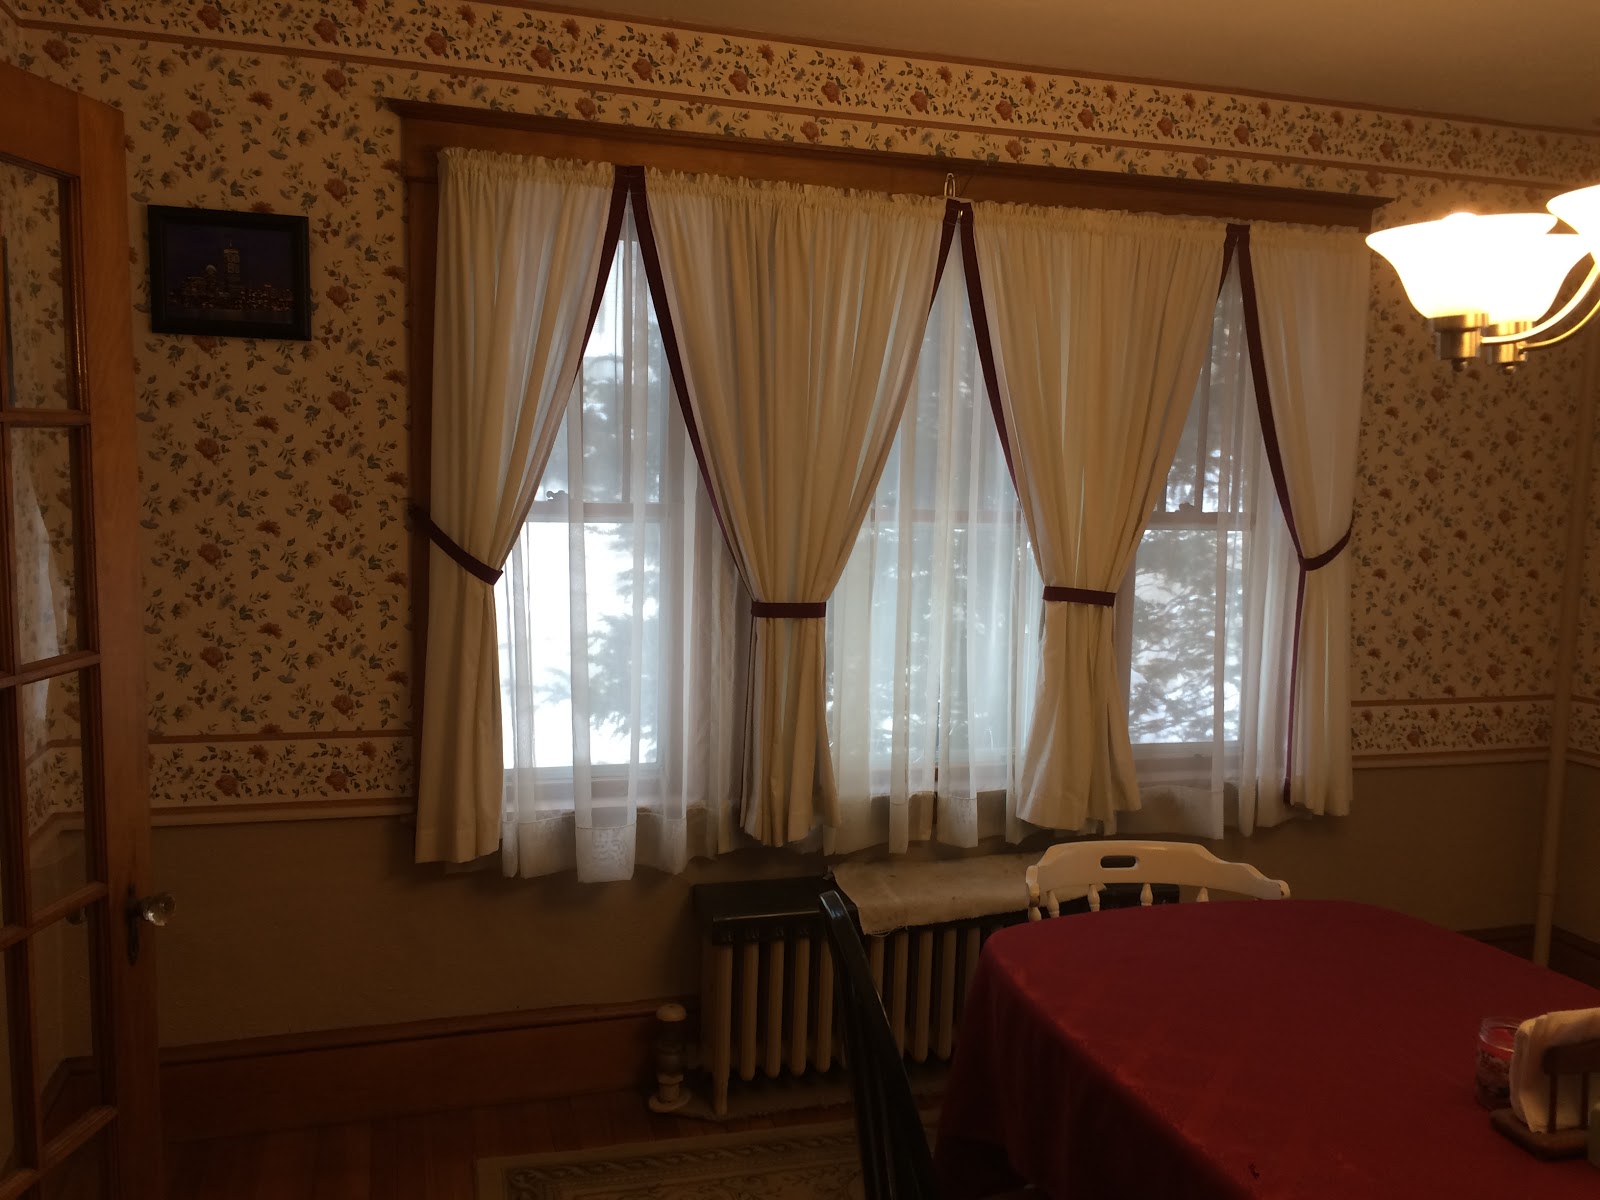
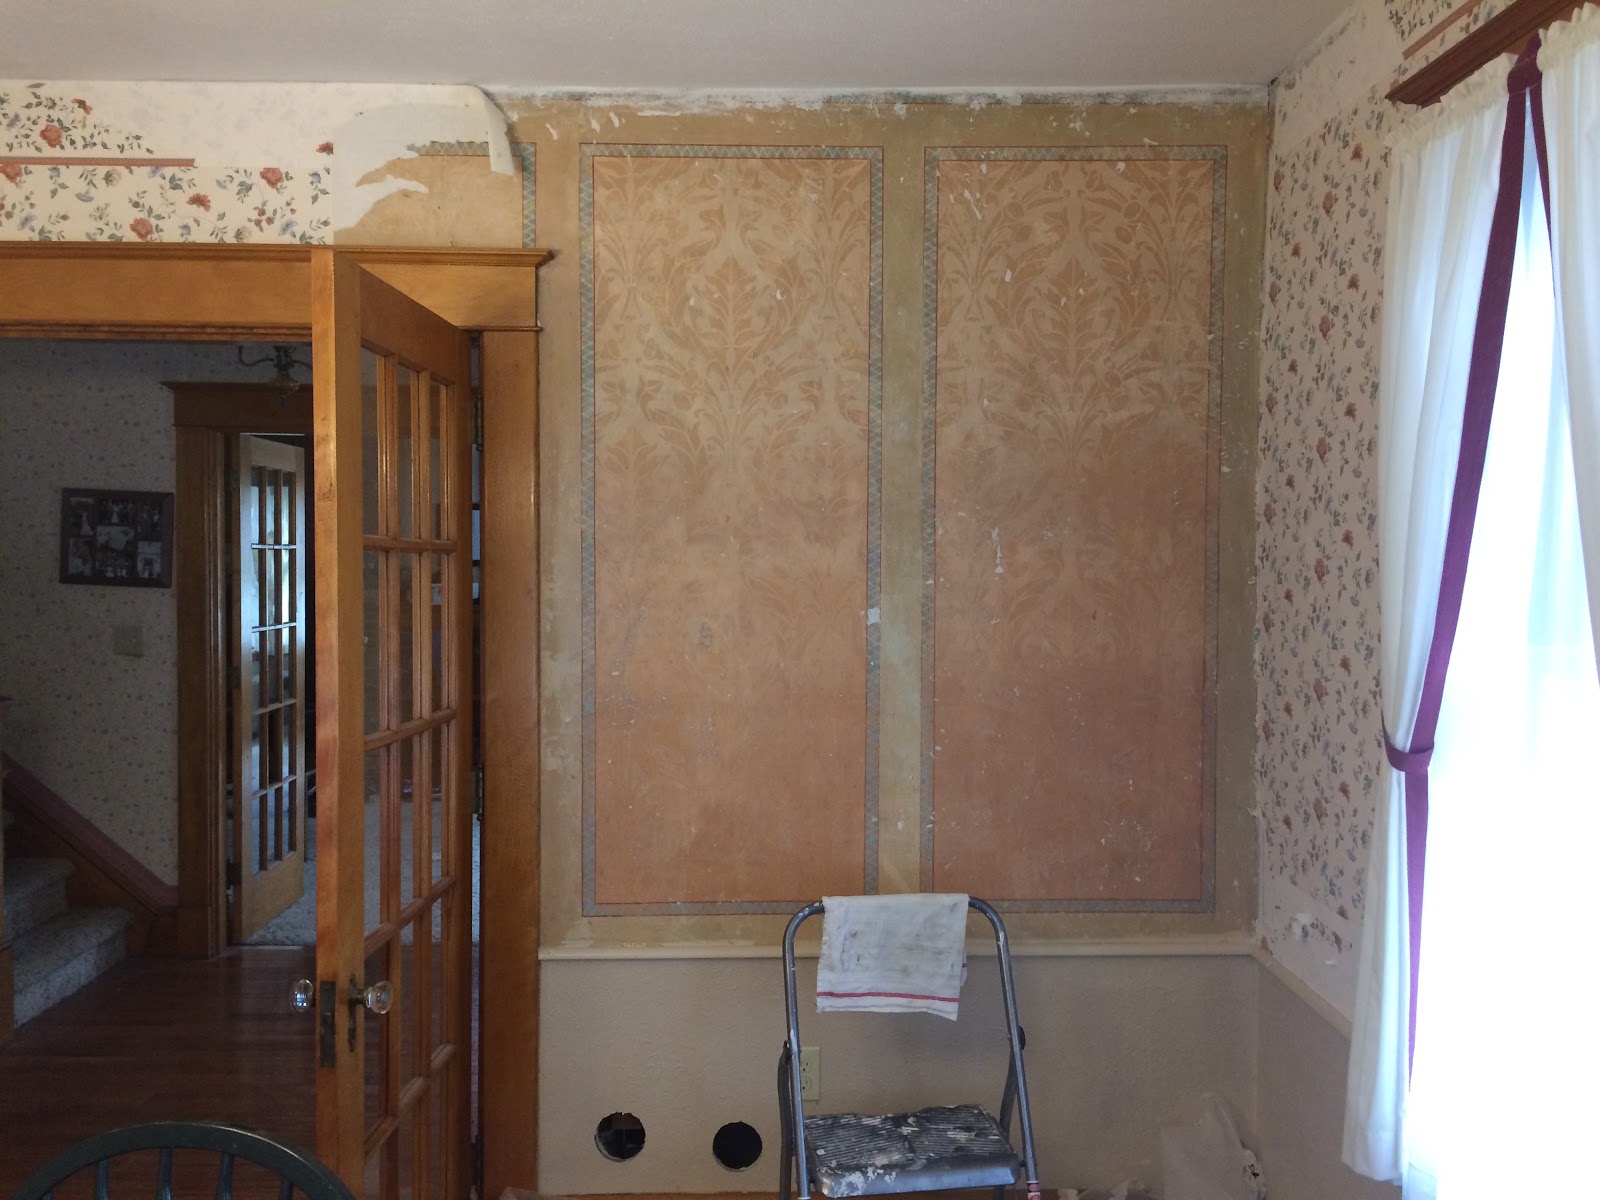
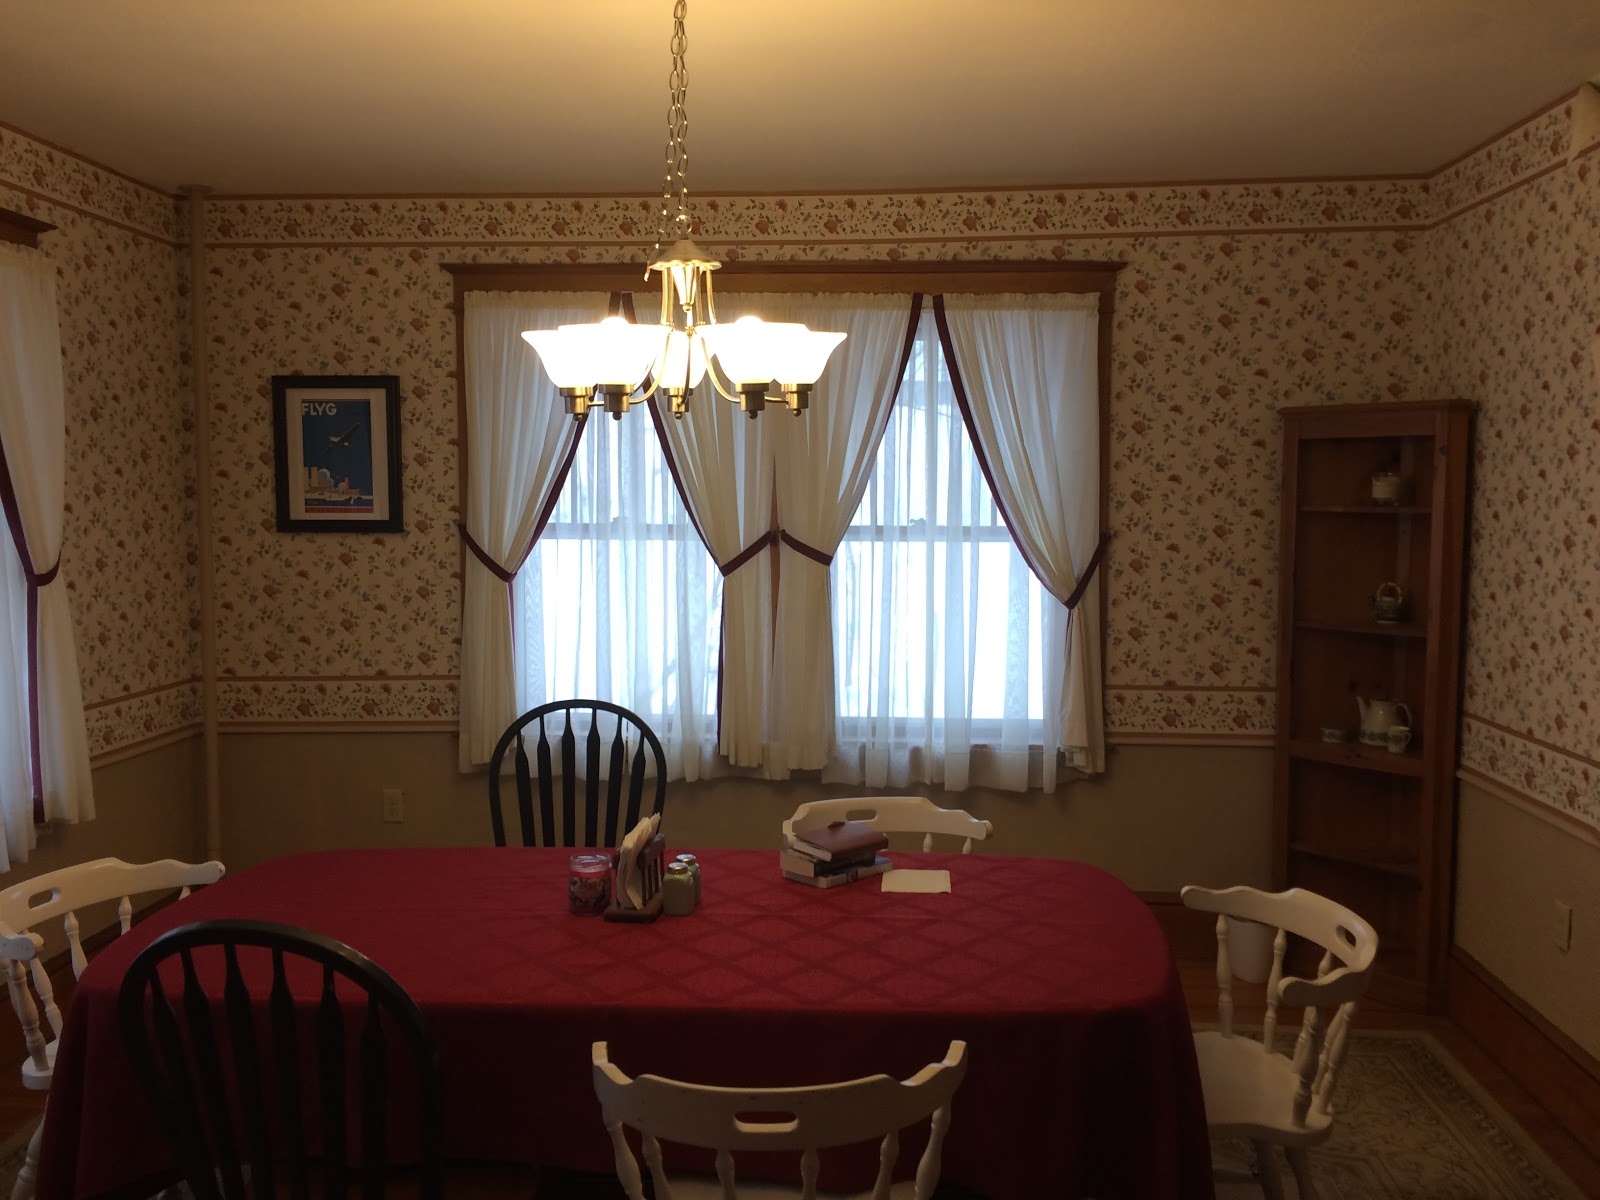
Back bedroom & office, check. Not on this list, but I’m halfway through the dining room.
– conserve front entryway mural

I had literally half a dozen repeats of the same “hey could you come look at my mural?” conversation with a conservator and it never happened. Does that count? Moving on to a new conservator who lives closer.
– sleeping porch: repaint, replace glass panes, finalize furniture arrangement there

Uh…I forgot this was on the list? So not a priority, probably won’t even happen year 3. We did sort of finalize the furniture, mostly by default in that I cleaned it out and am reasonably happy with what’s there, even if it is random.
– most remaining radiators stripped and repainted (will probably hold on sun room and living room for now)
…nope. Whether this happens this summer is entirely dependent on finances. I do have a better workflow for it, in that it makes more sense to do this AFTER we’ve otherwise finished the room, so that means I have three radiators that are ready to go, and maybe a fourth by the summer.
– landscaping and yard, including some raised beds for gardening

Ish? We did get the raised bed done.
– drainage work along the north side of the house to prevent flooding problems

No. 😦 This is the goal I am most frustrated about right now, and that’s saying something. We do have some concrete plans to make progress on this, as in, I’ve bought the topsoil and we have a deadline for the first part of the work based on other work, so there will be progress this summer. But ultimately we need to dig a long ditch, buy materials, and set up a french drain and I feel like it will both be intimidating and expensive.
Okay, so what about year 3 (!) goals?
– finish dining room
– finish garage
– insulate basement, garage, and crawlspace
– throw out ALL construction trash
– decorate more
– strip wallpaper, paint, pull up carpet in guest bedroom
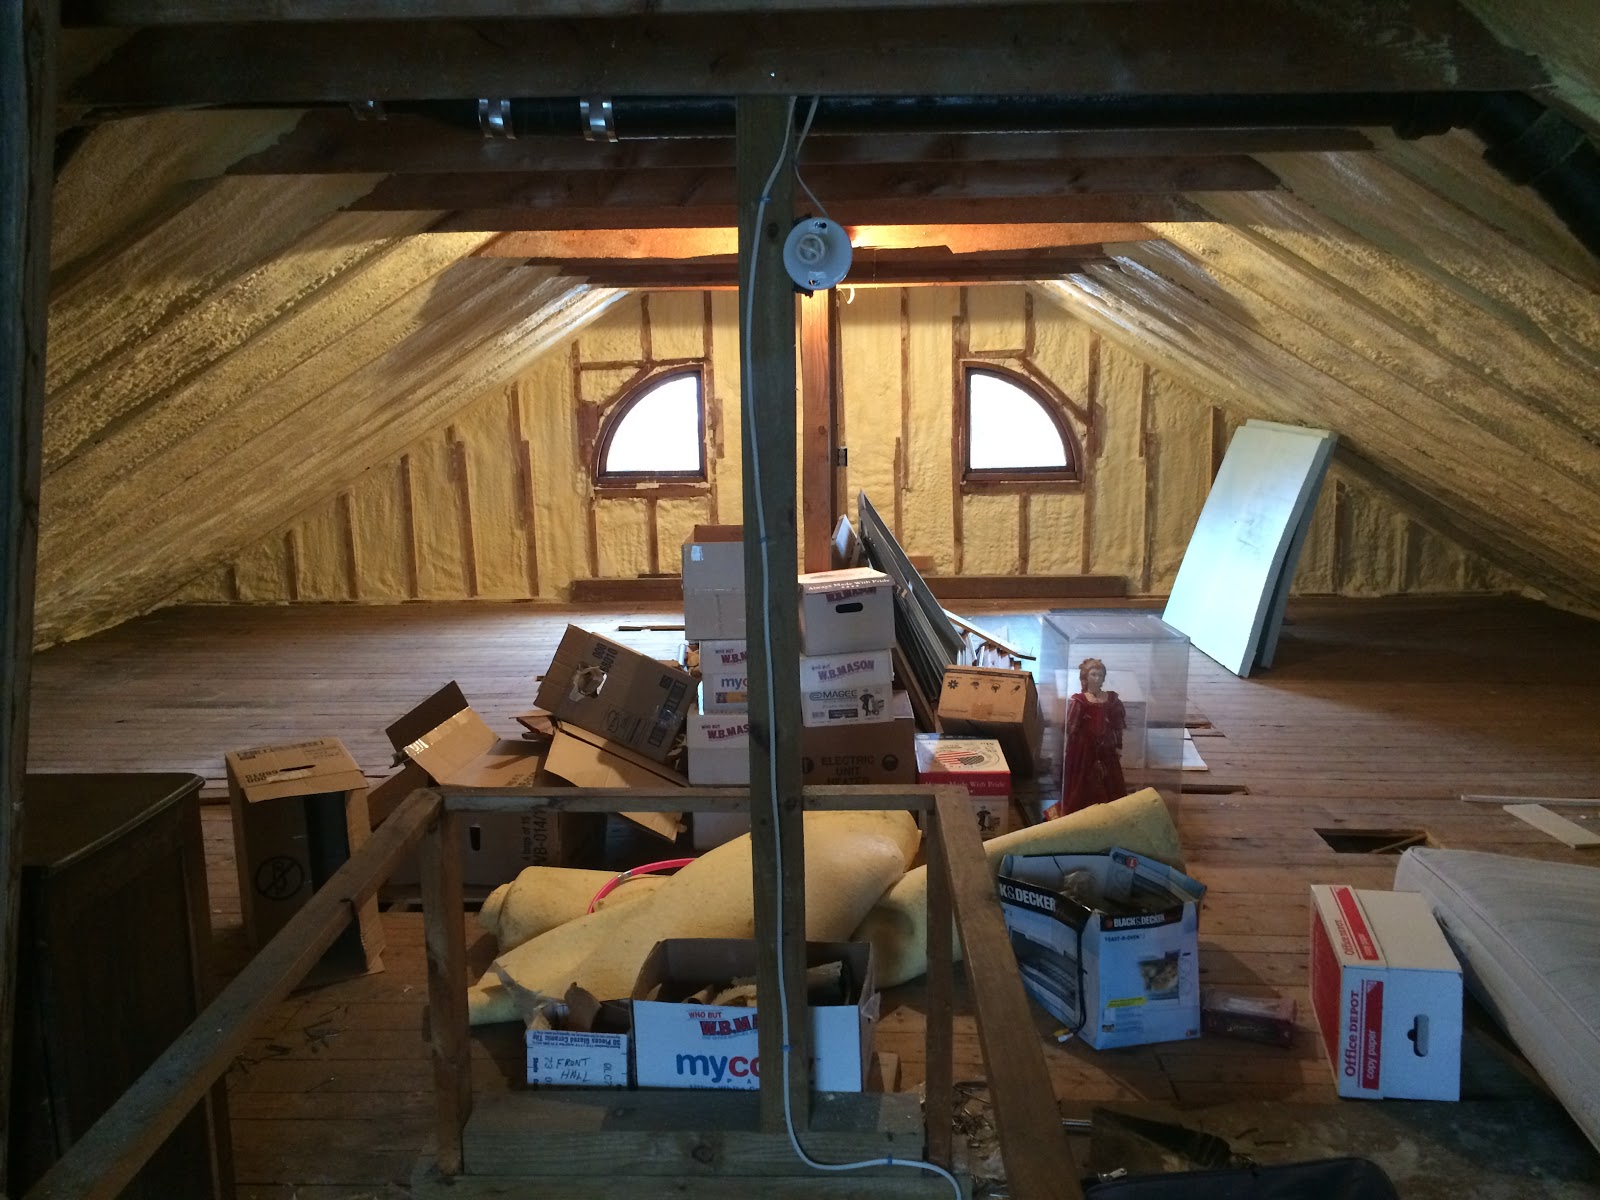
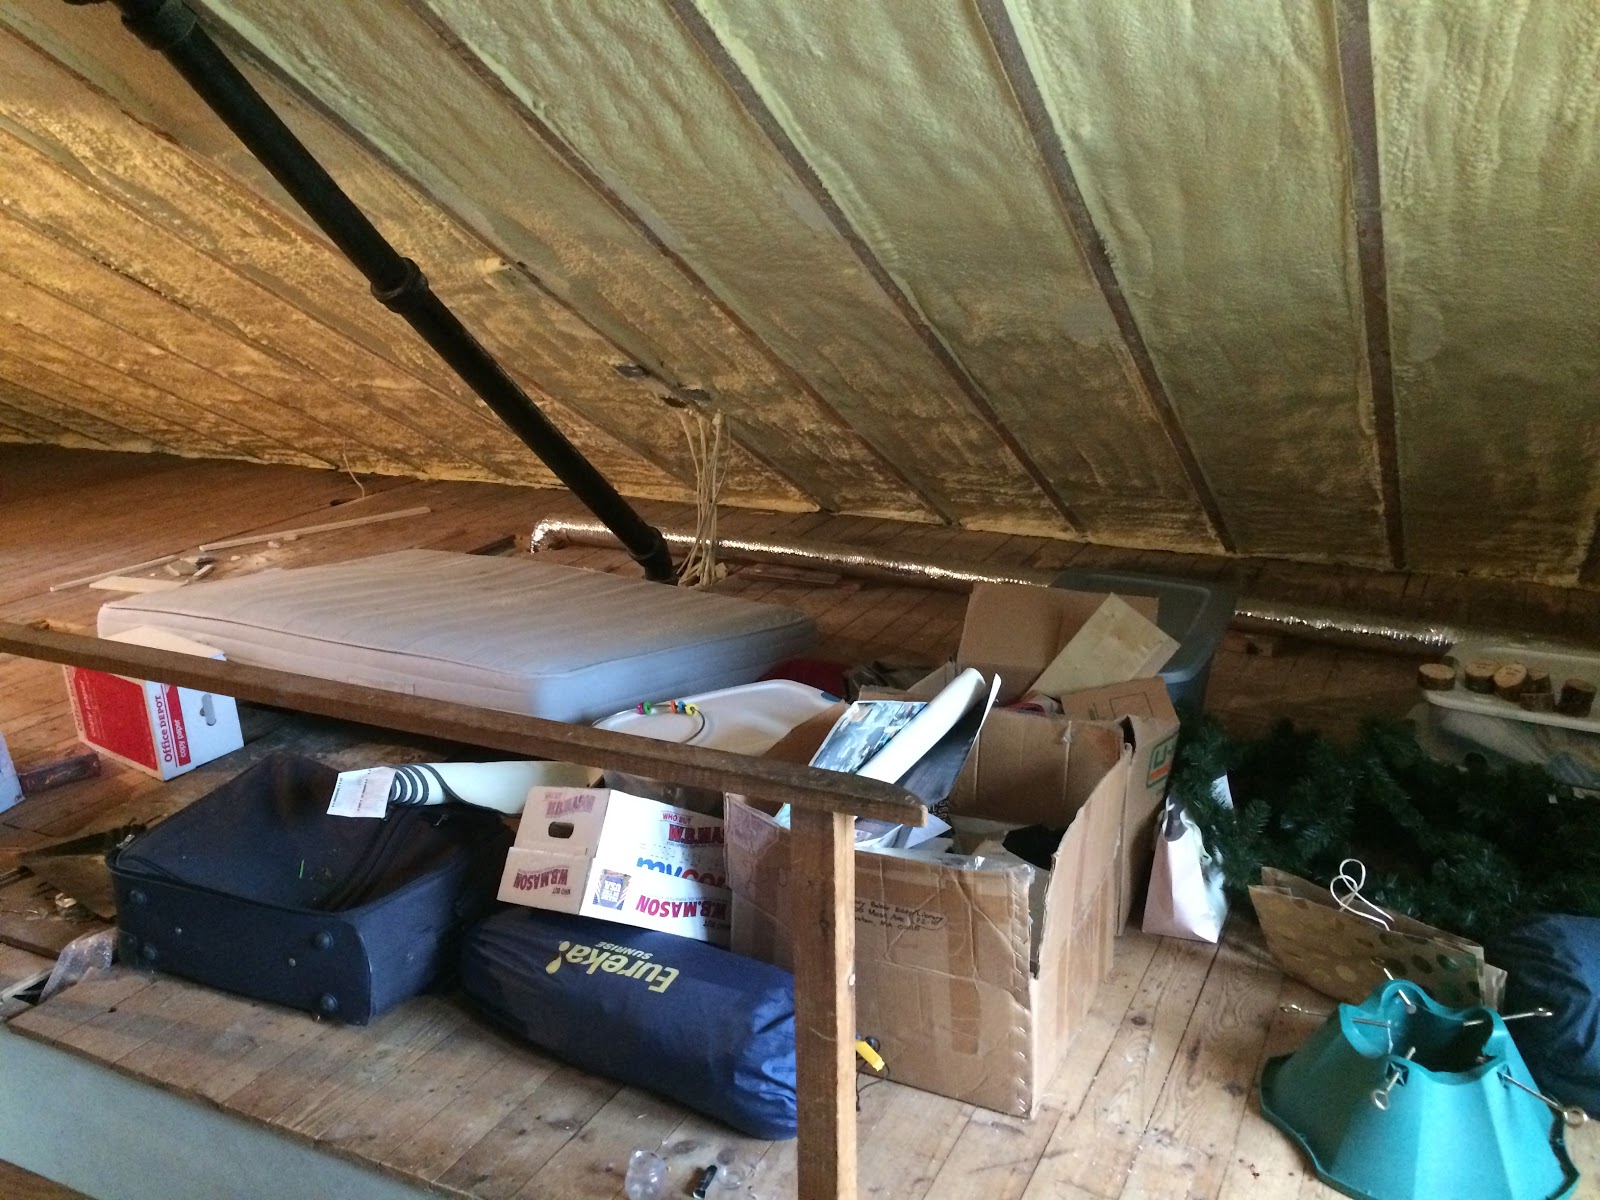
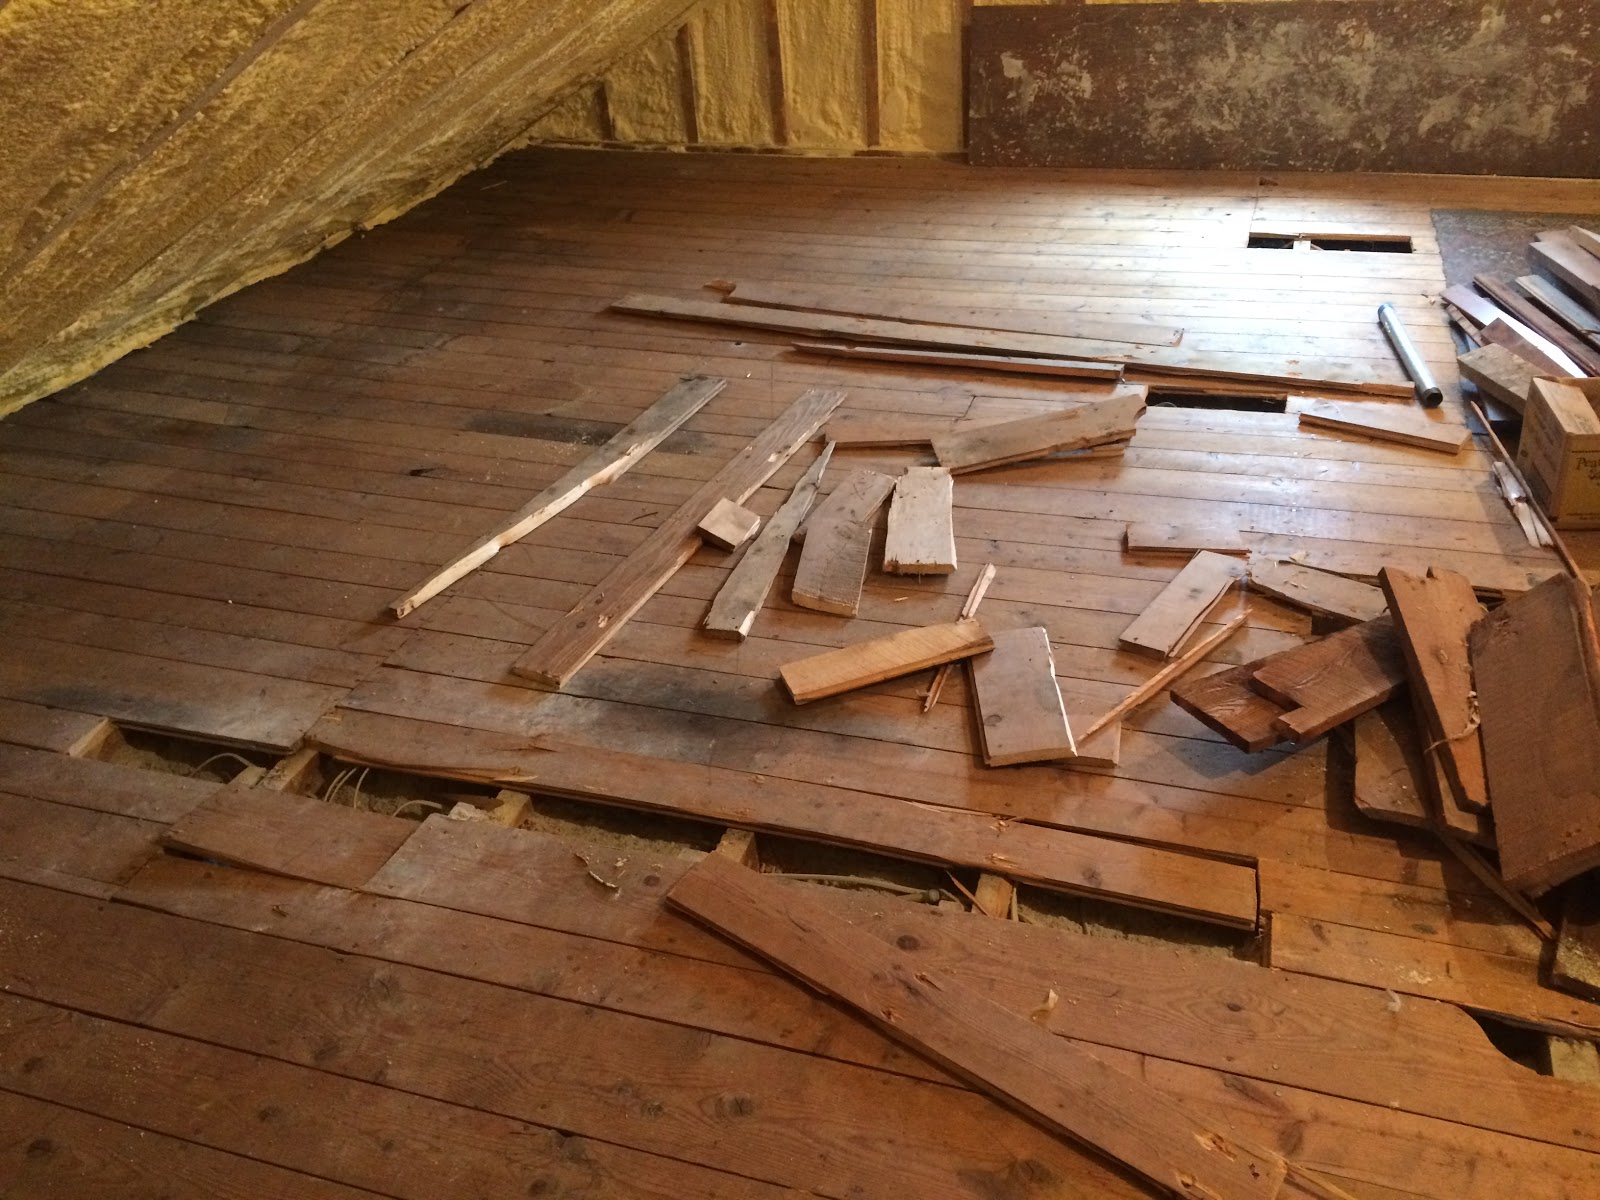
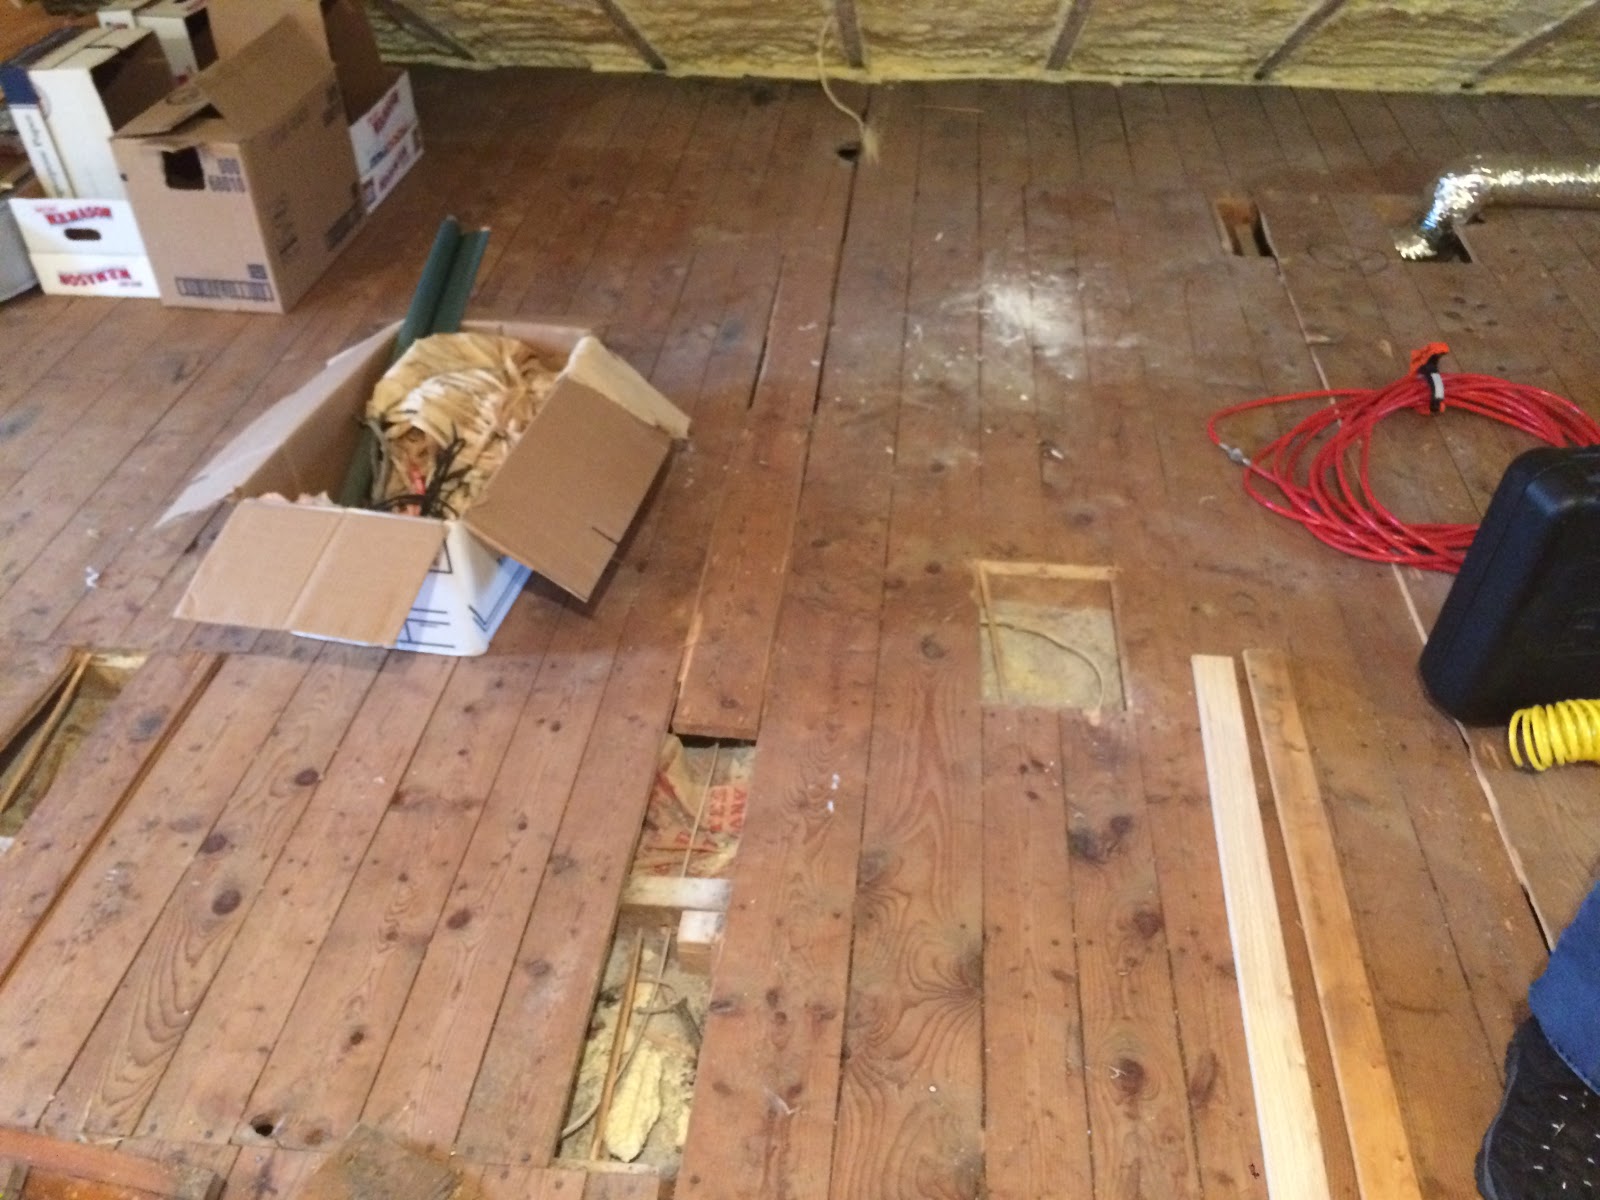
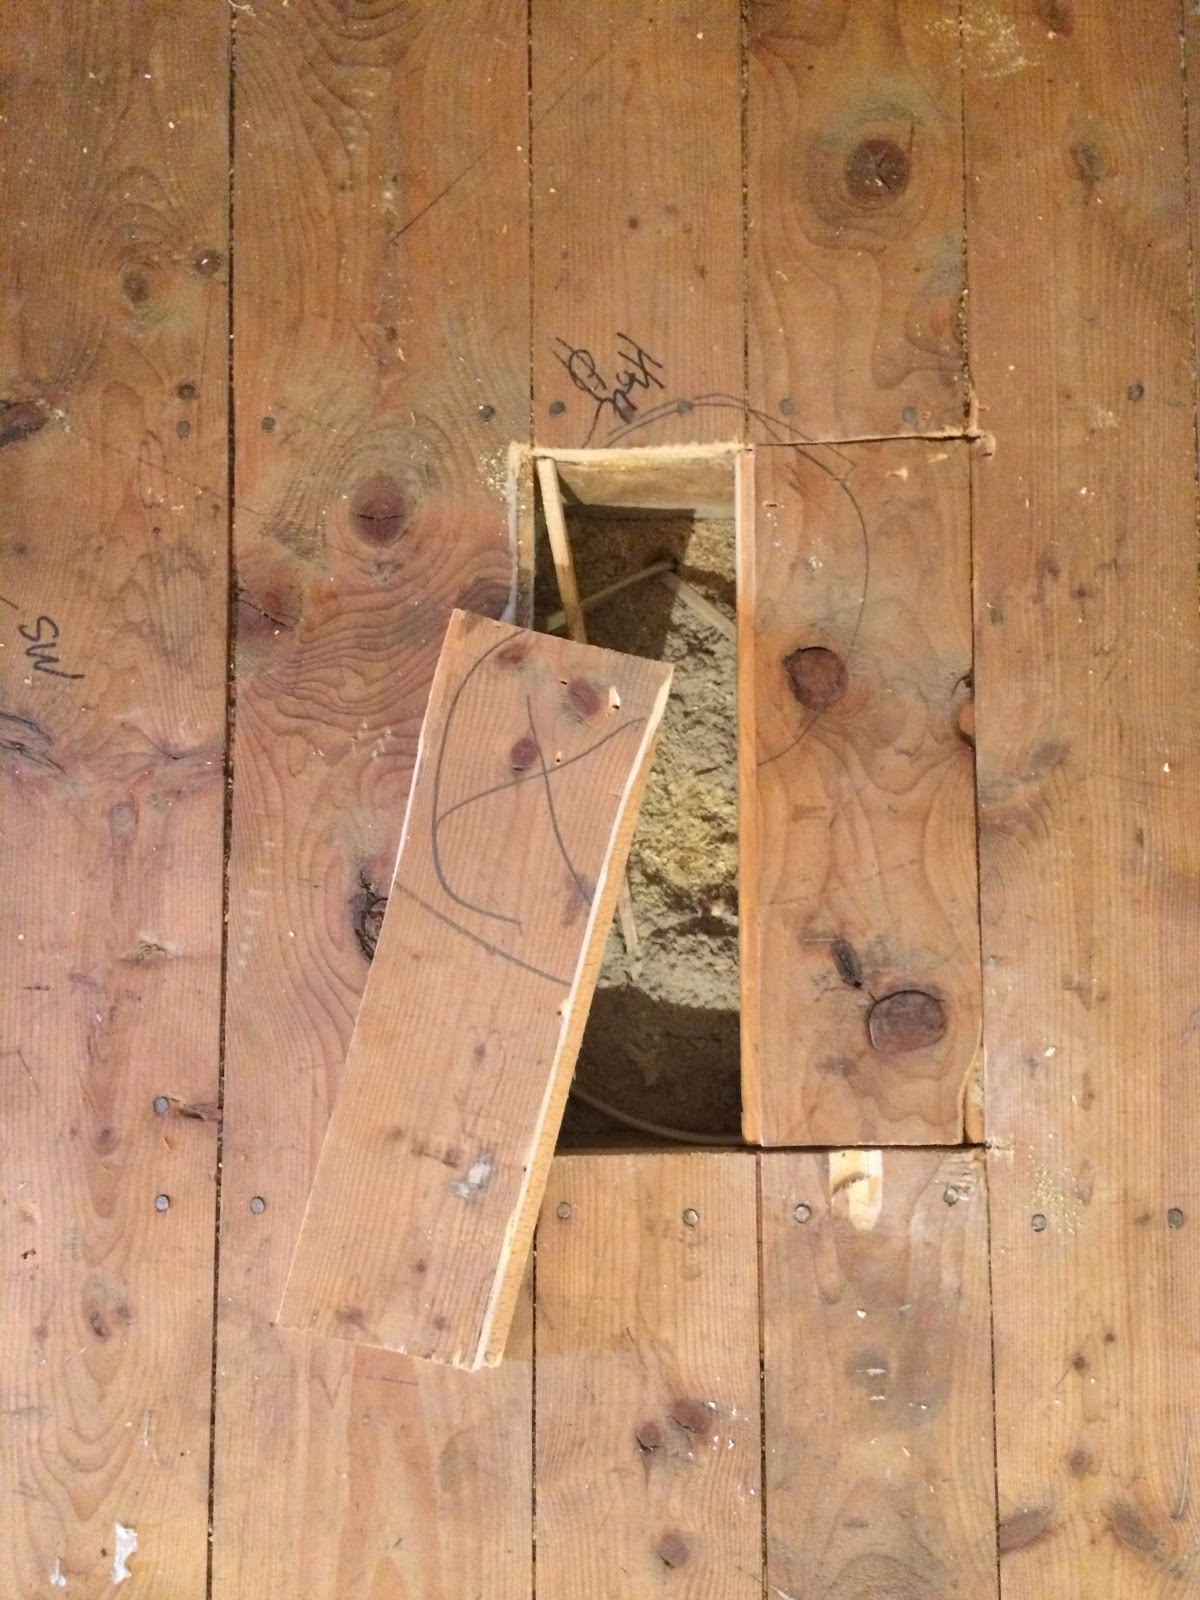
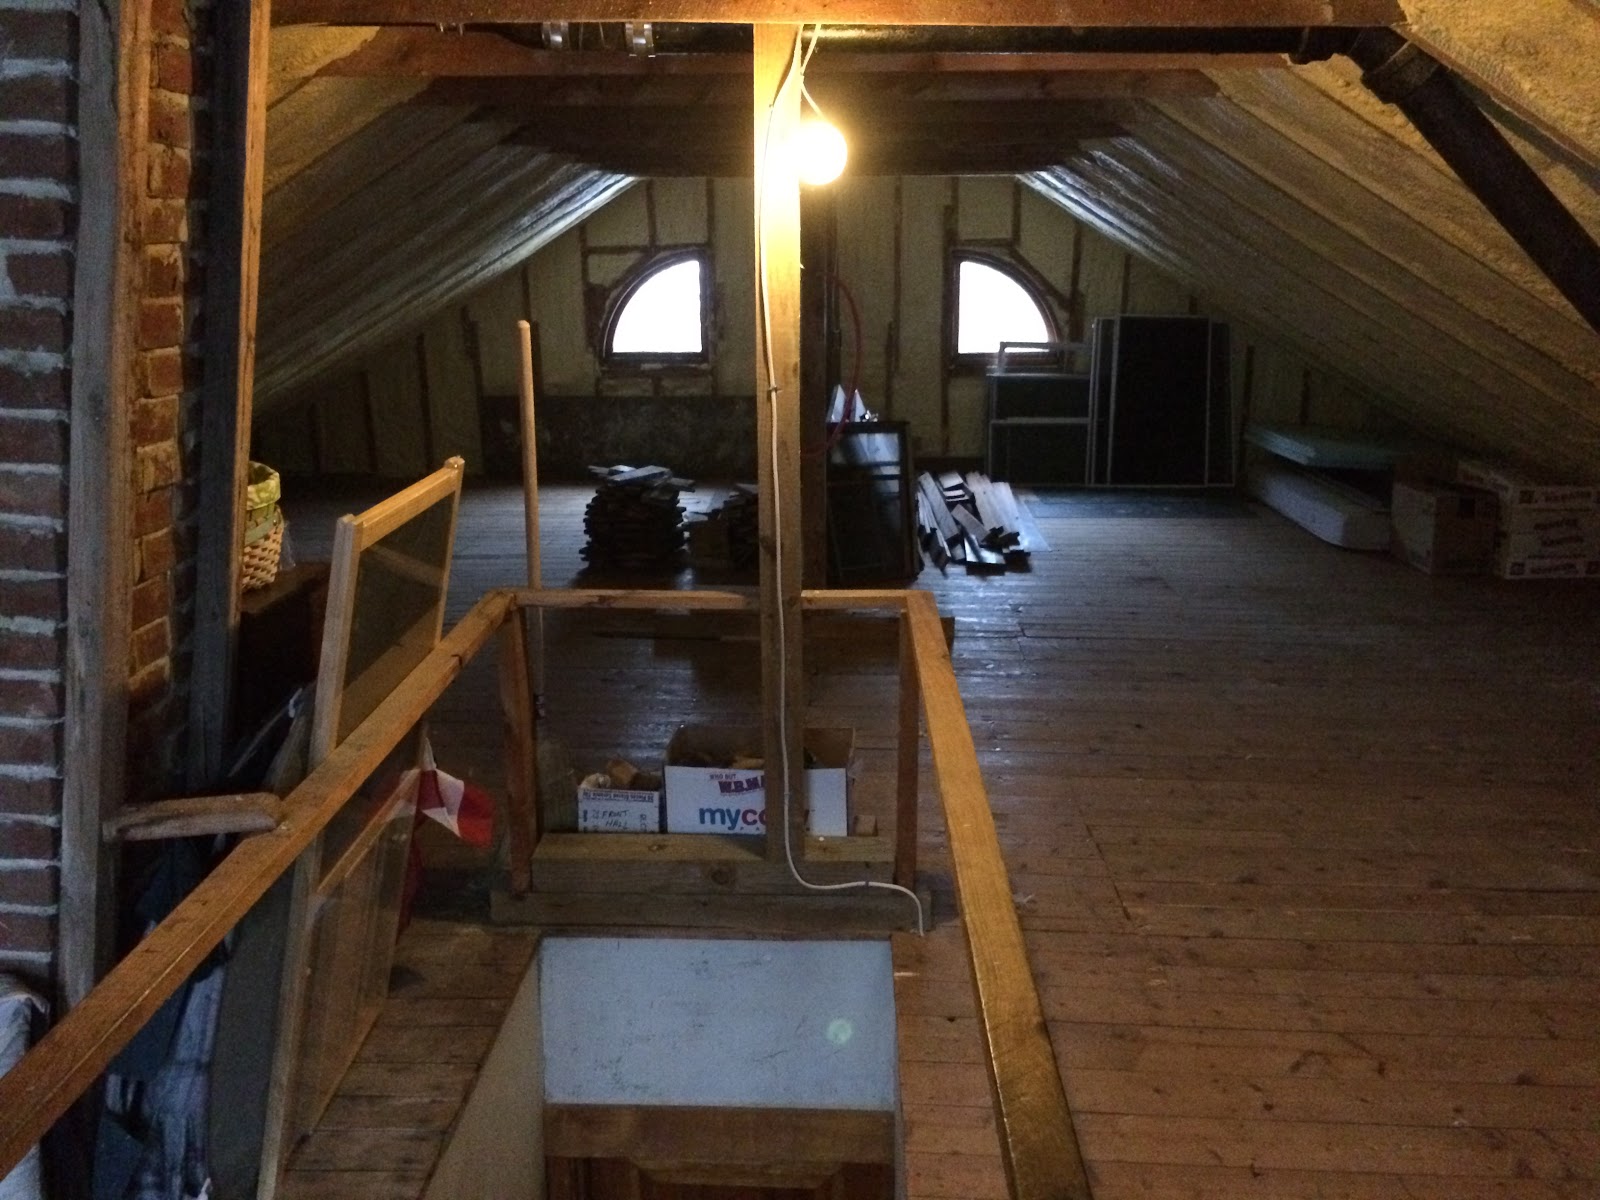
– finish attic: paint & panel
– figure out something to do with the yard so it doesn’t look like shit constantly
– better organize library/craft room
– pull up carpet & refinish floor in back bedroom
– deal with closets
house post · smartpak

House Post: Recycling Smartpak Containers as Seedling Planters

When I reorganized the basement, I set up what would become a new seedling growing area. After last year’s initial foray into growing from seed, I doubled down this year because I am apparently trying to reach peak Vermont.

I had a grow light that my father gave me, I had some scrap lumber, and I had most of what I needed from last year’s seedling supplies. I did not have quite everything I needed, which is where the Smartpaks come in.

First, the actual setup itself.

First picture is the location; second is my scrap lumber grow light holder.

As you can see, I had the tray, but what next?

Well: I happened to walk by the barn’s pile of Smartpaks for recycling on my way out of the barn and that started the wheels turning, so I grabbed a pile and came home to work my germ of an idea into an actual plan.

Necessary tools: a drill with a thin bit (I used a 5/32 bit), used Smartpaks.

I ended up putting five holes in each well, and stacked them all up so I could do a whole bunch at a time.

It took me maybe five minutes..

Then I laid them out in the tray. I had a standard tray that I bought at Agway; I think it’s roughly 10″ x 20″. By some miracle, the Smartpaks fit beautifully 4 across and 8 down What you’re seeing below is a combination of a couple different sizes of Smartpaks; some fives, some threes, some twos. Four 5 packs + three 4 packs would’ve been perfect but I made do.

Then it was fairly easy to pour soil over the top of them and portion them out. I can’t plant for a little while longer, since Vermont will be a frozen tundra until Memorial Day, but I did start lettuce in my other open tray just to get something green in my life.

I’m getting ready, though, and plotting out how much of each I want to grow!

house post

House Post: Basement Organization Forever

You guys, I FINISHED THE CELLAR SHELVING WOOOOOOOOOOO.

It was not a whole lot of fun, but I did it.

So the last pieces that needed to be done were:
– flip shelving to cut through braces on the bottom
– reattach new bracing to the back
– cut down plywood to make a new top shelf
– move everything to its new position
– get all scrap lumber to appropriate (reuse, burn, dump) piles

When last I wrote about this project, here’s where I left the shelving.

So, next step, flipping it forward to cut off the bottom part, then re-attaching bracing to the back. Luckily I found some leftover pressure treated 2×2 wood that suited this part quite nicely. Unluckily, I was using these 3″ trim nails with a special star bit head and I stripped, like, three bits before I got the knack of it, sigh.

Then it got flipped right side up (okay actually let’s all be honest here: it went up and down like five times while I was doing this part because I waffled a lot on the best way to do it and spent a lot of time swearing and thinking about giving up).

I also put the last piece of back bracing on – the top shelf support against the cellar wall in the below picture.

Then, I marked up and trimmed down the plywood that had previously been on top of the shelving, in the very safest manner possible, obviously.

(still amazed there were no power tool mishaps)

(though this was the stage at which the following conversation took place)

THEN I FINALLY TURNED IT TO WHERE IT WOULD GO!

This was the moment I finally thought “oh, wow, actually this was all worth it after all.”

While turning it I discovered a whole lot of instabilities that I hadn’t before, so after putting it into this position I spent some time putting screws ev-e-ry-where.

Then, I cleaned up some of the things you can see here in the foreground and moved over the project table to its final location.

Then I moved the leftover printer table that was getting thrown away (well, not like to the dump but it was up for the taking) to its ultimate location to begin life as a seed starting table, about which more next week.

Then I dealt with the scrap lumber, ugh.

Then I added in the organizing bins and lo, they fit perfectly, and put the first project (a coffee table that broke during the move & needs to be refinished anyway) on the big project table.

So, let’s do a before & after, shall we?

aahhhhhhhhhhhhhhh so much better.

house post

House Post: #@$#@%#$@ Basement

This is not my very least favorite project (that’s still the root cellar ceiling, that was the WORST, which I guess I didn’t blog about?) but it’s probably a top 5 and that makes two out of the top 5 in the basement, UGH.

It’s also STILL NOT DONE. Honestly “finish it for the blog post” was the only reason it’s as far as it got this week, it fucking sucked.

Why did it suck, you ask?

Well. Scale is tough in photographs, so I measured. This shelving is 48″ deep by 9.5′ long. So really big. And it is simultaneously very flimsy and very sturdily constructed, in the worst possible combination.

My goal was to cut it down the middle, reattach bracing on the back, and then turn it to a different wall.

It’s so long that I measured my depth (actually a little less than half, at 20″) at various points and then snapped a line with chalk. Because it’s a horizontal surface in a dark corner, and because I had to sort of crawl under rickety nail-filled boards to do so, that took longer than it sounds like. Plus, there was so much dust and paint flakes and sawdust on the shelves the chalk didn’t take very well.

Then I cut down the middle, and discovered that there was a lot more bracing than I thought, and the bracing was too thick for the circular saw, so I had to go back over my lines again with a little jigsaw, and holy shit was it angry with me. Even after that, I’d miss pieces and have to bodily wrench the shelves apart, and then parts I didn’t want to come apart would come off, complete with rusty nails, and it’s a miracle I haven’t cut off a finger or needed a new tetanus booster yet.

The last picture is the current state of affairs, but of course there’s a TON of bracing underneath that is extra deep. It’s actually cut from the top but still not going anywhere.

So on Monday the next step is going to be to move more things out of the way, tip it forward, and cut from the bottom. Then keep it tipped on its face to re-attach the bracing, and while I am hoping to reuse pieces of lumber from the back that is feeling less and less realistic because of the ways it came apart. I may have to go out and buy some 2×2 pieces to replace them and just put the others in the burn pile.

It would’ve been faster to just build new shelving from scrap. This had better be really useful.

house post

House Post: More Basement Organization

I think I am maybe beginning to understand that basement organization is an ongoing home ownership problem that has no beginning and no end.

Previously, it was kind of a mess but I had started anyway.

Also, we added shelving to the root cellar.

I’ve made good progress in distributing the crap that you can see in this picture, taken almost exactly a year ago.

That picture makes me twitch, actually.
Here’s what it looks like right now.

Slightly closer picture & different angle but you’ll have to trust me – all that crap is gone! The shelving behind our lawn furniture is also mostly empty.

So, what’s next?

That shelving is going away this weekend! I’ll do a combination of things to it: cut it up for scrap/burn pile; cut it up to transform into new, more useful, more sturdy shelving; and cut it up to set aside as useful scraps for other potential future projects.

Eventually, I want a project corner: somewhere I can do woodworking, painting, cellar-type things on a usable flat surface with tools to hand. (All of our tools are stored on shelving that is just to the right of this photo. That shelving is deeply meh but is just fine for now.)

First step will be to take the quite nice plywood top off the left side of that shelving and – in a perfect coincidence – fit it without cutting or modification to some hardware my dad gave me to create a work table.

Then, tackle the rest of it. Photos forthcoming!

house post

House Post: Small Updates

Most of what I’ve been doing around the house doesn’t qualify as blogworthy: slowly but surely going through piles of stuff to sort it into keep, throw away, donate. I returned from a recent visit to my parents’ house with five stuffed full tupperware of random things from my childhood. Those were in addition to the 5-7 last remaining boxes of random crap hanging around the house. Some of it I do want to keep; some of it I’m content to shove back in the box and think about in a few more years; some of it is going right out the door.

But, it’s boring.

So here, have some brief updates on the very slow project of getting the wallpaper down in the dining room. I’m not putting any kind of urgency behind this project; rather, “dining room” is a line on my to do list each day, and all I have to do is make SOME kind of forward progress. Some days that’s 10 minutes just tugging at the top layer of wallpaper. Some days that’s firing up the actual steamer. Baby steps. I still don’t know what to do with the wainscoting, though I have many awesome ideas now, so there’s no rush just yet. If I had a clear mental image of the final product I’d be moving much faster.

Before, during, & continuation of one corner.

house post

House Post: Man Cave Progress!

So close. SOOOOO CLOOOOOSE.

Previously, we were plastering and sanding forever, and I skimcoated one wall.

My in-laws came to visit again last weekend, and huge progress was made!

So here’s the before:

It looked like that for a couple of weeks, as we added & sanded layers of plaster in an agonizingly slow process.

Then: primer!

Aaaaaaaand…paint!

Not only paint, but TRIM!

Then we cleaned up all the random extra things in the space. It was glorious. The room is now mostly empty, mostly clean, and alllllmost done!

Remaining:
– paint the trim
– flooring (carpet + some tile around the door)
– one last light by the door (you can see it above M’s head in the last picture)
– covers for the recessed lights
– furniture!
– longer-term: build a (dry) bar in the corner where the green wall meets the blue wall (summer)
– longer-term: work in crawlspace underneath, to include insulating the floor joists (summer)

house post

House Post: Let’s Talk Dining Room

As I type this, the man cave is making giant leaps forward, but it’s not ready for primetime yet. So we’ll have to recap that next week, or possibly the week after.

This week, I am seeking your advice & thoughts on the dining room. It’s going next.

Previously, we pulled up the carpet, replaced the light fixture, patched the holes in the ceiling, and pulled down some of the wallpaper, but that’s it so far. The bulk of it needs to be done still.

Here’s what it looks like right now.

The fourth wall is almost entirely french doors.

My husband wants badly to keep the stenciling underneath the wallpaper, but I strongly suspect that won’t be possible. In the small amount we’ve already pulled off, it’s clearly pretty badly damaged, both by holes and by plaster near the ceiling. Odds are there are other bad parts on the rest of the wall that just can’t be saved – or would require extensive cleaning and inpainting to look decent, and that is soooooooo not in the budget. If the budget extends to art conservation, that will go toward the mud room mural.

So, what to do?

For a long time, my best idea was arts & crafts wainscoting. In this scenario, we’d make custom wainscoting out of maple lengths all around and either a) paint it or b) stain the wood and paint the wall behind.

Here’s the style I’m talking about, in a few variations.

I don’t see us going too high with it – maybe mid-level to the windows. Not shoulder-height as in traditional styling. That always feels a bit crowded to me. (Though we could have a whole stylistic conversation about whether it’s truly arts & crafts wainscoting if it’s not so high?)
Then I saw these pictures, and cue heavy breathing.

Now I’m not sure what to do.

I think I need to start sketching this out, maybe? What about one of these art deco fans in the middle of the larger wainscoting from my first idea?

Am I just getting waaaaaaaaay too complicated?
So the options are:
– art deco wainscoting, and if so, white, all wood, or wood frame with paint behind?
—and if the above, dark paint on the top or the bottom? color scheme will stay the same: maroon & cream
– something more elaborate like the middle examples?
– art deco wainscoting with a fan design in the center?
Which would you do?

house post

House Post: Making more work for myself

The man cave has one wall that we did not take apart. It’s the wall that goes back to the house.

We had in fact left it entirely untouched – except there were two problems with that wall.
Problem the first: it had a LOT of holes in it.

Problem the second: it was textured like a 1980s ceiling.

Options for what to do, in order of time + effort:
a) leave it entirely alone and just paint over it.
b) patch the holes
c) skimcoat the entire wall with mud

If you’ve been following any of my house posts, you know which one I chose.

Yeah, the one that required the most work. It actually could’ve been far worse: the plastering took maybe an hour, and so far I’ve put about an hour’s worth of sanding into it. Maybe another hour of sanding and then some careful additional plastering and it will be ready to prime.
The rest of the room is baaaaaasically ready to go at this point, just needs some sanding up near the top and some sponging, so painting is maybe-sorta-kinda on the horizon?
(I’m not driving this project; my husband is. It would’ve been done weeks ago if I were in charge, but I am practicing patience and letting my husband make his own choices and set his own priorities which I’m told is a good thing for a marriage but is mostly making me completely fucking insane.)

house post

House Post: Attic Restoration

Previously, in the attic: we ripped up many of the floorboards to get at the second floor ceilings for electrical work. It was godawful work and it left the attic floor full of holes and looking awful.

It stayed like that for a long time. We rewired in July 2015, which means it stayed like that for about 18 months.

It made the attic a weird and dangerous place to be in.

On top of that, as attics do, it had become a sort of dumping ground for extra stuff.

When my parents came up last weekend, the attic was the project I wanted to tackle.

My dad and I re-matched the boards to their holes in a jigsaw puzzle that I have to admit I kind of enjoyed.

We got them back into their holes and nailed them down with a very fancy and more than slightly terrifying nail gun that my dad had brought. Some of them could just go right back down on their joists; some of them, like the ones directly above, needed reinforcement underneath.
While we were doing that, my mom organized the attic. We threw away or recycled quite a few things and got the rest of it in MUCH better shape.

I am really, really happy with this particular project. It was not complicated or exciting, but it has made a big difference in the usability of the attic, and it feels like we were finally resolving the tail end of the rewiring project.
The attic is not yet done: next up we need to cover the exposed spray foam with fire-resistant paint, and then over that we’ll put up some really simple paneling. As part of that project, we’ll probably also do a kick wall, or a short wall coming down from the eave to the flooring, to cover the vent pipe you can see from the upstairs bathroom fan. Probably that wall will be matched on the other side, which will give us both crawlspace storage and a wall against which to build some basic shelving so that all of the things that are currently (neatly!) stacked can go up on shelving.

the feverish part of my brain hopes it will look a little like this
Because we insulated the ceiling of the attic, and not the floor, it’s fairly comfortable year-round. Once we get the paneling up, it’s going to be a perfectly fine extra room. It’ll be overflow space: maybe someone can sleep up there, maybe I can put a writing desk up by the quarter-round windows and pretend to be Jo from Little Women. Now that it’s usable again, anything is possible!