house post

House Post: Basement Door

Dear me of 10 years ago: someday, you’re going to be VERY excited about getting a door installed.

Let’s talk about this #@$#@%@$ door.

It’s between the new garage space and the main basement space, and per code, needs to be therefore a 90 minute fire door.

I had no idea how expensive doors could be until this saga. I’ve been dragging my feet on buying it for two years now. They’re anywhere from $350-$500. For a frigging door. Not even a decorative one, either!

Sigh.

A few weeks ago, it finally reached the top of the financial priority list, and I had a free day. After some intensive Googling, I located the door I needed in New Hampshire, for $295. So, a friend and I took my truck to New Hampshire and picked up this door.

On Sunday, there were 5 of this particular door (size, fire-rating, correct inswing) in stock. When we arrived on Monday late morning, there was only one, and it had a handwritten note saying “no hardware.”

Ummmmmmmm. Cue a 45 minute runaround with a very patient salesman during which we printed out the install directions from the internet and combed through them meticulously to figure out what the heck that meant. Eventually, we determined that it meant that it was missing the 2.5″ wood screws that would usually come with it. I politely asked for a discount, and they gave me 10% off AND a free package of the necessary screws, bringing the door down to $260. SWEET.

Then the door came home, and sat in my basement for two weeks, and then my parents came to visit and my amazing father installed it!!!

Now that the furnace is on, this door blocks the last of the drafts from one side of the house to the other, and it’s fantastic. 
Not to mention the entire garage project is tantalizingly close to being finished…!

house post

House Post: Let there be heat!

I hung in there for a long time, you guys. I made a personal vow not to turn the heat on until November 1, and I pretty darn well stuck to it. It got as low as 57 in the house, but overall we had a pretty good fall and it hovered between 60-63 at the coldest.

You may – and probably will – think me crazy, but we keep the house at 60 in the winter, and 57 overnight anyway, so it was pretty on par.

The furnace guy came on Halloween morning, and we added another piece to our heating puzzle for the winter: bringing the gas stove in the game room back online. There’s no heat essentially in the back half of the first floor – kitchen, bathroom, game room, man cave. I think when the previous owners renovated the kitchen, they took out a radiator – based on what I can see of the pipes & the leftover radiators we have.

Until this past summer, the game room & man cave had zero insulation. The gas stove that heated that part of the house would have been pumping heat basically straight outside. The floor was icy cold in the winter.

Then, this summer, we got insulation put in! Huzzah! Then we finished the man cave!

So, this year, when we had the furnace guy out, I had him look over the gas stove – out of operation for close to three years at this point, since the house sat empty for a year before we bought it – and fire it back up.

The animals are pretty sure this is the best present I’ve ever gotten for them.

Oh, and now that it’s November, the furnace is officially on.

house post

House Post: Man Cave, FINISHED

SUPER EXCITING, YOU GUYS.

When last we left it, the weird bonus room was well on its way…and there it sat, for lo, many months.

Last weekend? The in-laws came to visit again (I love them so much) and we finished it!

But before I show you final pictures, I would like to revisit once again our before picture: what this room looked like when we moved in.

Oh, boy.

What does it look like now, you ask?

SO GOOD.

So, this past weekend, we finished the trim and put in the floor. By “we” I mean my husband and his parents; I had to work, and then my “help” consisted of snuggling the dog (who clearly needed it, I mean, look at her) and then working on the dining room some more, which is almost done.

Progress photos, you say? Happy to oblige.

Now I’m pushing hard on the dining room and the garage, with both to be done in 2017, hopefully.

house post

House Post: More Basement Insulation

The project that’s never done took some big steps forward last weekend: I added Roxul insulation to the basement ceiling.

To recap the plan: we had a contractor spray 1″ of closed-cell spray foam on the ceiling to serve as a vapor barrier & air sealant. We built a wall to separate the garage from the main basement.

Last week, I used Roxul insulation to add on top of the spray foam. I had the week off for a staycation to work on the house and try to give my brain a rest. I told myself I had to work an hour a day on the basement; on day 1, that meant about two packages of insulation, or 12 batts total.

This stuff; two of these at a time.
I dressed to the nines: jeans, long sleeved t-shirt, baseball cap, protective goggles, respirator. I did it first thing in the morning, and then took a long shower afterwards. Roxul isn’t quite as bad as the pink fiberglass stuff, but it’s still not great to get on your skin or to breathe in. 
By the end of the week, I had both run out of insulation (and the budget to buy more, sadly) and improved my time quite a bit: two packages on day 5 took me about 30 minutes, or half as long. I am guessing that I need about 4 more packages of insulation, or about $140 worth. I have until mid-November to figure that out, which is when my dad is coming to help put up the drywall.

On the one hand, the actual doing of it wasn’t a ton of fun. It was a lot of lifting and shoving above my head. On the other hand, it was straightforward, simple, and enormously satisfying to see happen. 
house post

House Post: The Crawlspace Project

Definitely a top 5 least favorite project. Ugh.

See, when we first bought the house, the biggest issue that came up (after things we already knew, like old wiring and no insulation) was that there was a foundation crack in the bonus garage.

The bonus garage is part of a 1970s era addition that was not terribly well done. In particular, when they added new foundation, they did not grade well at all. They left the dirt uneven with huge holes around the edges of the foundation, both inside and outside. Our property is all on a hill. Over the years, this has meant water coming down the hill, getting inside the foundation, collecting in the holes, and in the winter, freezing. That means foundation cracks.

The addition is the furthest right part in this picture.

The ultimate solution is multi-part: first, we needed to address the problems inside the crawlspace, and second we needed to address the grading around the exterior of the foundation by re-grading and then adding a french drain.

Part 1 is now officially done!

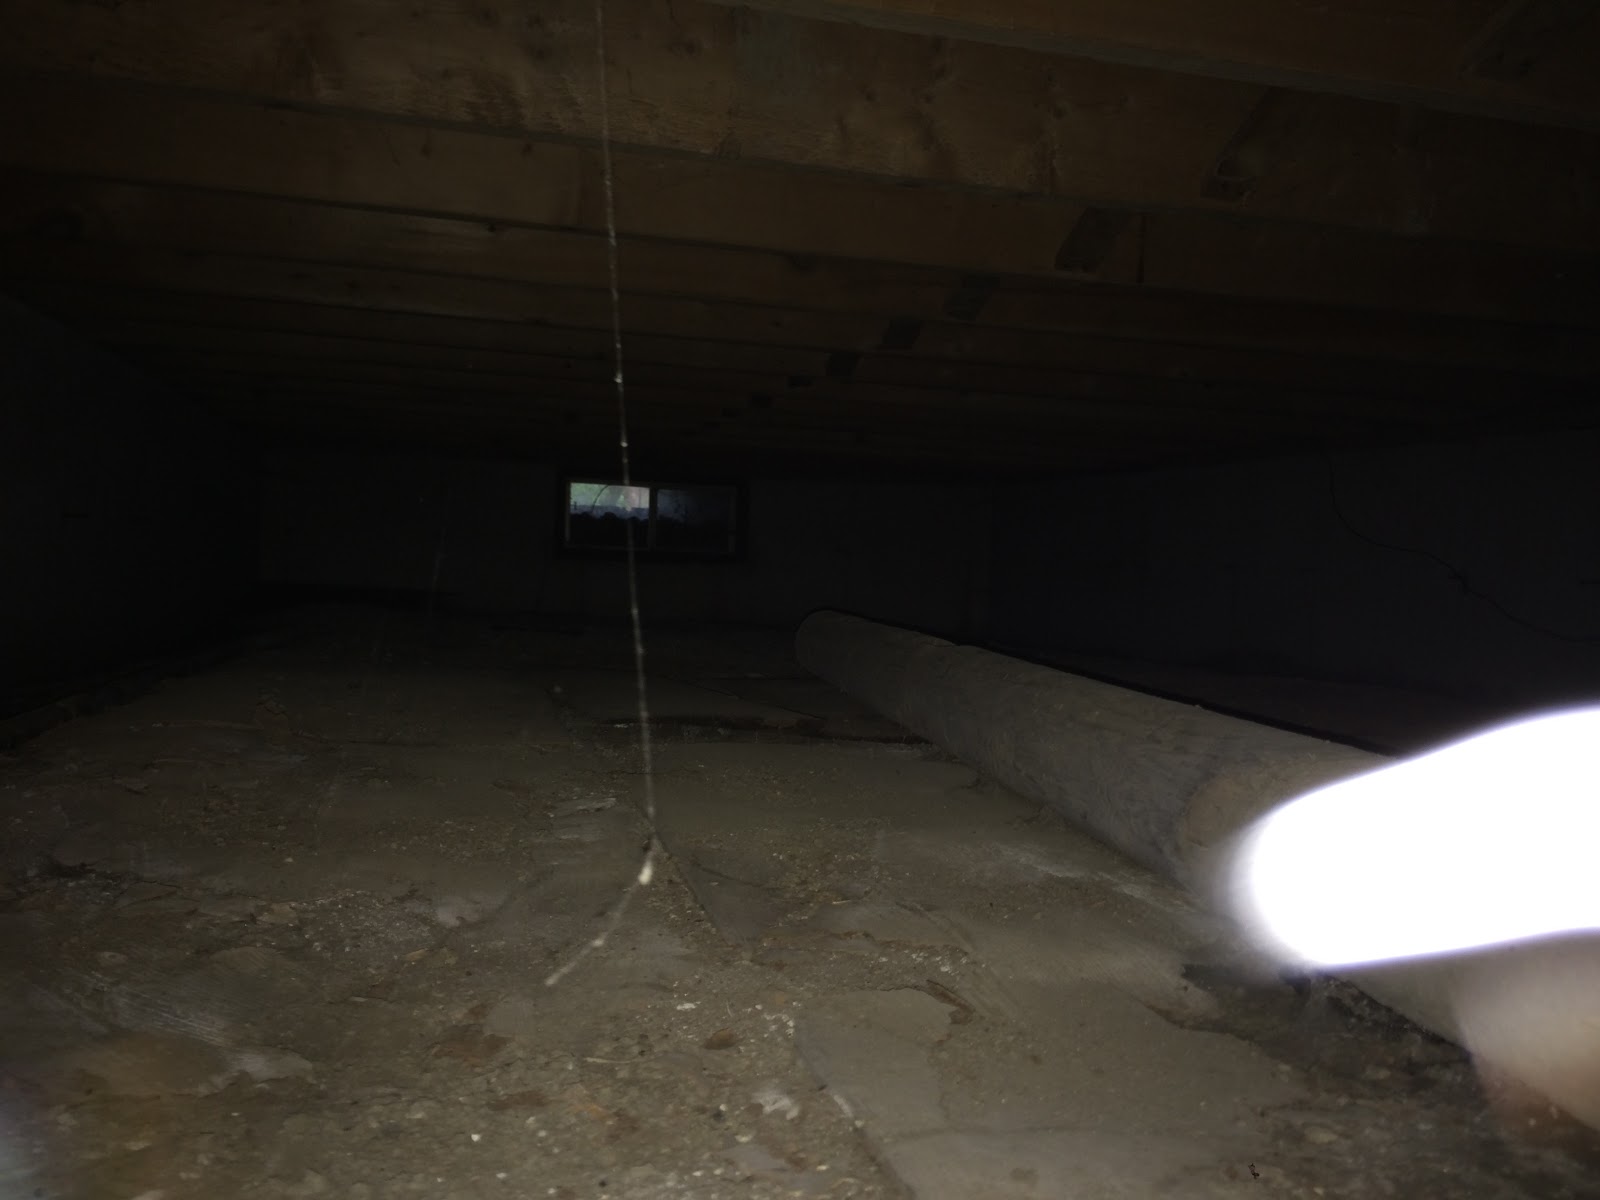
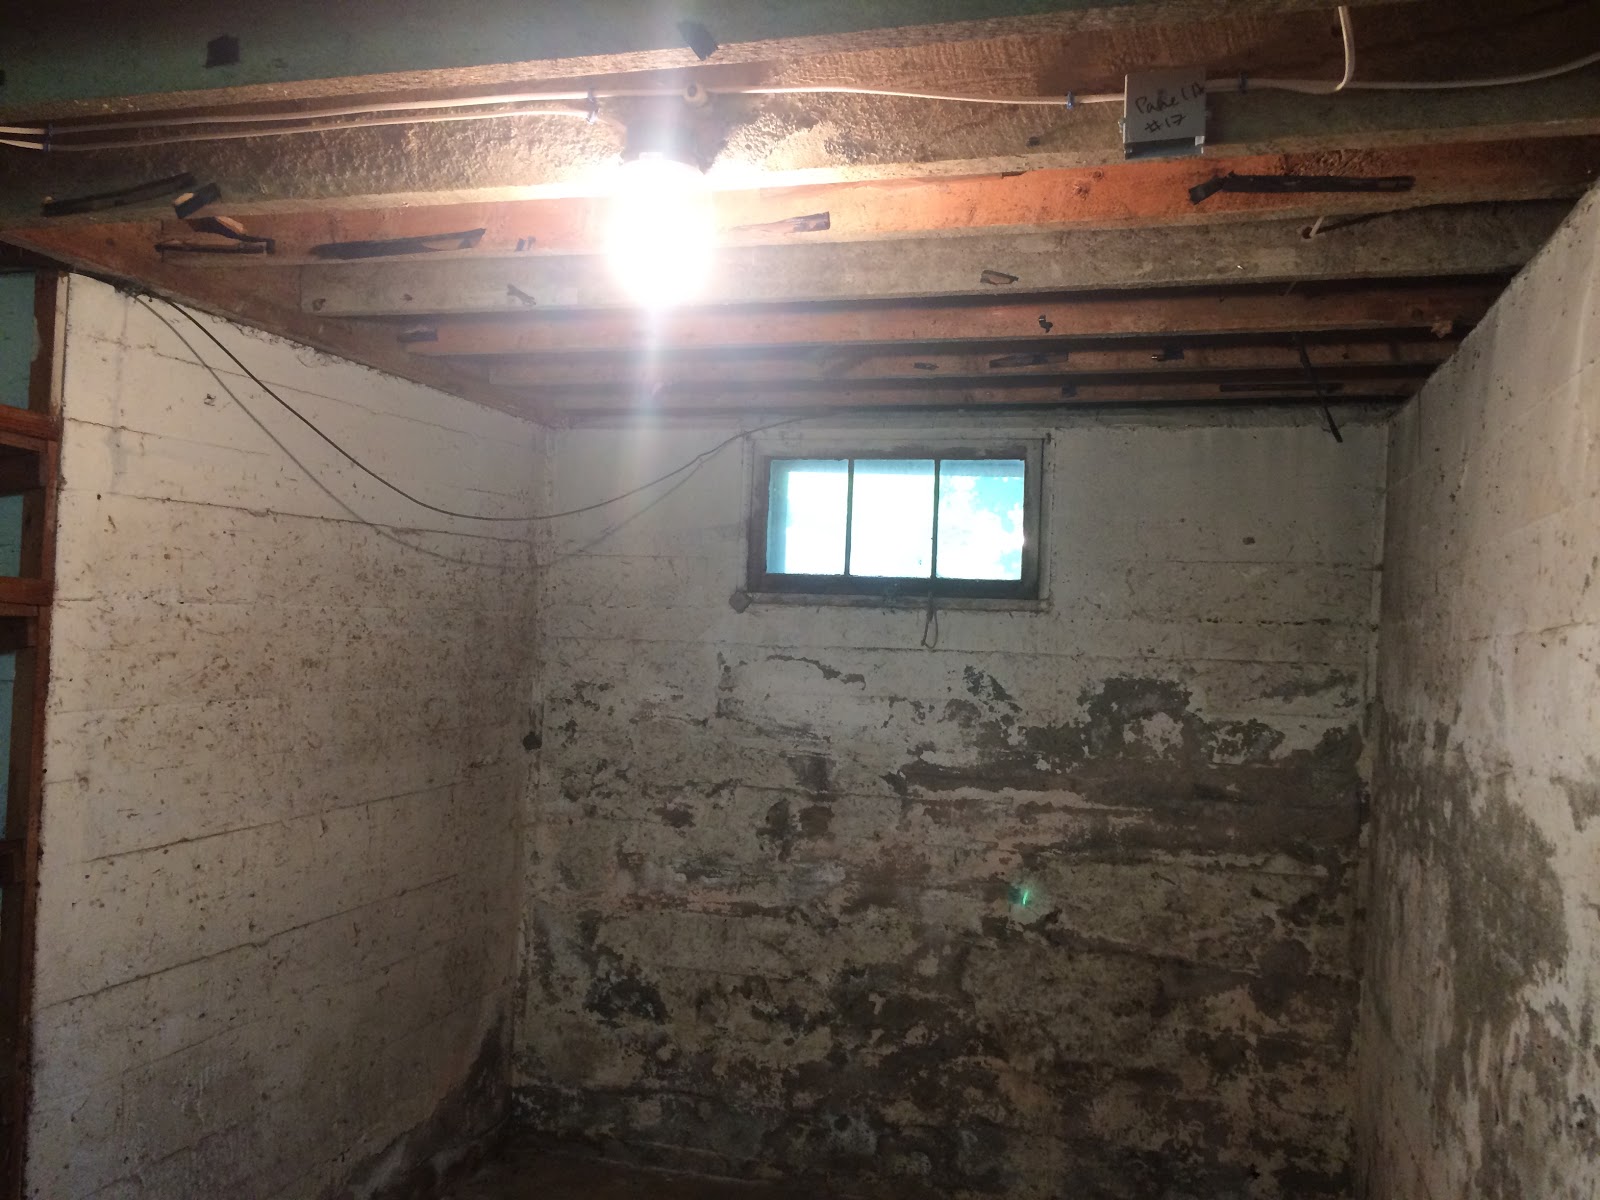
First, we had to add topsoil to the crawlspace to level out the holes. The only access to the crawlspace is through a basement window sized hole, and it is a true crawlspace. That meant I crawled up through the window and my husband lifted up bags of topsoil in through the space. Then I dragged them to where they needed to go, cut them open, and shoved the dirt where it needed to go, either with my hands or with a spade.

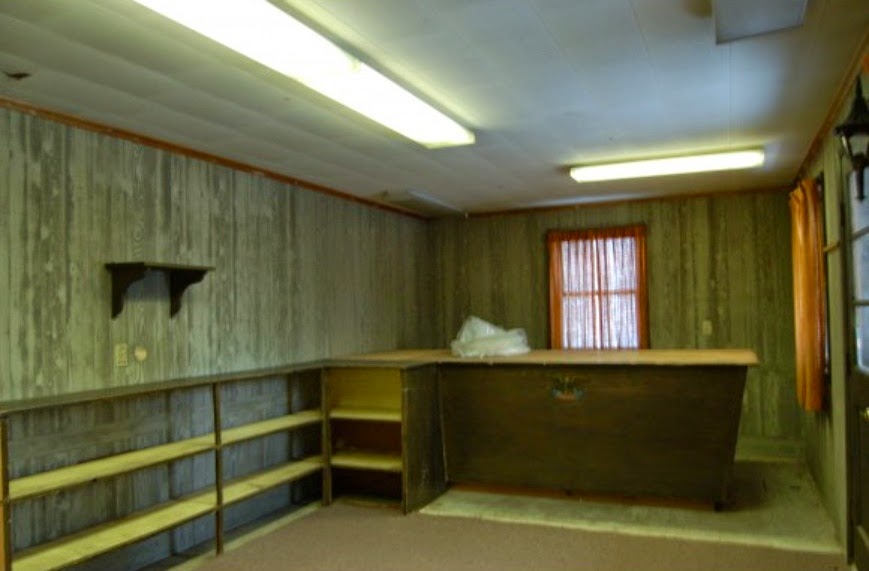
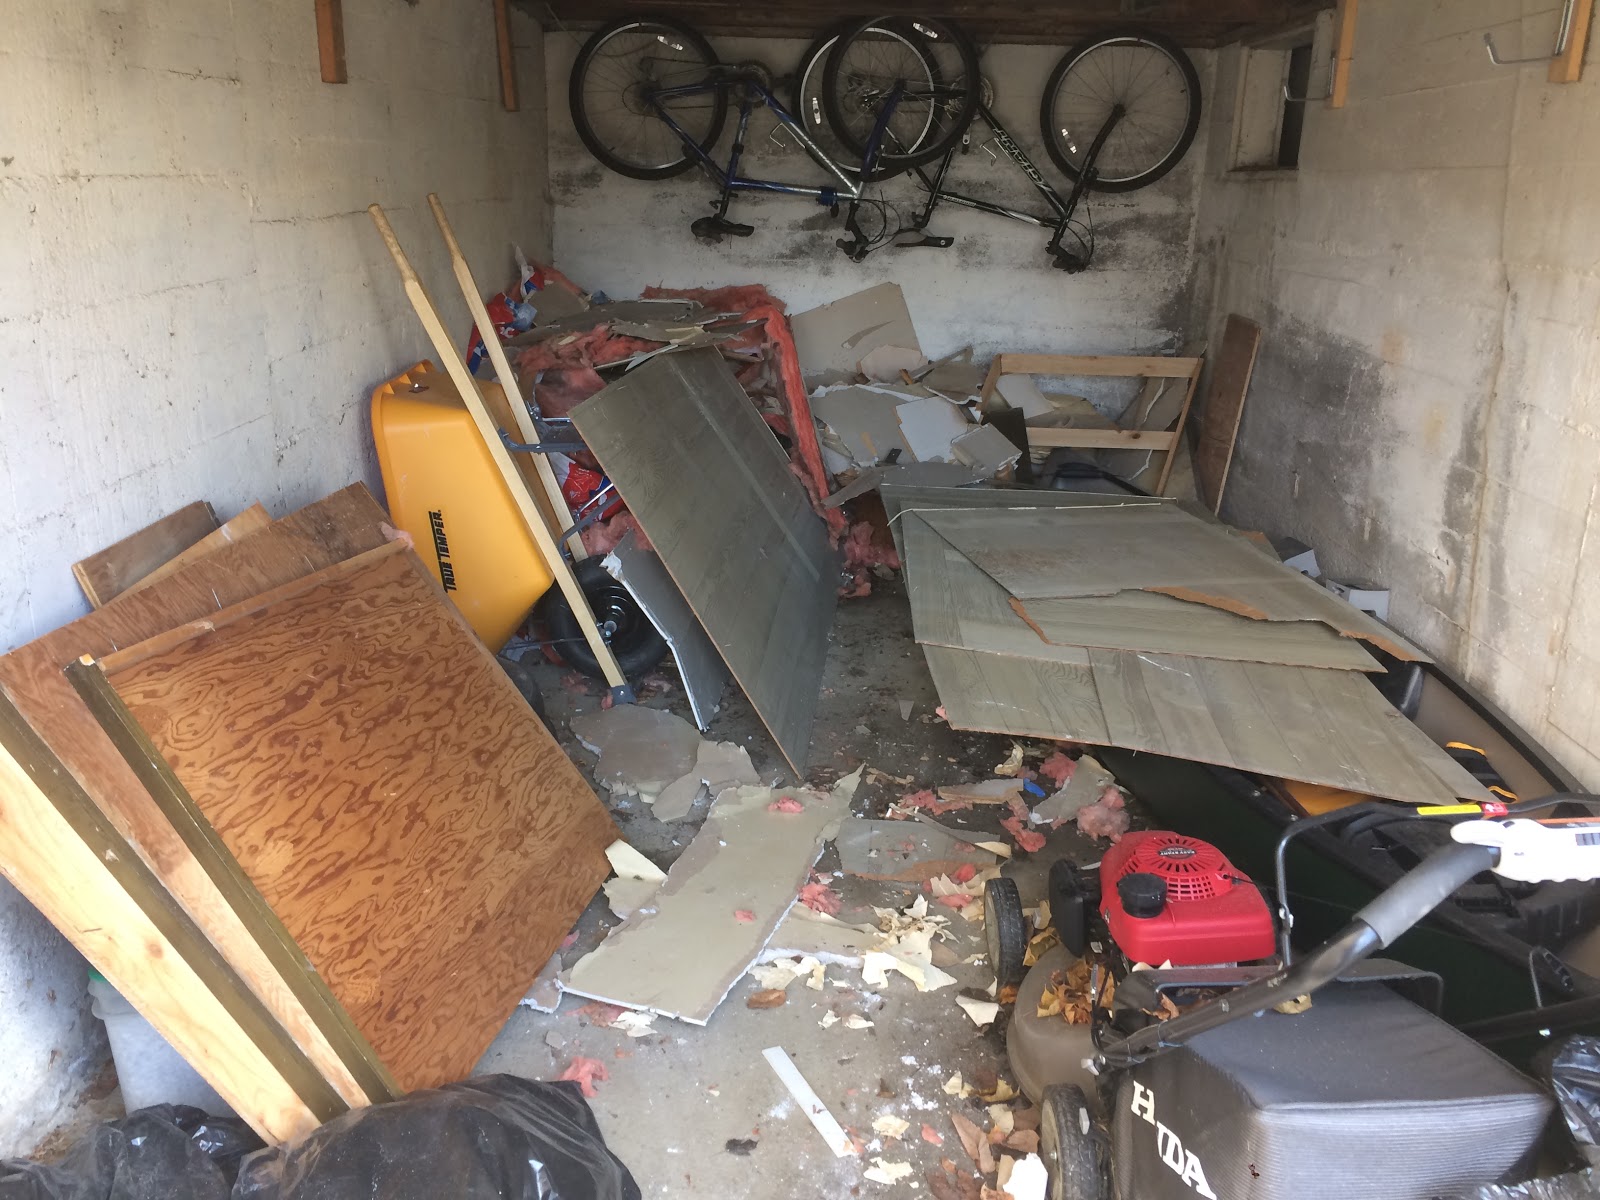
Top right is the only access to the crawlspace.

I don’t think I need to elaborate on how much this sucked, but rest assured: it sucked. We ended up putting 40 bags of topsoil into the crawlspace, or 30 cubic feet of dirt. When I finished, it wasn’t perfect, but the holes were filled in and it was dramatically more level than it had been. There is no longer an 8″ deep ditch around the inside of the foundation, hooray!

It’s hard to see but you can get a sense of the ditch on the left hand side of this photo. Also the grossness.

I was sore for days – hauling heavy bags of dirt on your hands and knees will do that to you – and thankfully I have many pairs of project jeans because I was head to toe filthy.

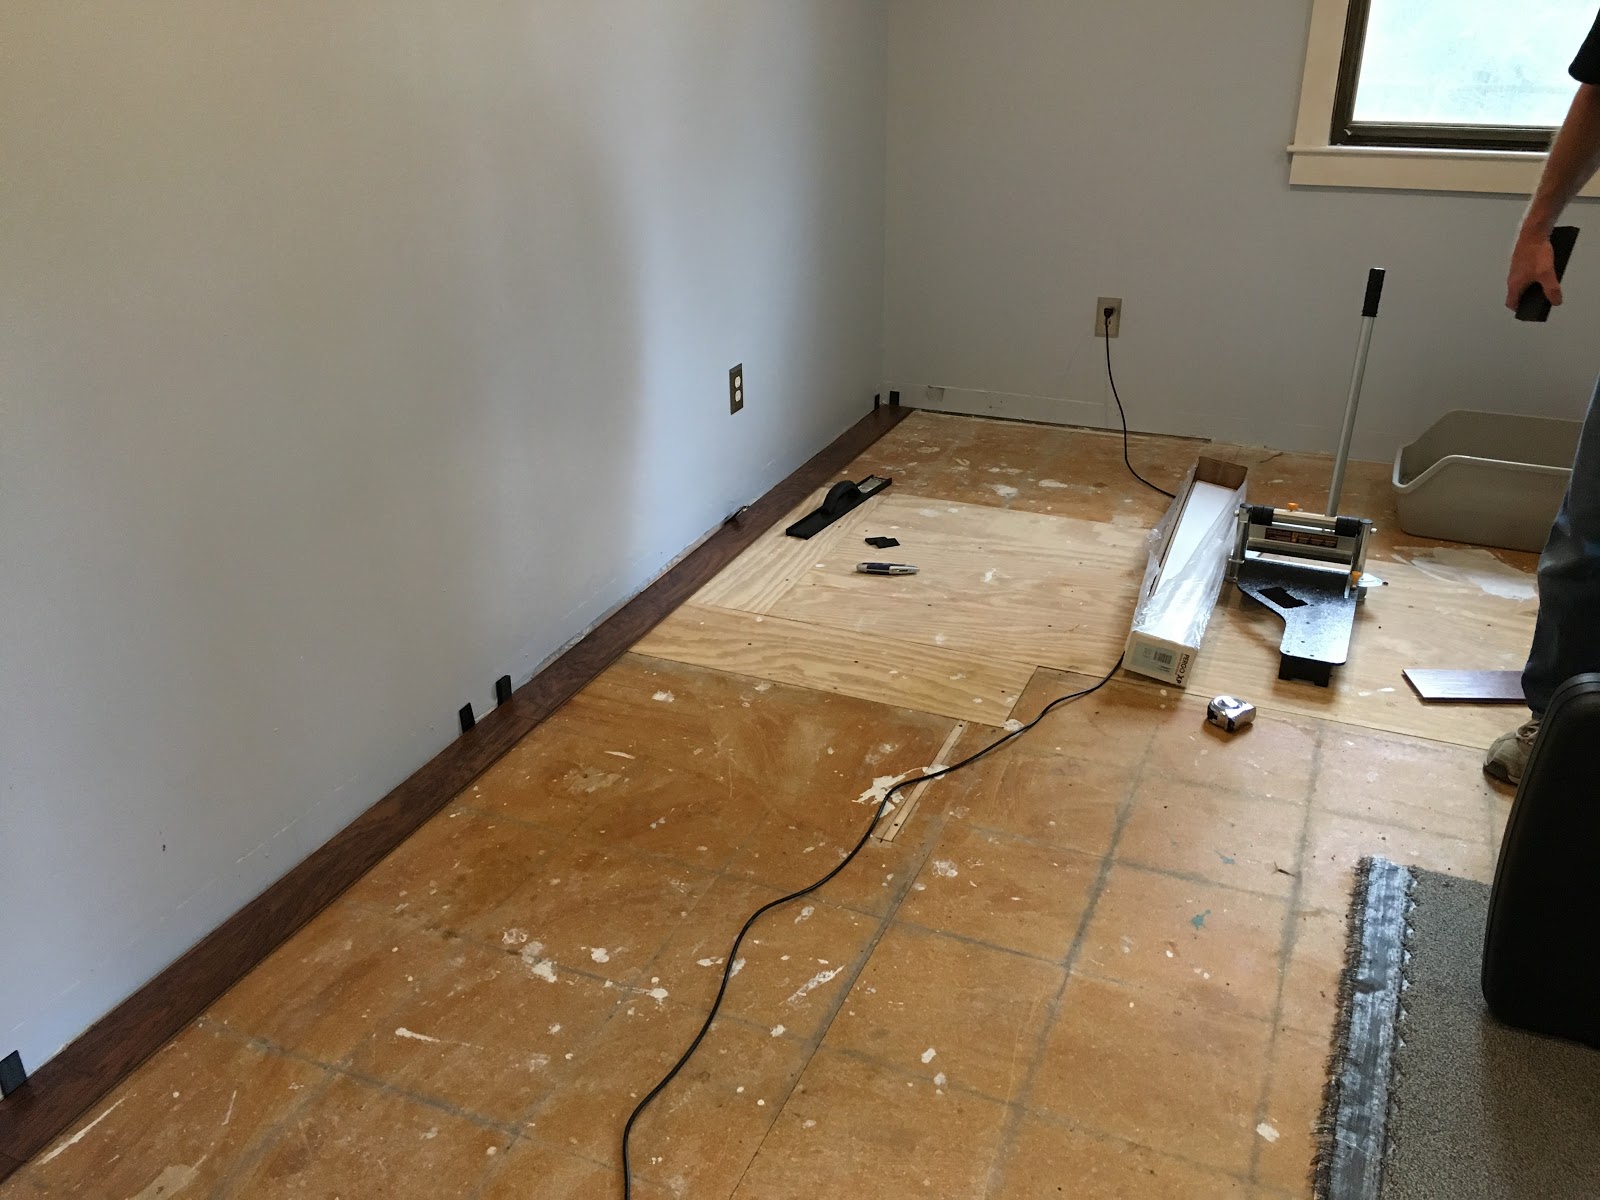
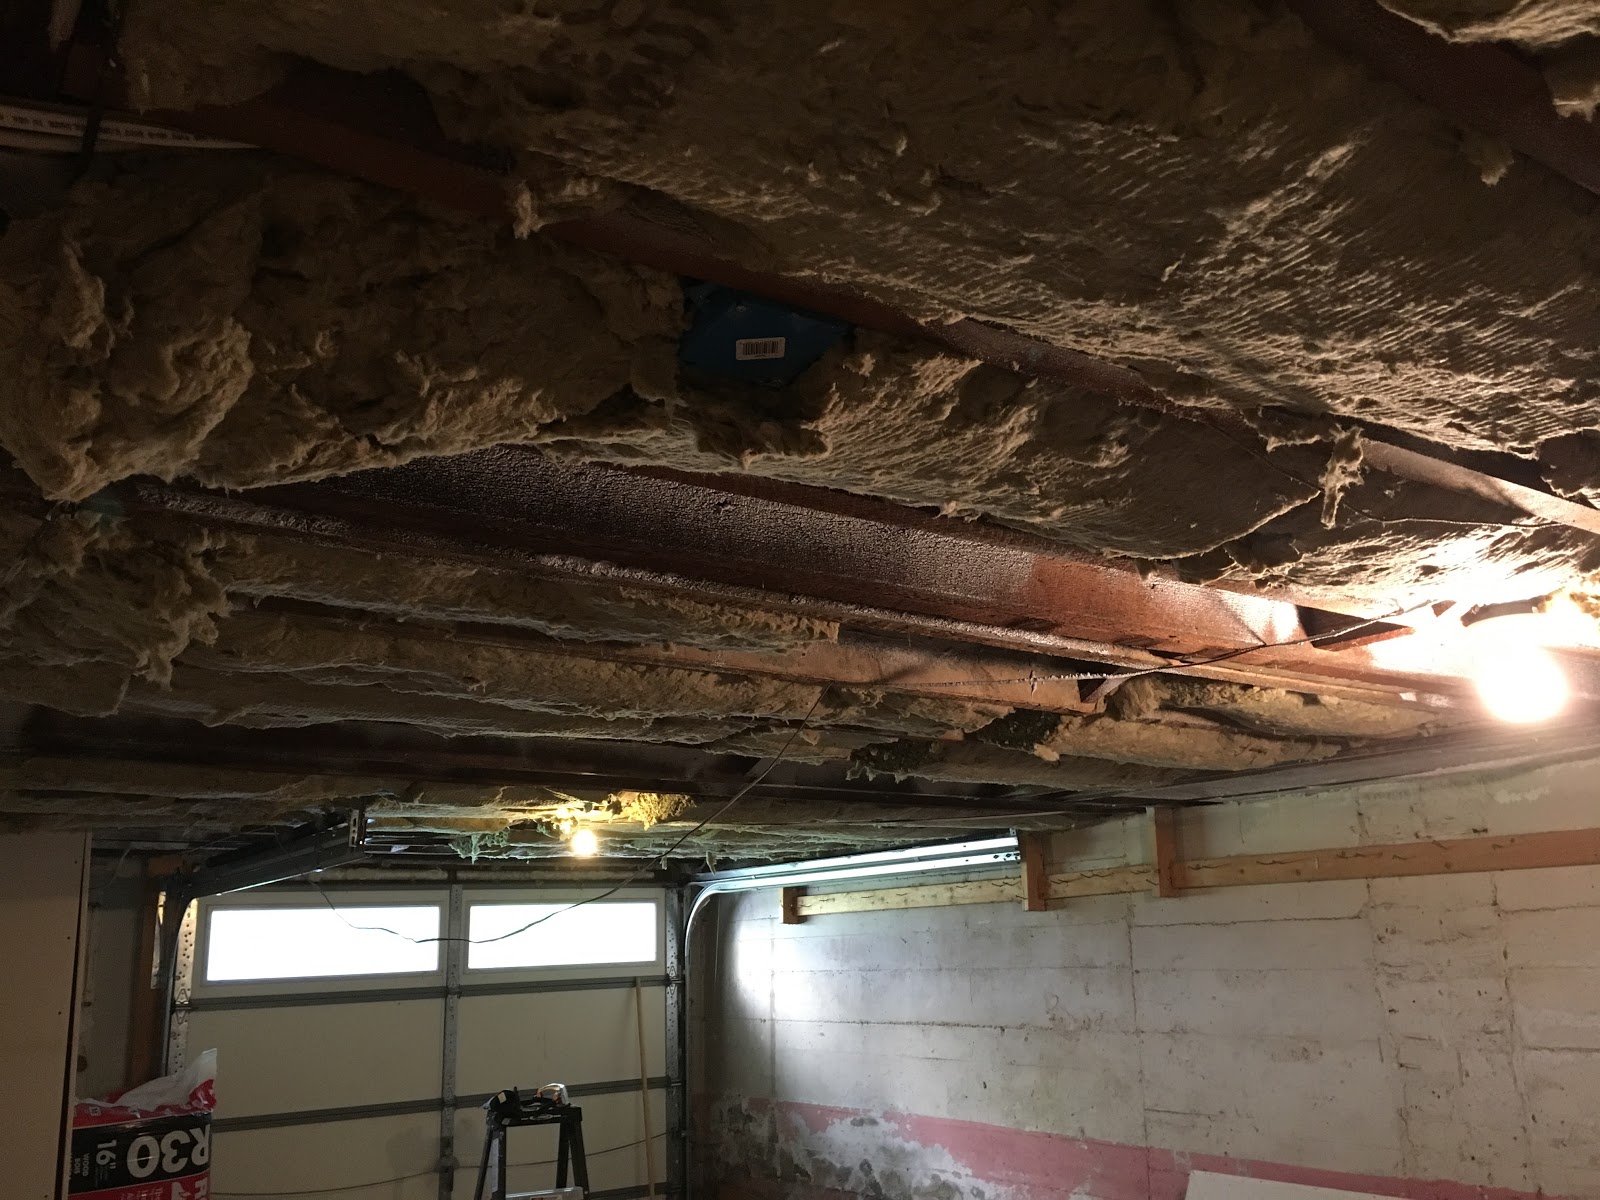
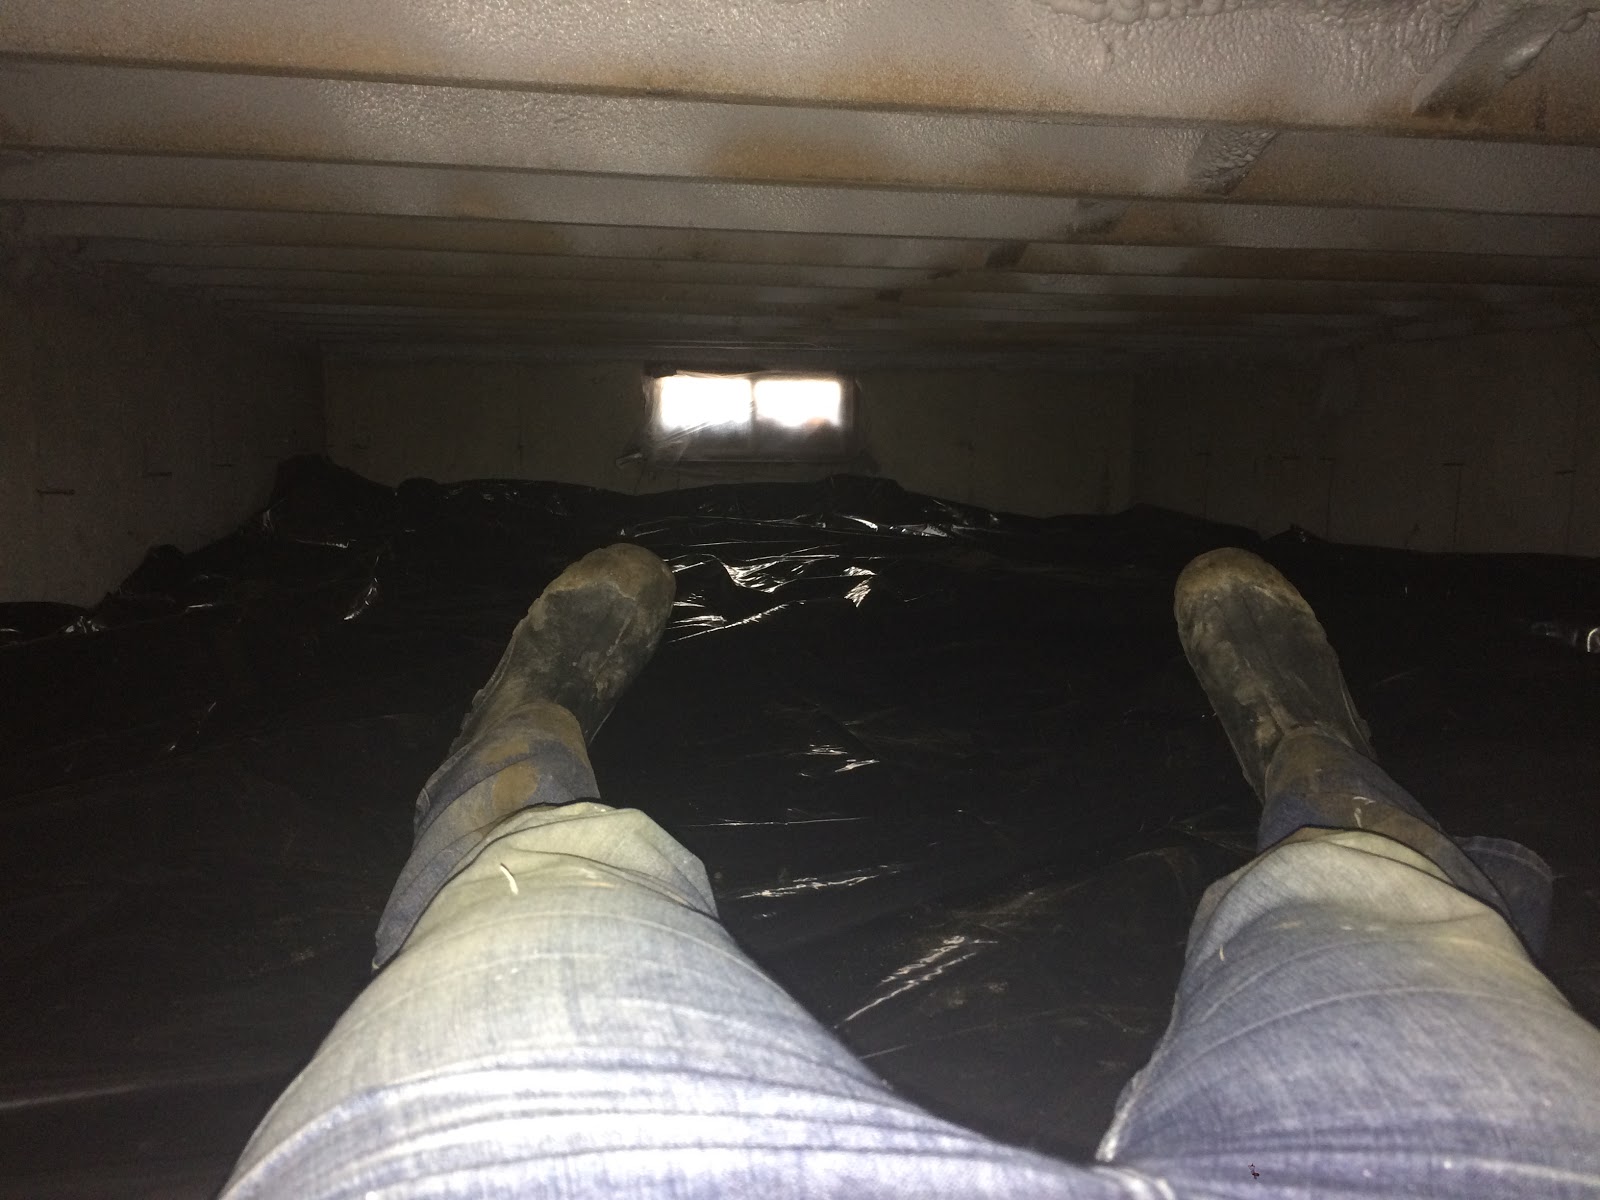
The next step was spreading a 6mil barrier over the dirt: this would keep any moisture from coming up and into the man cave above. We know this had happened quite a lot in years past because when we took out the tile that had been on the floor, there was no glue left holding it down. Moisture had come up from the ground, through the beams, and dissolved the glue.

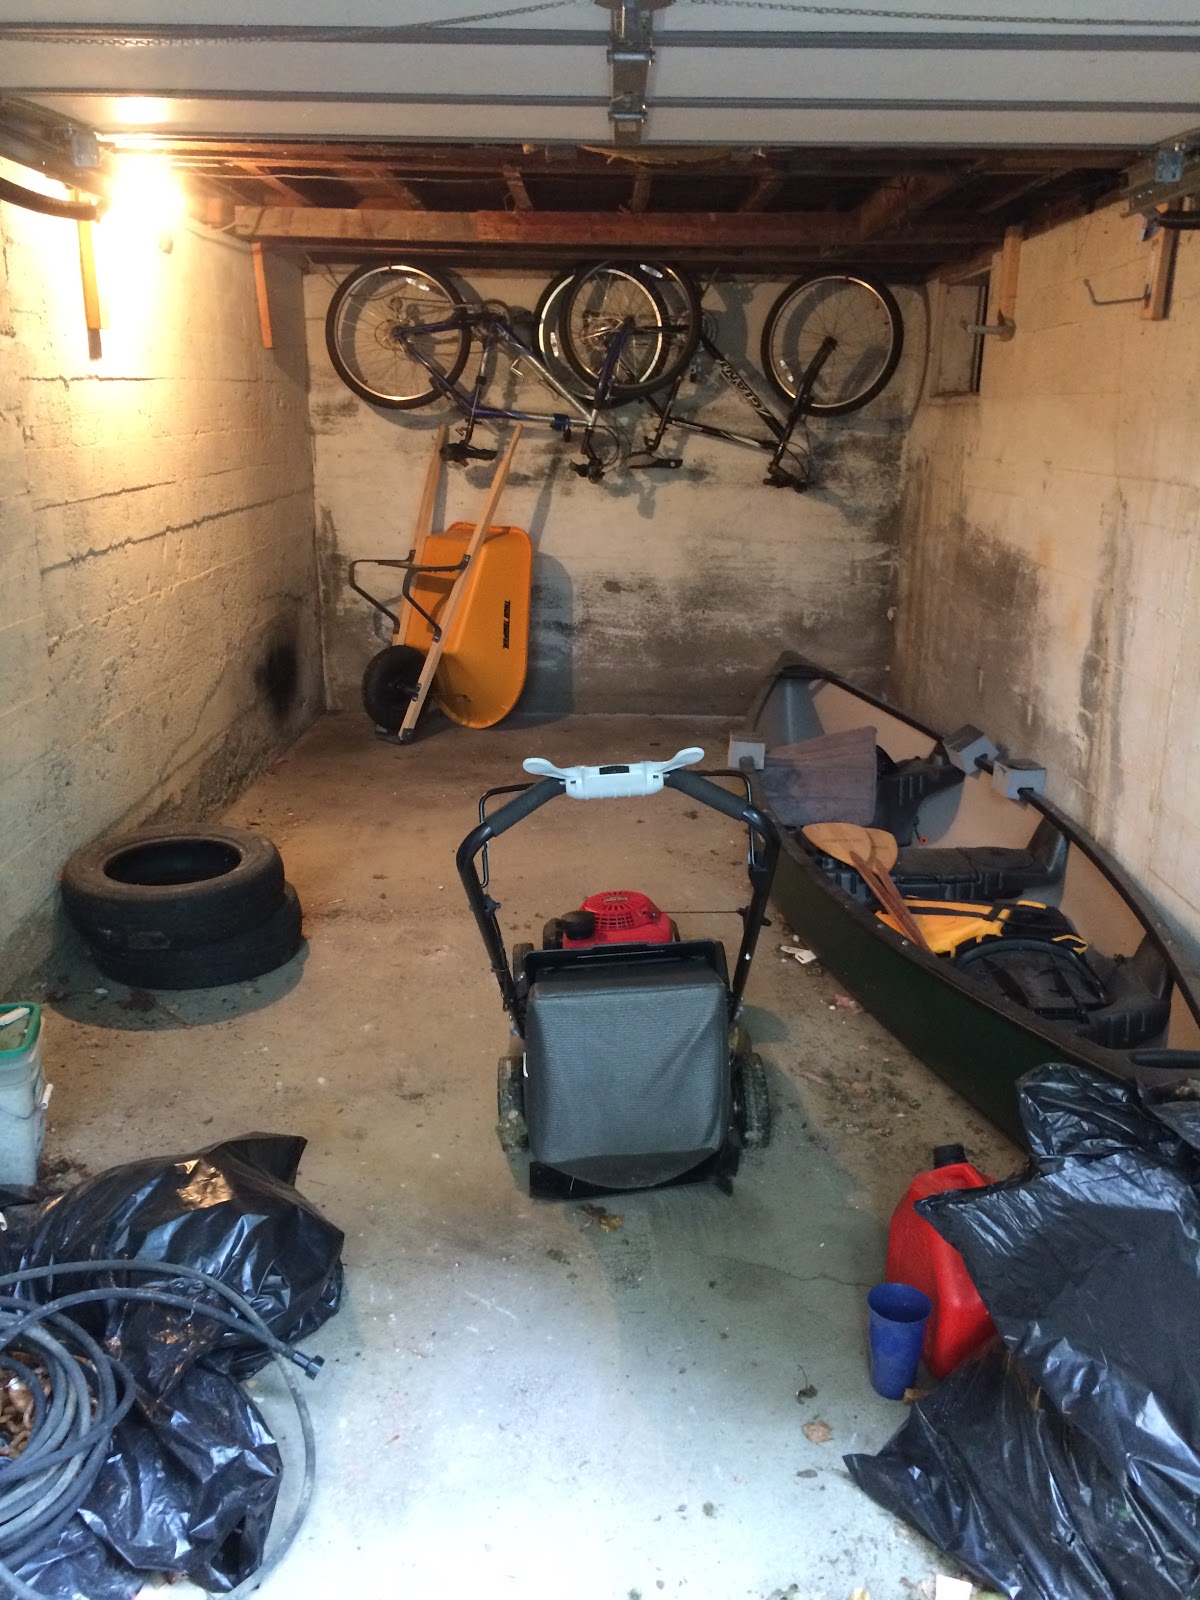
A sense of the size of the space, and the plastic. It goes up a few inches on the edges.

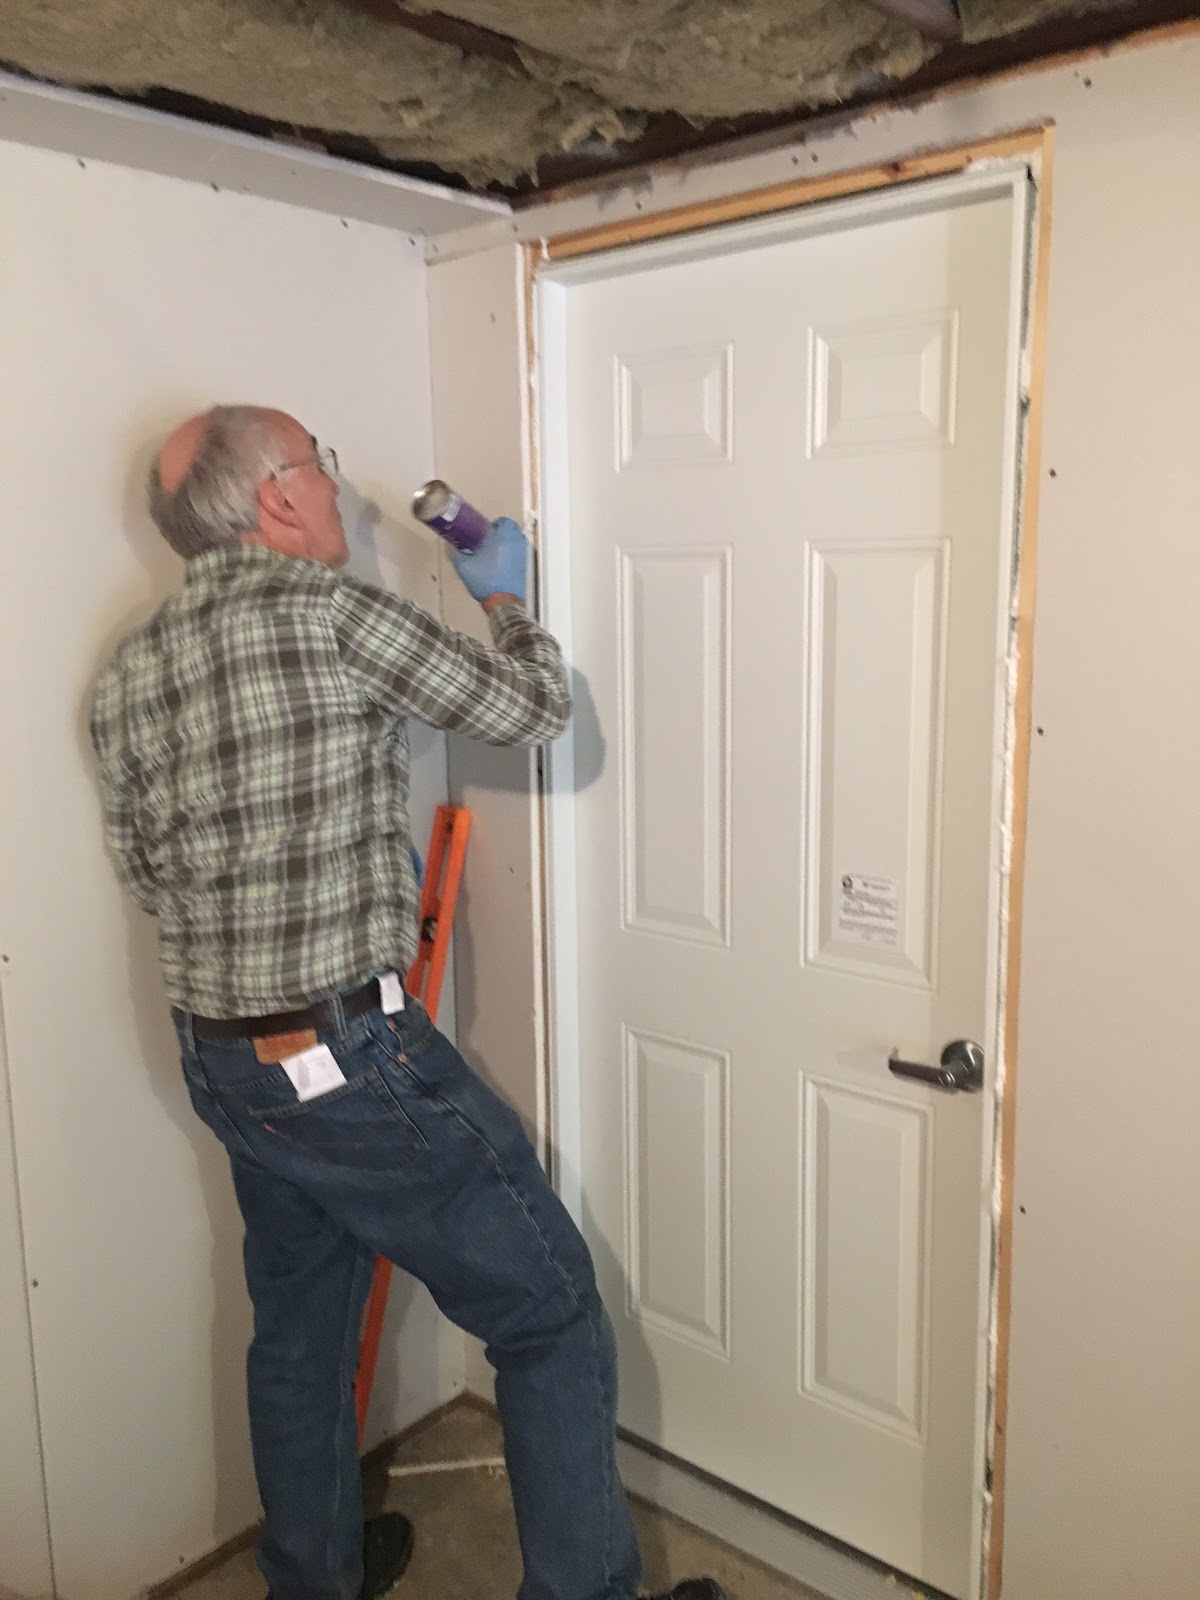
The next step was to add some hydraulic cement to the more egregious cracks, especially those on the hill side so no water could come in that way. I don’t have pictures of that, sorry, I can’t multitask that well.

The last step was to add 15 bags of landscaping stone on top of the plastic to hold it down.

As much as this project sucked, I feel really good about it. When we bought the house, someone told me that the things that kill houses are moisture and movement. We’ve made a huge step toward stopping both of those things in this space, and also I never have to go into that crawlspace again, glory hallelujah.

house post

House Post: Garden Update

Last year, I built a raised bed for the side of the house.

This year, I started seedlings inside. Then they all died. *sad trombone*

So, I bought seedlings and while I was there I also bought this black plastic ground cover that promised me I would not have to weed. It was like $5 so I figured that was worth the experiment.

So far so good!

I may be fostering a Lord of the Flies situation among my tomatoes, though.

Coda to this story: all my seedlings have come back to life after some pretty severe benign neglect. Somehow I have to figure out what to do with 20 tomato plants and 6 pepper plants.

house post

House Post: Spring Cleaning

Now that it’s officially summer, I thought I’d review my spring cleaning list. I still have some items to clear up, but I’ve done pretty well so far.

– empty garage of all trash
– cut up shelving unit
– get garden bed ready for planting
– clean gutters
– organize linen closet
– clean dryer vent
– wash all window sills
– put together 1 bag of cloths to donate
– swap out winter clothes for spring/summer clothes
– polish bedroom floor
– clean out pantry
– tidy laundry area
– clean all ceiling fans
– switch over ceiling fan directions
– clean kitchen cabinets
– wash & pack away winter coats
– wash & iron all curtains

house post

House Post: Basement Insulation!

This is a project that has been looming pretty much since the day we bought the house. It’s also a HUGE step forward in building out our garage. I’m super excited it finally is done, though it is far from the sexiest or most exciting project we’ve done.

Essentially, we got 6″ of spray foam insulation in one garage & underneath the future man cave, and 1″ of air-sealing insulation in one garage & the root cellar.

The 6″ of insulation will serve as both an air barrier and as proper insulation. The 1″ will be our vapor & air barrier to prevent moisture from migrating up to the sealed off house above as well as providing an extra level of air sealing to keep nasty things like carbon monoxide from the cars from getting into our living room.

I’ve agonized for months, maybe even years, over just how to structure this so that it meets our needs, gets us the best results for keeping the house warm in the winter, and doesn’t bankrupt us. The original attic insulation project was $12,000, done with money leftover from the purchase. For this project, we got an extremely low-interest loan designed specifically for energy efficiency projects and our projected cost is $4,000.

I’m thrilled so far. We’re one huge step closer to completing the garage, and we’ve made a huge dent in the overall comfort level of the house in winter.

Before…

After!

The downside: remember all that basement organization I was so proud of? Well…we had to move everything out of the other rooms so they didn’t get foam dripped on them, and…

sigh.

I’m not too upset: a big part of the reorganization was making sure everything had its right place, and now the work will just be in putting things back. Time-consuming, but not nearly as onerous as organizing in the first place.

house post

House Post: Garage Cleanout

This is not going to seem nearly as exciting via blog post as it actually is in person.

When we gutted the man cave room, it created a LOT of trash. On top of other trash that had accumulated from various projects around the house, and we hadn’t exactly kept on top of major dump runs.
Through the winter (while the truck is parked, because it’s 2WD), we stashed it in the extra garage.
It took four truckloads to finally get it all to the dump; keep in mind, my truck is a 3/4 ton with an 8′ bed. There was A LOT of trash.

This photo was taken halfway through: so two loads down, two to go.

And here it is, finished. The trash bags in the front contain asbestos tiles that we pulled out of another part of the house and carefully bagged up. They’ll go to hazardous waste disposal ASAP. In the meantime, they are double-bagged and sealed and we do not touch them.

Tomorrow, we have a contractor coming to start what is probably the biggest of our summer projects: insulating & finishing off the basement.

house post

House Post: Library Organizing & Rug

The library has been in fine shape for some time now; once we did the initial renovation, it’s functioned nicely as a library/craft room/exercise room. I spend a lot of quality time in there reading and sewing, and a lot of miserable time on the treadmill.

However, an upgrade for the space has been on the back of my mind for some time now, and last weekend that finally happened.

Here’s the before; pardon the mess, but it all shifts around on a regular basis as I better organize the books and cut and sew fabric.

We took all the furniture out of the room except the bookshelves, and rolled up the old rug, which led to the sad discovery that in the year or so since we originally pulled up the old rug, there was some bad sun fading to the beautiful hardwood floors.

This room got more direct sunlight than almost any other in the house – definitely more than any other room that has the exposed hardwood. So that’s a lesson learned for me, I guess. It’s not a problem going forward, though, because after vacuuming and cleaning up a bit, we unrolled a new rug in the space.

It’s actually quite an old rug, belonging to my great-great-uncle many years ago and having made its way to me through a chain of family members. The label on the back indicates it actually came from Iran – probably at least 75 years ago. It’s still in extraordinary shape and fits the room perfectly. I love it.

With the unrolling of the rug, the treadmill went elsewhere, and I am working hard to organize the books still further. I’m even – gulp – setting aside boxes to donate and/or sell to our local used bookstore.

This room isn’t 100% done yet; my longterm goal for this room is to do built-in shelving all the way around. That’s a few years off, though. So this is how it will live in the near term!