
When last we left the dining room, I had removed the wallpaper and skimcoated the awful lower half texture. I’d also done the prime coat.
First things first: the new paint!
On the top is Sherwin Williams “Fine Wine” and on the bottom is SW “Fresh Linen.”


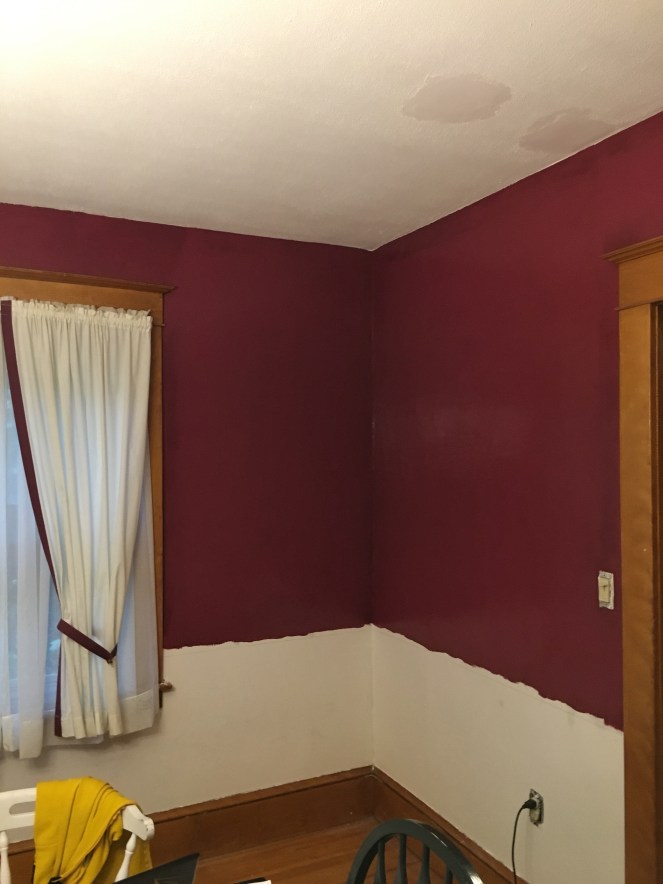

You can tell from some of those in-progress photos that it absolutely needed three coats of paint on the top. Red is hard.
I had originally hoped to paint a color called “Red Bay” for obvious reasons but when I put it on the wall it looked like tomato soup.

Then, new chair rail. I spent a long time choosing new chair rail; I brought three different samples home from the lumber yard after dithering for weeks. They already know me pretty well – like they don’t even ask my name to look up my account anymore, sigh – but they got to know me extra- well because once or twice a week I’d go in and stare at the trim samples for 20 minutes and sigh heavily. It just felt like a huge decision.
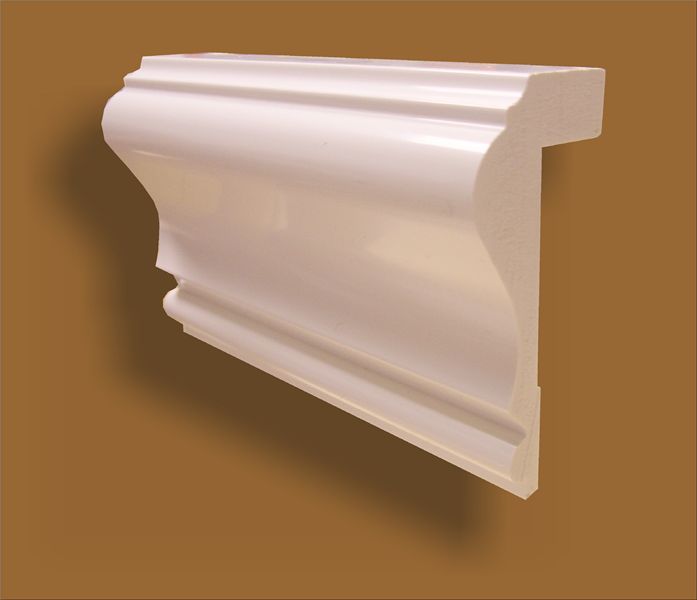
I knew right off the bat that “traditional” chair rail was not for me; it was too large, too fussy, and just not right for the overall style of our house. So I was looking at things labeled for baseboards, ceilings, etc. One of my options was technically outdoor window trim.
I ended up with something that’s supposed to be for baseboards – and flipped it upside down. It echoed the lintels over my doors and windows well, was the right size/depth, and I just liked the look of it.
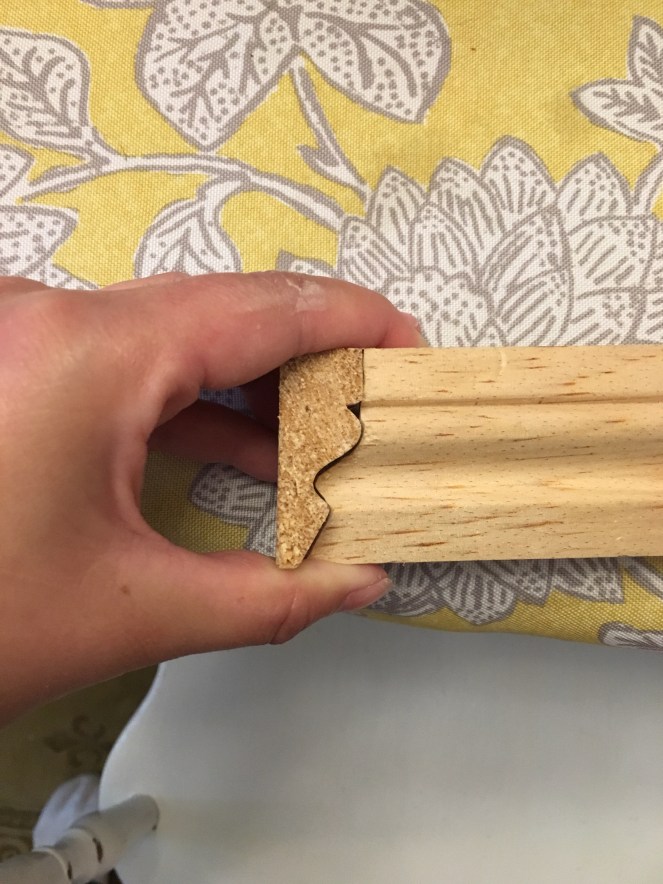
Then I had to learn how to “cope” the corner joints, which took a fair bit of practice. The picture above is my fifth try and my best one on the practice piece. You can learn more about coping here, but it’s basically doing a custom cut so the trim fits together. It’s the best option for old houses without square corners whose walls are likely to keep shifting.
So, then I cut all the chair rail (eight pieces total, and each one was a different length), and put it all up using a combination of measurement, a level, and my gut instinct. My floors slope so much that even though they are level according to gravity and the broader universe, the top of the chair rail on one end could measure as much as 1.5″ higher than the other.


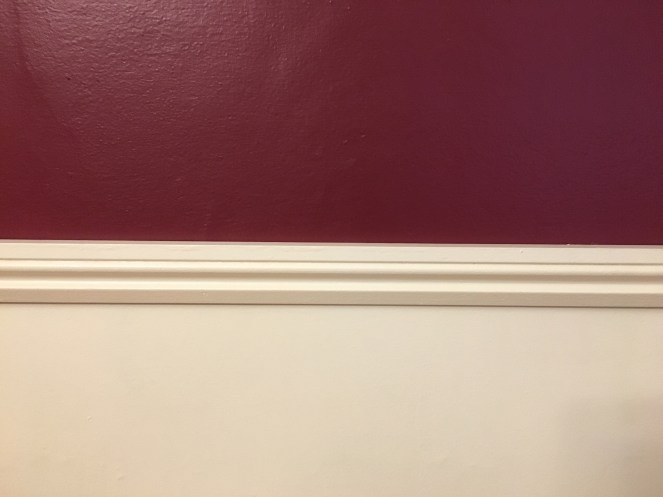
AND LO IT LOOKS AWESOME.
I am so ridiculously pleased with the way it’s turned out.
At this point, I have a little more work to do: scrubbing the floors and baseboards to get rid of construction dust, patching the nail holes in the chair rail, and washing and ironing all the curtains. Then I have to put the new outlet covers on, and put the room back together. Finally, I have to paint the radiator and put that back in place. That was supposed to be done two weeks ago, but Tristan had other plans, so it’s getting done this week instead.
Next up: three more radiators got sandblasted and repainted, and then we’ll tackle the living room as probably our last project of 2018.

Wow! I absolutely love the finished look!
LikeLike
I love the red. And the chair rail is lovely.
LikeLike
That looks so good!! Nice choices!
LikeLike
I can’t even chose toothpaste so I am pretty sure I would need to put my husband in charge of chasing a chair rail. It’s looking good though.
LikeLike