house post

House Post: Energy Efficient Sink Faucet Aerators

This is not the sexiest or most glamorous or most exciting home improvement project, but it was lightning quick, really easy, and should make a nice difference in our utility use.

The basic gist is this: the average showerhead and sink aerator is set to a fairly high gallons-per-minute, or GPM, rate because energy used to be cheap and the ideal was to cover yourself (and/or your dishes) in as much hot water as possible while cleaning. Think those rain shower things. Which is all well and good if you don’t care about the cost of the water and the cost to heat that water, and then overall world conservation problems regarding water and energy resources.

But I care, because I hate paying more for bills than I have to, and I live in Vermont, and climate change and world resources and all that stuff is a Big Deal here. I mean, we’re going to mandatory composting of household food waste in 2016, so.

Previously, I had already done our showerheads, which was an easy thing to do. Last weekend, I tackled the three sinks in the house: kitchen and two bathrooms. Some of the aerators didn’t have info on them but the one I removed from the upstairs bathroom was marked as 2GPM. I replaced it with a 0.5GPM aerator, so I cut both water use and energy use in 1/4 by replacing it!

Here’s the step by step of the process. I used these aerators from Niagara; they cost about $1 apiece, which seems insanely inexpensive to me! They should pay themselves off very quickly.

Step 1: the old faucet in our upstairs bathroom sink
Step 2: here’s what 2GPM looks like
Step 3: wrap the old aerator in an elastic. this will provide better purchase for the wrench and make sure it doesn’t scratch the metal

Step 4: remove the old aerator simply by turning left with a wrench or pliers

Step 5: here’s what an aerator-less faucet looks like. clean out the faucet a bit, there’s probably mineral buildup in there. you can soak it with vinegar if your faucet is shaped correctly, or just take a small brush up in there, or just loosen it with your fingers
Step 6: here’s why aerators are a thing! water goes everywhere without one
Step 7: place the new aerator in and get it threaded on. my least favorite part; for some reason I’ve been having horrible trouble threading things lately

Step 8: elastic again!
Step 9: tighten as much as you can. don’t half-ass this, or water will go everywhere
Step 10: here’s what 0.5GPM looks like!
Step 11: voila! a bit deeper than the old one, but by maybe only 1/4″

The whole process took 10 minutes start to finish, and that’s partly because I was photographing. So let’s say for 7:30 minutes and $1, you can cut your energy use in one faucet by up to 75%.

house post

House Post: Library

On a more cheerful note than our insulation nightmare: the transformation of one of our back bedrooms into a library!

We have four bedrooms. We do not need four bedrooms, nor will we ever, probably. (8 weeks of marriage and the “so, when are the kids coming?” jokes started at the reception, to which my standard answer has been “ALL THE DOGS!”) We do plan to have large gatherings of friends for hiking and ski weekends, so we were not wild about completely losing that fourth bedroom (by, say, turning it into a master bathroom).

So! Library it is, which will leave the floor open for an air mattress, and we got one of those uber-expensive super-fancy ones for the wedding, like you are practically on a real mattress and it keeps itself inflated. Which should be just fine on occasions when we are truly full to the gills.

Previously, it was what we called the Lighthouse Room, for, well, obvious reasons.

So, Step 1: remove wallpaper. This went REALLY EASILY. After all the awfulness of the master bedroom, this was a joy to do. Then I scrubbed the walls and the whole “use the appropriate wallpaper paste wash” actually worked, which tells you just how bad that master bedroom was.

Step 2: holy mackerel was there a lot of patching in this room, and I even found spots I missed after I painted and they are just going to have to stay there, good grief.

Step 3: priming with Kilz oil-based primer just in case we missed any wallpaper paste.

Step 4: paint! We went with Sherwin Williams “Worldly Gray” which does not photograph terribly well but is a nice soothing and neutral sort of sandy gray. I wish maybe it had been a little more blue, but I am by no means unhappy with the color.

Step 5: goodbye rug! *happy sigh* Then a long vacuum, followed by a thorough mopping with Old English oil

Step 6: bookshelves! These are IKEA’s Ivar shelving system with a light white stain applied to plain pine. They were fine in previous apartments but now that they are in this much nicer room, they are sorely lacking. So they will be upgraded eventually. For now, they are serving their purpose.

Step 7, still in process: unpacking the books, whew.

Still needed: new curtains, new rug, and getting the radiator sandblasted and repainted. None of those things are a crisis, though. For now, I’m really, really excited to get all my books unpacked, put the old curtains back up & one of our extra rugs on the floor and have a proper room. I think I will also move my sewing table + sewing machine in, and strongly consider storing my extra yarn in that closet, along with my file cabinets to free up space in my office.

house post

House Post: Epic Attic Insulation Project

Really, this story should start with the energy audit. Vermont is Very Serious about energy efficiency, green building, etc., and there is a statewide agency called Efficiency Vermont that sponsors rebates, tax breaks, and all sorts of programs to promote energy savings.

So, soon after we bought our house, in May, we scheduled an energy audit. Which was…by turns interesting and depressing. We learned that our house leaks air like a sieve and has no insulation. None. ZERO. When they did thermal readings of our walls, the studs showed up as “insulating.” We had a hunch that was the case but did not know for sure.

The company we worked with to do the energy audit had a series of proposals to address all of the energy concerns which totaled $35,000 in costs. Yep. They also recommended basically rendering our walk-up attic unusable by blowing in cellulose to a remarkable depth in order to insulate it. We were very firmly against that, and back and forth and back and forth to get a workable plan finally landed us with the outline of tearing up the attic floor, then spray foaming, then adding 2″ of rigid foam above that, then putting down a new attic floor. Which would be a PITA, but would satisfy state requirements for energy renovations (which require fire safety + certain R-values depending on where the project is in the house).

Then when we did the electrical we discovered how unbelievably difficult the attic floor is to pull up, and we started thinking that if we insulated at the floor, we would basically discount the idea of ever finishing the attic. Which was not in our plans, but we felt was an important part of the resale value. I started shopping around for a different contractor to insulate the roofdeck, aka the attic ceiling and walls. I was primarily looking for more creative flexibility and a better price. I found both and in August, we scheduled the work to start October 5.

before

At 10pm on October 4, I got an email saying they were delayed and would not be there that day, maybe the next day? Then they weren’t there. Then the next day, and the next, and then I had to go out of town and wouldn’t be there to get the dog to daycare & lock up the cat & let the contractors in, and then there were more delays. Most of them without any advance warning: so I’d take the dog to daycare and wait, and wait, and wait. Progressively getting more pissed off.

Then, the owner of the company showed up, after I had left a work meeting to wait for him for 2 hours, and told me that we needed to do more prep work. I had specifically asked him about whether these pieces of wood needed to be removed three weeks previously, and he had dodged the question. So here he was, telling me unless these wooden soffit blocks were removed they would not start the next day. I was at the height of my recent plague, possibly feverish, definitely miserable, but I went out, bought a sawsall, and removed every last damn one in a very long two hour project.

prepped

The next day, they started. They got two and a half days of work in, and then did not show up the fourth day. I called. They said oh, we’ll be there at 10 am. I went to work. I left work. I waited. I called. They said oh, we’re not coming today, can we come tomorrow, Saturday? We were expecting 10 people for the weekend, but I wanted the work to keep going. So I said yes and we danced around it and it sucked, especially the last hour when everyone had to stay in our living room to be out of the way of the contractor, especially the dogs, who I did not want snuffling or tracking around the 8 million teensy pieces of foam flecks that get everywhere during the process.

Then Monday, they were supposed to come by to finish, cutting the foam away from the joists of the attic. They showed up at 1:50 pm and thank God finished that day. I sent an email to Efficiency Vermont as well as the company listing my grievances and their bullshitting ways, got a sleazy and only vaguely apologetic response from the owner of the company. In particular, I pointed out that we had spent over $100 sending the dog to daycare on days when they had not shown up, and they had failed repeatedly to communicate in a professional fashion. I’m still trying for some overall reduction on the bill, because they were a freaking nightmare to work with. I really, really regret not going with the original company who did the audit; they may have been a little pedantic but they were highly communicative and professional throughout. Live and learn, I guess.

So, now we have an insulated attic. Part One of the project is done; part two will happen soon-ish, in which we need to put 5/8″ sheetrock over the exposed insulation and tape and mud the seams in order to seal off the insulation as a possible fire hazard. I’m working on finding someone to do that right now. Originally we were going to do it, but I am 110% done, so, hiring someone.

All that feels like a very short way to sum up what has been the most frustrating and most expensive project we’ve done on the house to date. That said – I’m really glad we did it, and the house is holding heat noticeably better now. I have become an obsessive checker of our Nest thermostat via my phone, and there is a clear and easily noticeable difference of several degrees in how the house heats up and then how slowly that heat fades.

house post

House Post: Nest Thermostat

When we rewired the house, we had to replace all of our old smoke & CO detectors in order to bring them up to code. There were, approximately, 8 million of the things throughout the house, either battery-powered or plugged in or you name it, of at least three different vintages.

So we yanked them all out and I piled them up to donate (those that were still up to code just not the right kind for our house because code is complicated), and ordered new ones. The electrician had brought the regular wired-in kind, but I took the plunge and bought three of the new Nest Protect smoke & CO detectors. They talk to each other via wifi, and they talk to my phone, and lo, they are awesome.

That is a really long way of saying that when Efficiency Vermont started a new statewide study of Nest thermostats, offering to give them to homeowners for free as long as we met a few basic requirements (check) and allowed access to our utilities consumption for the next two years (check), I jumped on board.

I installed it that night, I was so excited. Here is a step by step.

Old thermostat. Contained actual mercury, non-programmable. I brought it to our local hardware store for proper disposal and got a $5 gift card. #wining

Ugly hole in the wall, with old wallpaper behind. Awesome. I debated cleaning this up, re-mudding it, etc., but then decided to deal with all of that when we do the wallpaper & repainting in the hallway.

New Nest mounting plate, wiring not yet done.

Wired! After our rewiring earlier this summer I have probably more than the average experience at handing my home electrical stuff, but once I squared away which wires go where (with the help of the booklet & the internet) this could not have been easier.
Then we told it to find wifi. This took a little while because it had to refresh its software once it did connect.

And done! Bonus hilarity because our wifi network is named SkyNet thanks to the husband.
Here’s my Nest app. I can check in on my smoke detectors and make sure they are all working properly, and also dig into my thermostat even from work, which is awesome.
So: yes, we really do keep our heat set at 60. Welcome to Vermont. The “fallback” temp is 50, which is what it will be when we are away from the house. I am being VERY conservative with the heat during our first winter because a) I am not rich and b) I just don’t know what the energy use patterns for the house are yet, ie how much oil it really takes to get & keep it up to temperature.
The good news is that the Nest app helps us figure that out. It tells you how long the heat was on for, what times it came on, and the thermostat itself starts to automatically figure out when you’re home and when you’re away and will adjust the temperature for you.
It will also start to learn how long it takes our heating system to turn on & produce heat, and then how long it takes the house to get up to temperature. So it will adjust accordingly: it will turn it on when it needs to and make computer-educated guesses as to how long it needs to stay on.
Huzzah for technology!
At $200 each, I knew that I wanted one but it was probably not in the house budget for this season, so I was VERY excited to get this for free in exchange for participating in a cool energy-saving study. Win-win.

house post

House Post: Radiators Part Two

Previously, on part one: I sent two of my old steam radiators out to get sandblasted.

They came back, of course, two days before we had to leave for the wedding. I had dire warnings from everyone not to let them sit around – to get them painted ASAP, since they were cast iron and would rust immediately. Of course, it was damp and rainy outside. Sigh.

So I drove the truck the whole half-mile to the sandblaster and picked them up and got a few more pictures of the place at the same time. Typically, they sandblast tombstones. (The city we moved to bills itself as the “granite center of the world” and has several major quarries and dozens of granite sheds for all manner of granite products.)

Total price for sandblasting two radiators? $70. BARGAIN.
I fell in love with them immediately, oohing and aahing over the pretty bare metal that had been revealed. SO much better than the bland paint. The guy who did them said they should be much more efficient now, without the heat having to work through all that paint to get to the surface.
Of course, it was drizzly. And they had to get painted that night. So…on went the respirator and googles, open went all the windows in the weird back room, and then I put a fan in the window for the rest of the night to get the fumes out. It was not my best decision ever, I admit this. There is a fine silvery mist over many things in that room now and the chemical smell was unbearable for the rest of the night. It’s a room that will be gutted this winter, so that’s not a crisis, but still, dumb move.
Not a huge difference post-painting from the bare metal, which is a-okay by me! A bit lighter, a bit shinier. I used about 2.5 cans of spray paint. I’m not sure whether I could have used less or whether I needed more. I tried to get coverage without too much thickness.
The paint in question: Rustoleum’s High Heat Enamel in Silver. It goes up to 2,000 degrees Fahrenheit, and is meant for grills and fireplaces. Hopefully the radiators will never get anywhere near that…
Siiiiiiigh.
And finally, the reinstall: drumroll please.
Remember what it looked like before?
SO MUCH BETTER.
This was a bigger investment in time and muscle than it was in money. Moving these things was a complete pain in the ass, even once I invested in some moving straps to get them back in place. The straps made a tremendous difference, but it still sucked an awful lot. Especially the stairs.
Total cost was about $85, between the sandblasting and the paint. I also had to buy some thread sealant for $10, but it is a container that should last through all the rest of the radiators. I already had plumber’s tape on hand. The moving straps were $20 but we will use them for nearly everything we haul from now on, so their investment for this project is minimal.

Worth every penny. I am so besotted with them. I don’t want to say I can’t wait for heating season, because wow am I not looking forward to those bills, but still, siiiiiiiiiigh. ❤

house post

House Post: Radiators, Part 1

Radiators! We have a lot of ’em.

Our house is heated by steam, a slightly tricky but ultimately rewarding heating system. It is more efficient than many other older heating systems, and it offers a comforting, humid warmth rather than the dry, on & off of forced air. It also makes those wonderful popping sounds when it’s starting up.

However: all of the radiators in the house (there are eight in total) were painted to match their rooms. That paint is either a) ugly or b) peeling badly. In some cases, both!

I agonized for quite a while over what to do and how to do it. I talked to a ton of people, called places for quotes, researched online, and fretted. I thought about just getting radiator covers made – maybe something custom, to match the woodwork in the rooms. I thought about doing it myself, in place.

Eventually, our electrician recommended a place that was just half an hour around the corner from us. She said they sandblasted her radiators right down to the cast iron for a very reasonable price.

So that was the plan. Our radiators are older, but they have no fancy Victorian filigree on them that might be damaged by sandblasting. While my ideal would have been to have them powdercoated, I couldn’t find anyone who would do that locally, and I wasn’t convinced it would be as cost-effective for its supposed superiority.

Step 1: Get the radiators out of the house.

THIS REALLY SUCKED. REALLY REALLY SUCKED.
The radiator in the photos above was small, and on the first floor (my office). It still required 20 minutes of moving it 5′ at a time with precise communication so we could both lift at the same time.
This radiator was in our master bedroom. It weighs several hundred pounds. It took 45 minutes to get it downstairs and out the front door. We did it step by step, and Matt’s face basically says how thrilled he was with the process.
Remember what I said about ugly paint? This is the side that was facing the wall. Ack.
We put them on the front lawn, which slopes quite a lot, and I was able to finagle my truck so as to back it up directly to them. Then we just moved them forward a few feet into the back of the truck.
Then I drove them half a mile to the sandblasting place. They had a magnificent hydraulic lift that ran the length and width of their entire shop – a necessity, as 99% of what they sandblast is giant granite slabs.
Seriously, we need one of those at our house.

The guy who took charge of them for us was amazed at both the really ugly paint and how much of it there was. He shook his head in awe, and told us that they would be dramatically more efficient once he sandblasted them. Huzzah!

So now we await part 2: re-painting.

house post

House Post: Master Bedroom, Final

Whew. Previously in the master bedroom, removing the damn wallpaper took forever.

It took us nearly 3 months, but I am happy to say that the master bedroom is done.

Once we got the wallpaper down, removing the wallpaper paste was agonizingly slow. It was two steps forward and 1.99999 steps back. Over and over, as we tried different things. Finally? Sanding it. Not my first choice, given the age of the house and who-knew-what underneath the wallpaper, but we used respirators, cleaned religiously, and pushed forward.

Then we did a coat of Kilz oil-based primer to make absolutely sure, then tested out our chosen color: Sherwin Williams Sea Salt.

Then we painted, a whole lot. Two coats, during which I learned a LOT about painting. I have painted before but never this much. It was definitely not a professional paint job, but we learned a lot and we had fun and I love the color, end of story.
puppy helped!
Once the paint job was done, the carpet came up. We knew that in at least one corner of the room the hardwood floor was in impeccable shape. The carpet itself was vile – filthy, ancient, and the pad underneath crunched when you walked, it was so worn out and dry.
In fact, the entire carpet pad basically disintegrated into a 1″ deep pile of yellow dust. I filled two shopvacs with it. Ugh.
I should mention at this point that Hannah was an extraordinary help during the last of the painting and the pulling up of the carpet. We then cut the carpet up into pieces using a utility knife and shoved it out the window, and gathered up what pieces of the pad were still intact into garbage bags. It was hot, dusty, gross work, but…
The floors were in perfect shape!
Next step: taking up the carpet tacks and staples. The staples were easy! I got a little staple puller thing and whoosh they were all out in 15 minutes. (I mean, I kept finding more as I kept cleaning, but they were quick and easy to take care of.)
The carpet tacks? They were not easy. I had polled my family as to the best way to do it, and my father thought I could just pry them up and pull, since they weren’t usually nailed too deep.
Famous last words.
I ended up having to pry out every.single.nail. all the way around. Goooood grief. It took about 5 hours of really hard work, during which I smashed my fingers more than once because I was working in such close quarters to avoid damaging either the floor or the trim.
But, the good news? The floor was in perfect shape except for one 6″ square where something had spilled who knows how long ago, soaking through the rug. No sanding and re-finishing necessary!
Next step: taking the blue tape off. You know how HGTV makes this look like a breeze, like your last cathartic step? Yeah. Fuck those guys. It took almost two hours of painstaking work, making sure I didn’t leave any tape behind under built-up paint. Maybe we could’ve been more careful in painting to get less on the tape, but…life is short.
some puppy was not amused that I used her as a tape receptacle
Then there was floor mopping, of which there are no pictures. I ended up using a slightly damp mop and squirting Old English onto it, to do a combination gentle clean/revitalization. I left it for a few hours to dry/soak in. Then I skated around the floor with my feet on shop towels to clean up the last of the oil.
Finally, I had my floor. And wow. Just gorgeous.

SERIOUSLY, who covers that up?!

Final decorating steps: new outlet covers all around, satin nickel Art Deco inspired metal covers that were expensive at $5 each but I just loved.

And the final touch: new curtains that I had bought a few weeks prior, just simple sheers with an embroidered vine design.

For reference, just so you can see how far we went, here’s the original room.

And here’s the same view now.

Then we moved our furniture in.

And huzzah!

The last remaining thing to be done is to haul the radiator away to get sandblasted and then re-painted. Right now, it is pink, and filthy, and chipping badly. I intend to repaint it a metallic silver color, roughly what it would have been originally, which will match any color scheme we decide on in the future. The radiator has been disconnected, and I have the place lined up to sandblast it, we just have to find the time and the energy to haul the thing out.

So, so, SO glad this is done, though, and it gives me hope for other future rooms!

house post

House Post: Rewiring Knob & Tube Electrical

When we bought the house, there was one big, glaring red flag up front: the electrical.

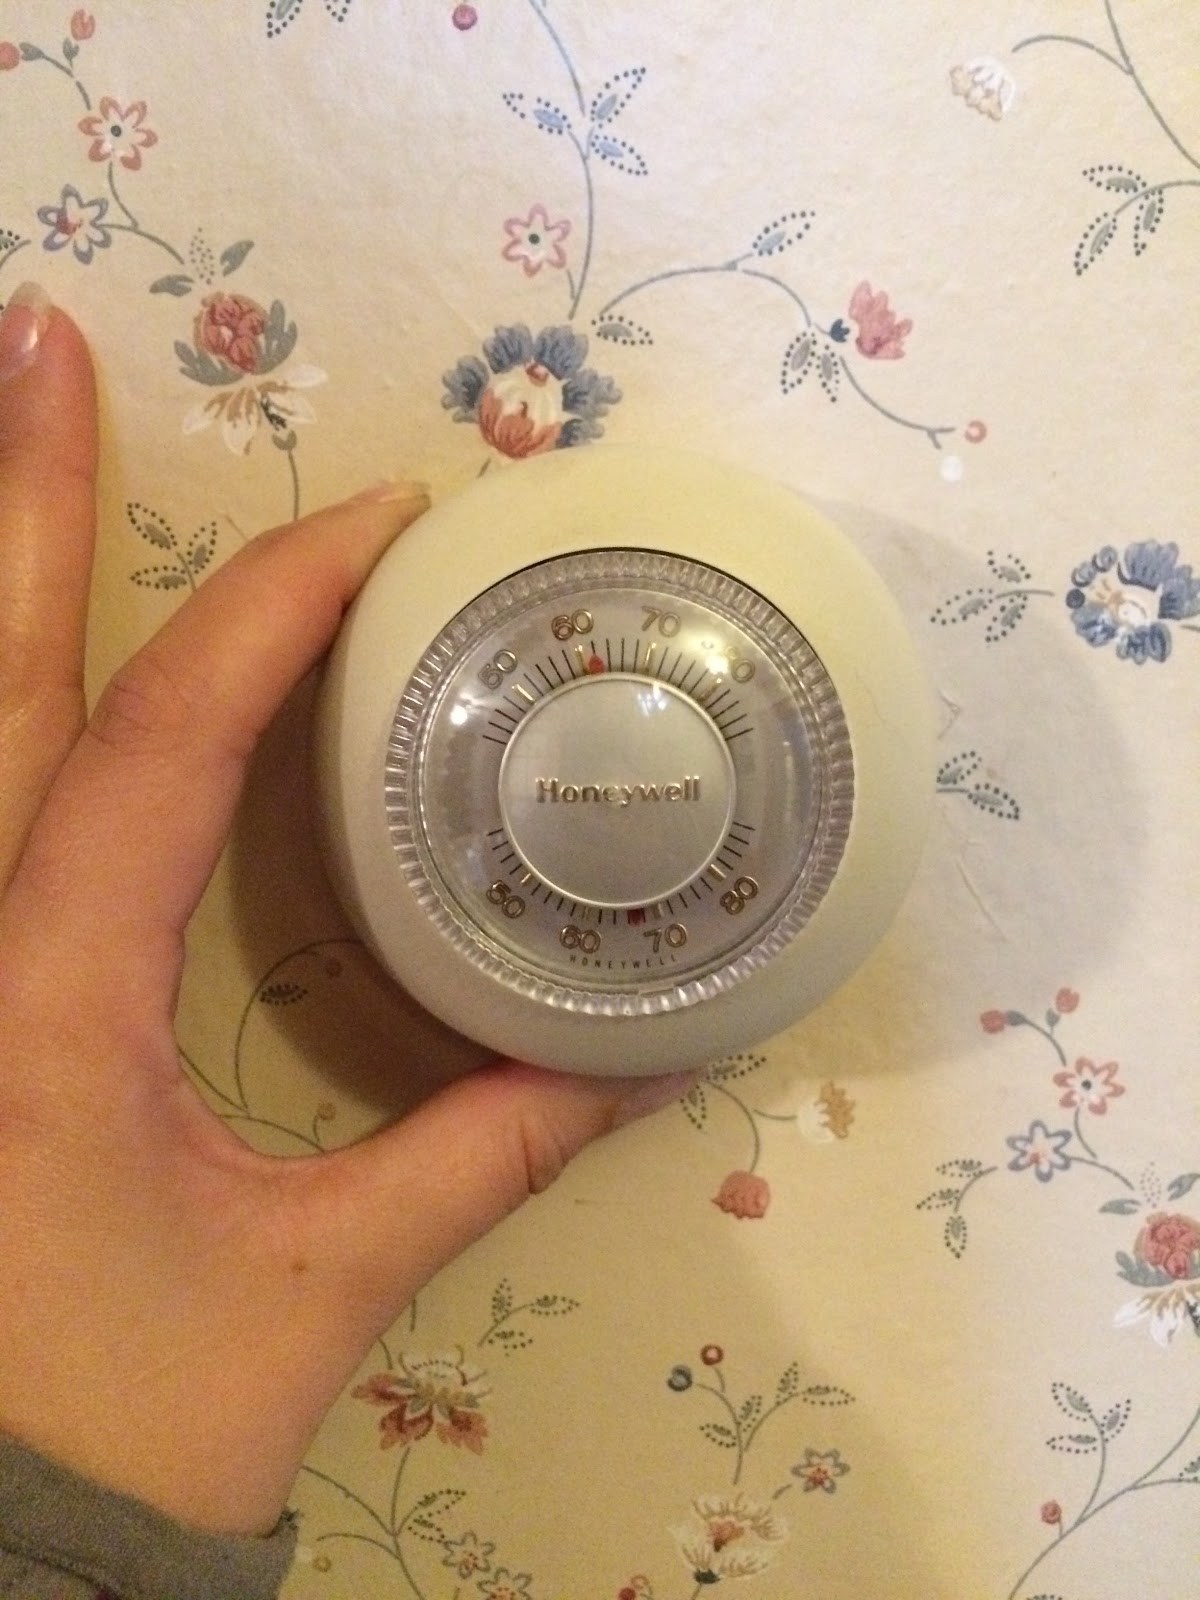
The owners estimated that 75% of the house was knob & tube, an outdated and potentially dangerous electrical system. None of it had been touched since the house was built in 1928. They supplied a quote from their electrician that said that rewiring the house would cost about $18,000.

Yikes. We hemmed and hawed and talked it through, then got two more quotes from different electricians, and when we made our offer, we basically offered their selling price minus the electrical work. After some negotiation, it worked out!

Next hurdle: homeowner’s insurance. In order to get a policy, we had to prove to them that we would rewire the electrical system within a reasonable amount of time. We scheduled the electrician and provided the date to our insurance company.

The electrician arrived on Monday morning at 8:30 am, and we got started.

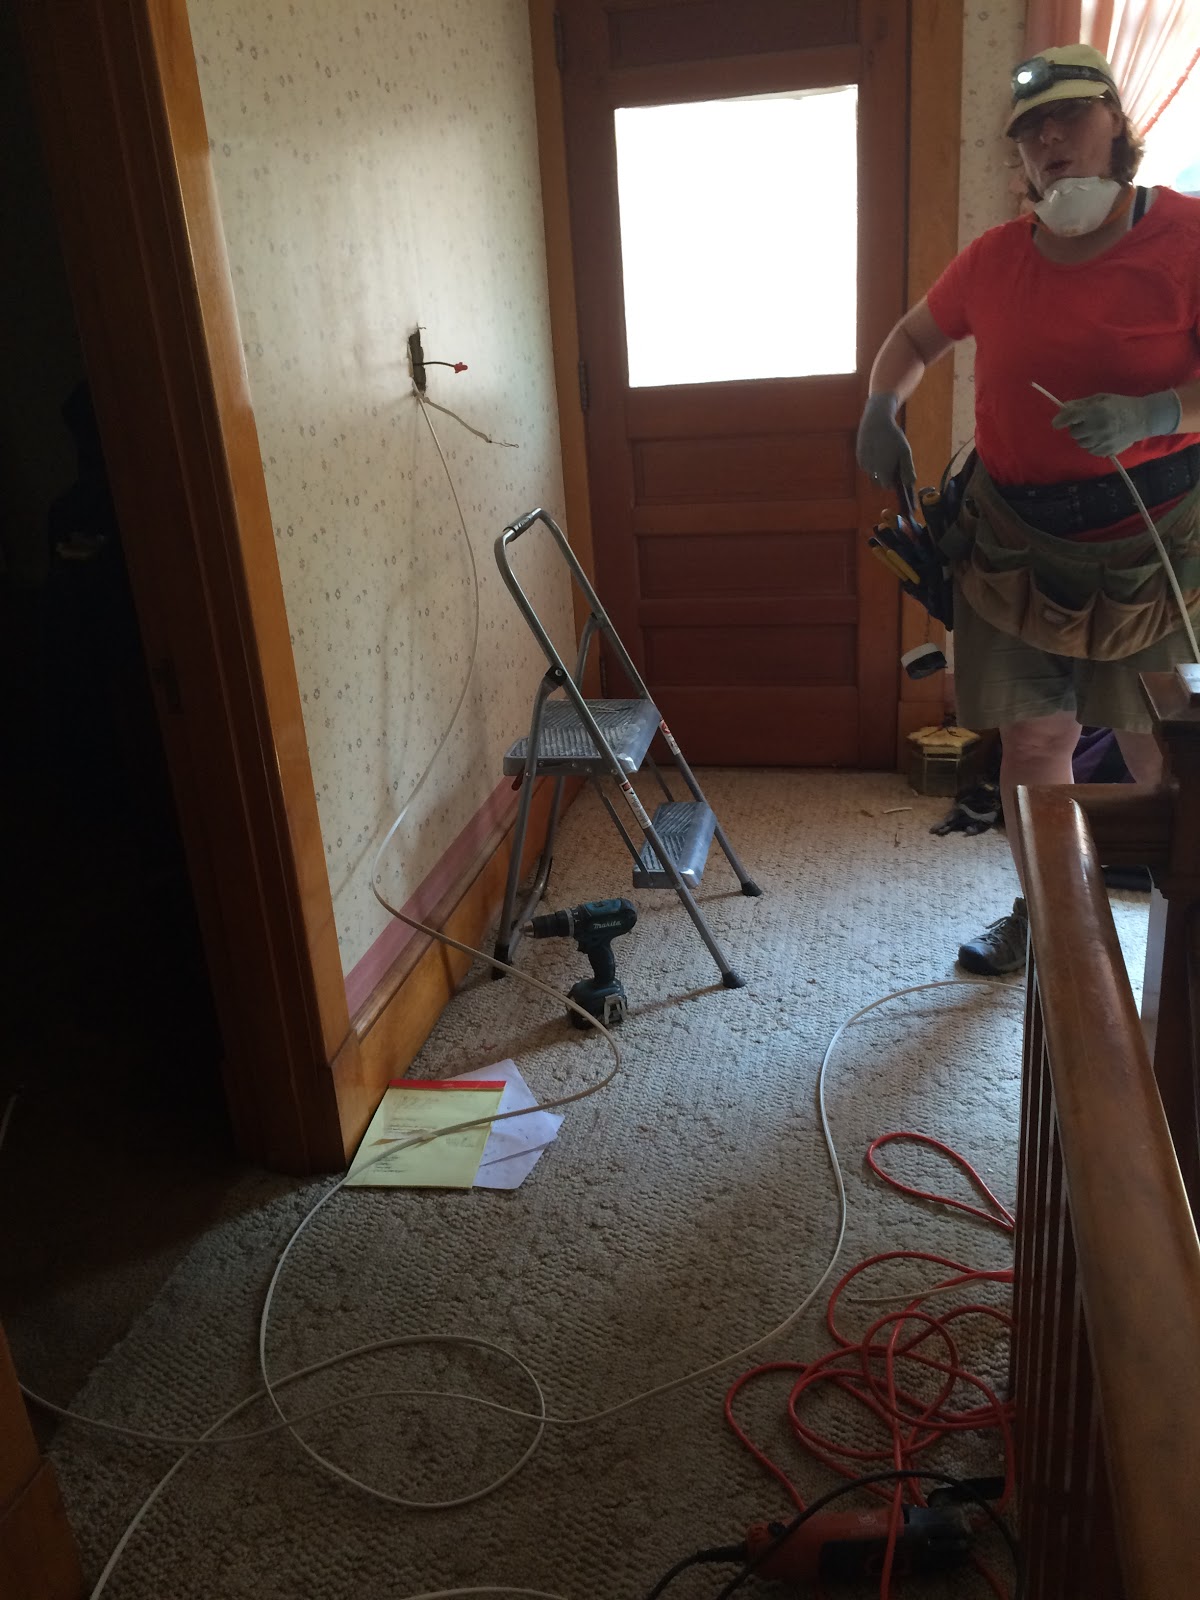
We picked the electrician based on a couple of things: she’s a woman, has a truly stellar reputation, was smart, honest, and fun to work with in the quoting process, and she loves to teach. She told us that if we could supply some extra labor for the grunt work, our quote would probably even come down, and she would be happy to show us how to do basic work that we didn’t need a license for.

My father came up from Boston –  he’s very handy and actually has a master’s degree in electrical engineering. I took the week off to provide extra background muscle, and away we went!

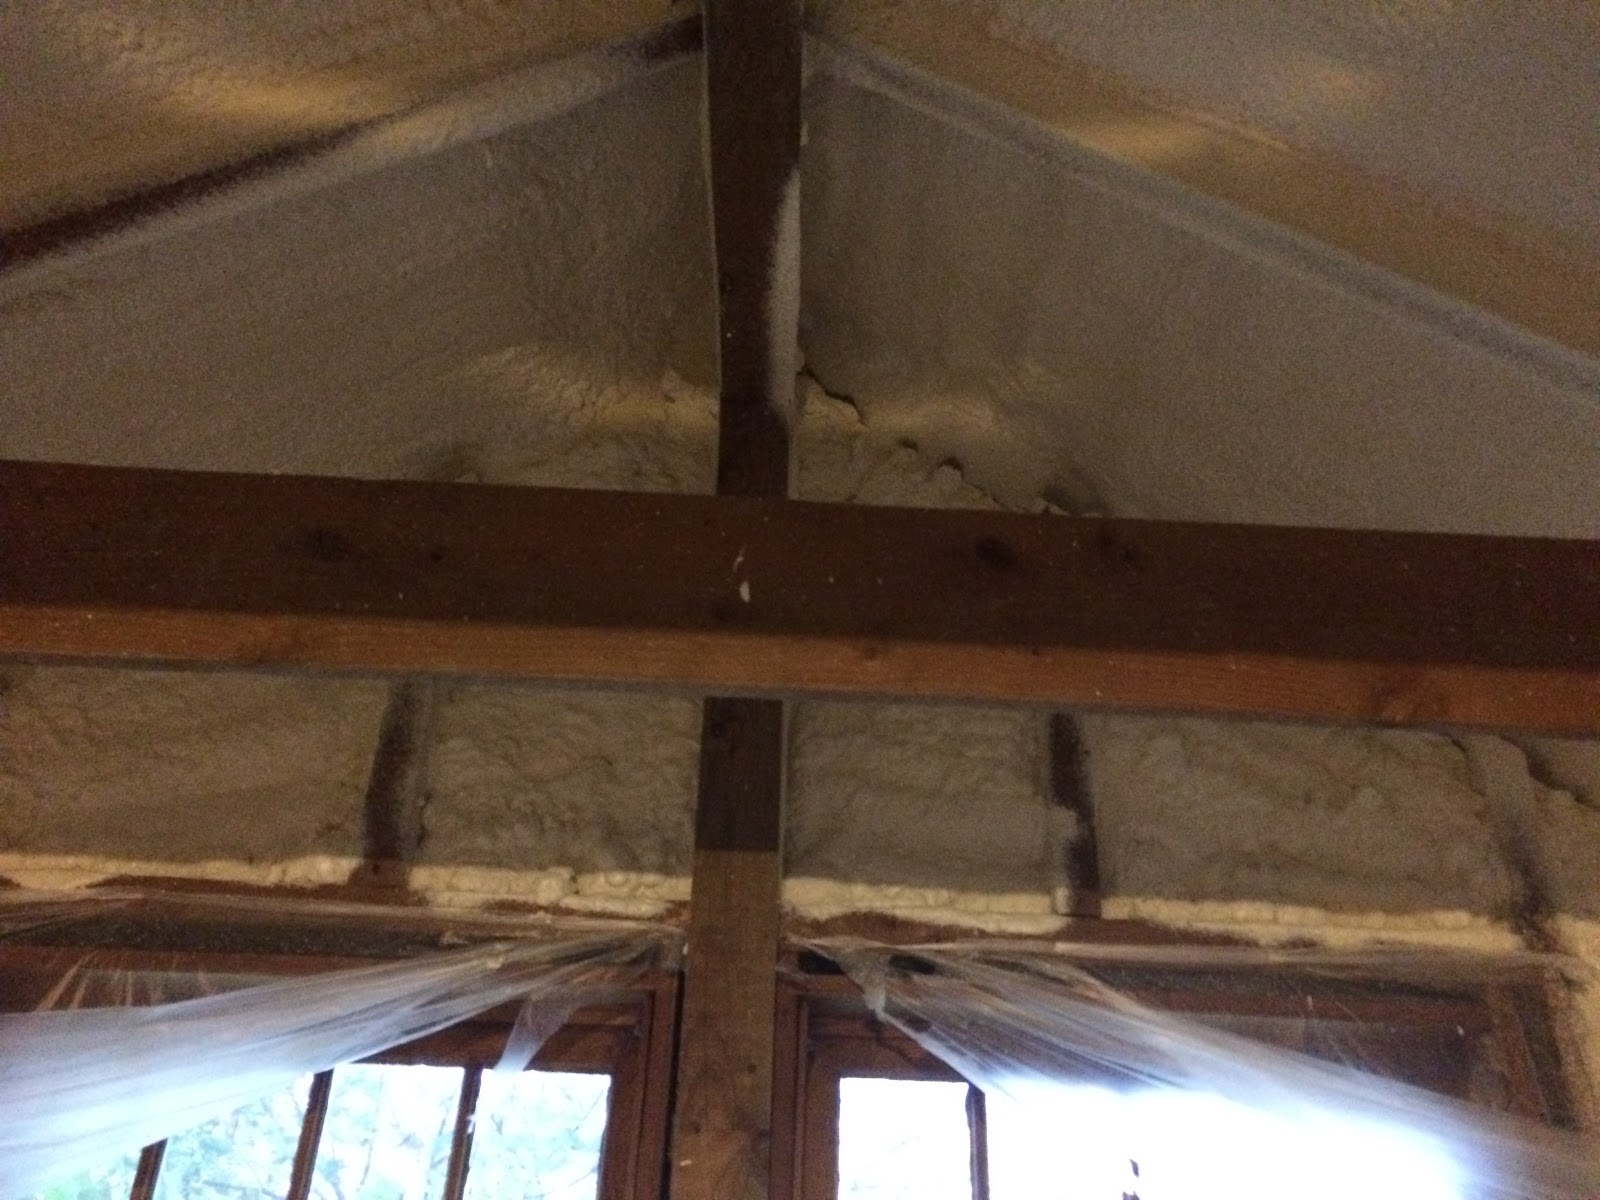
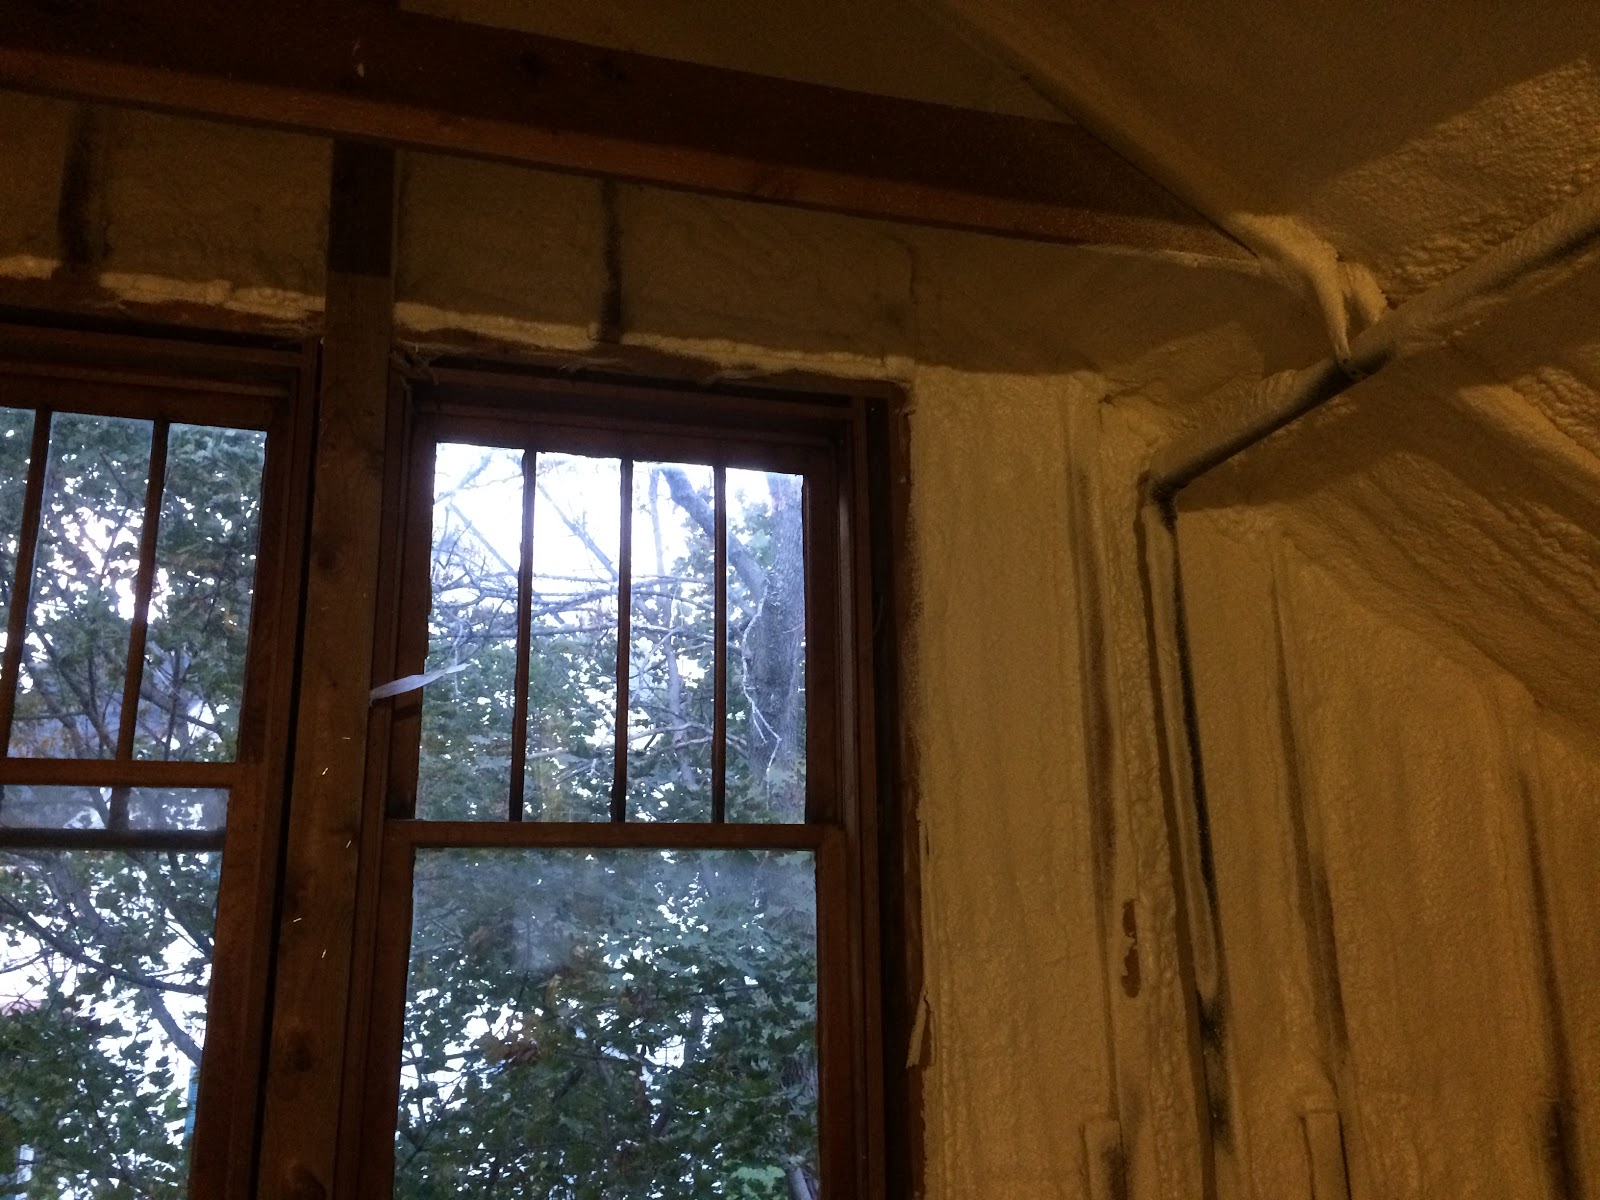
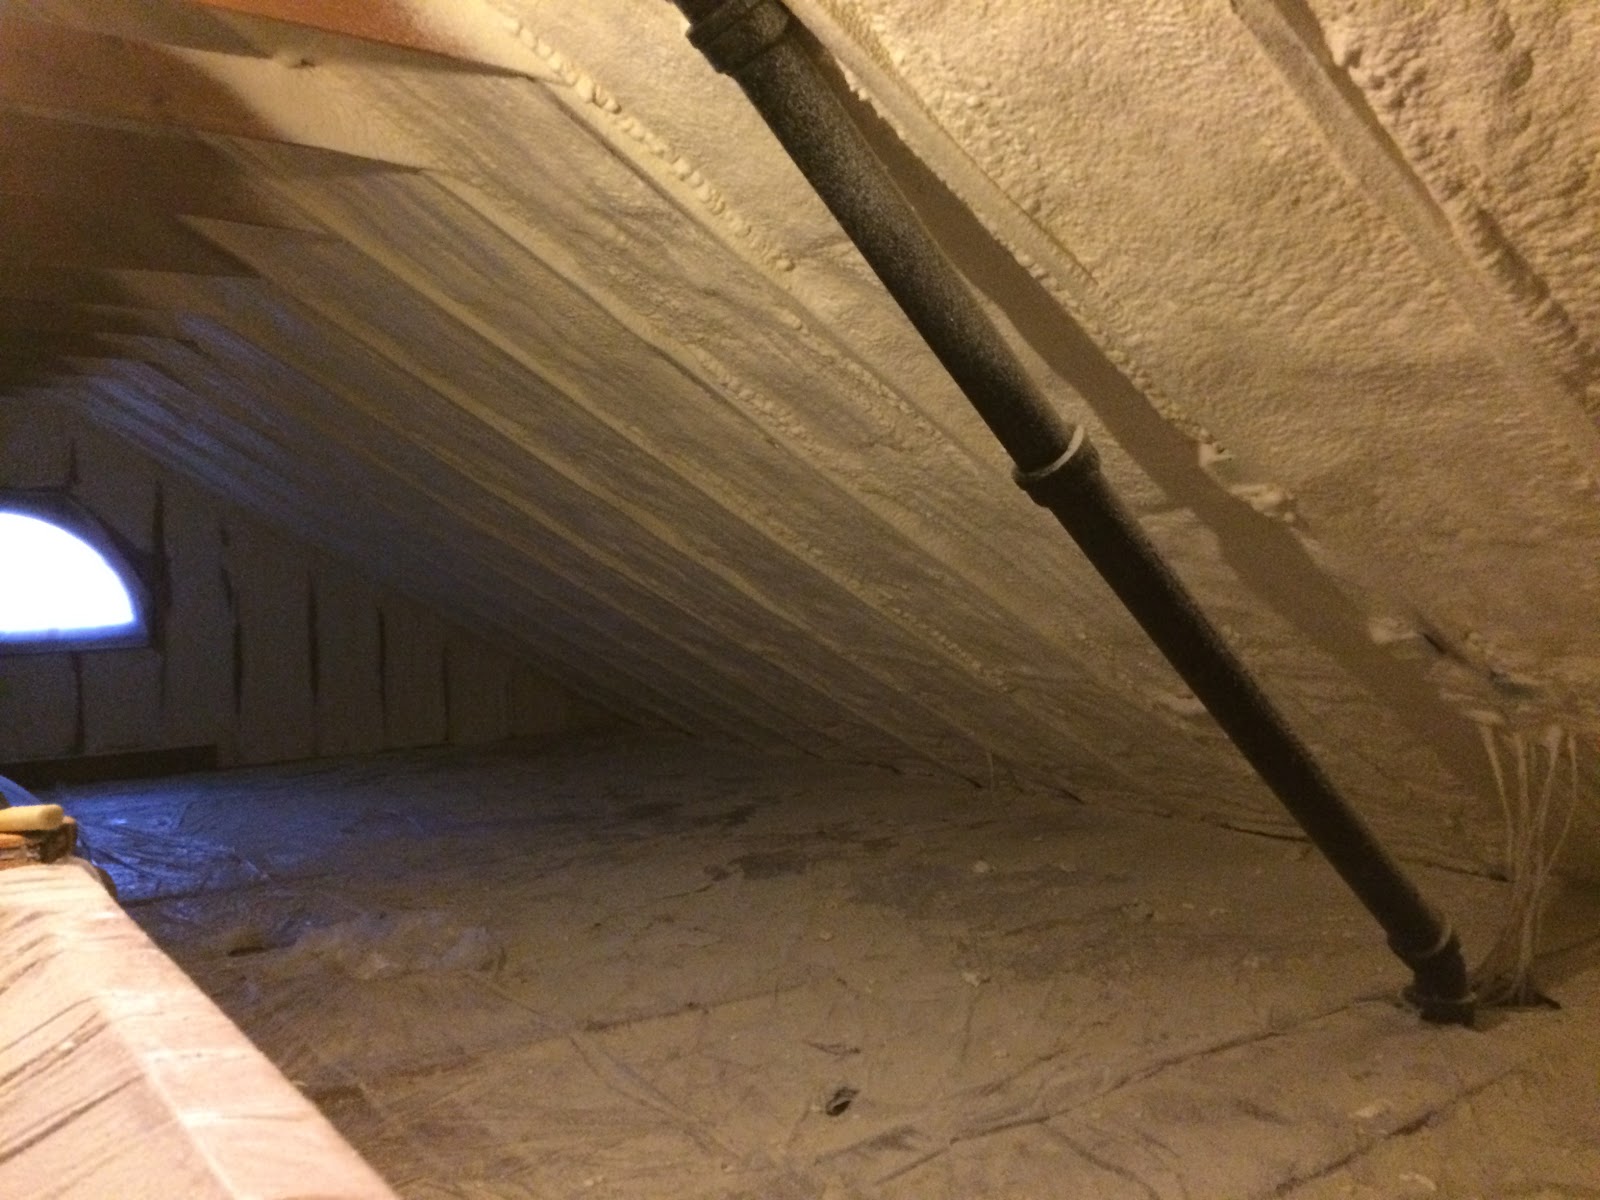
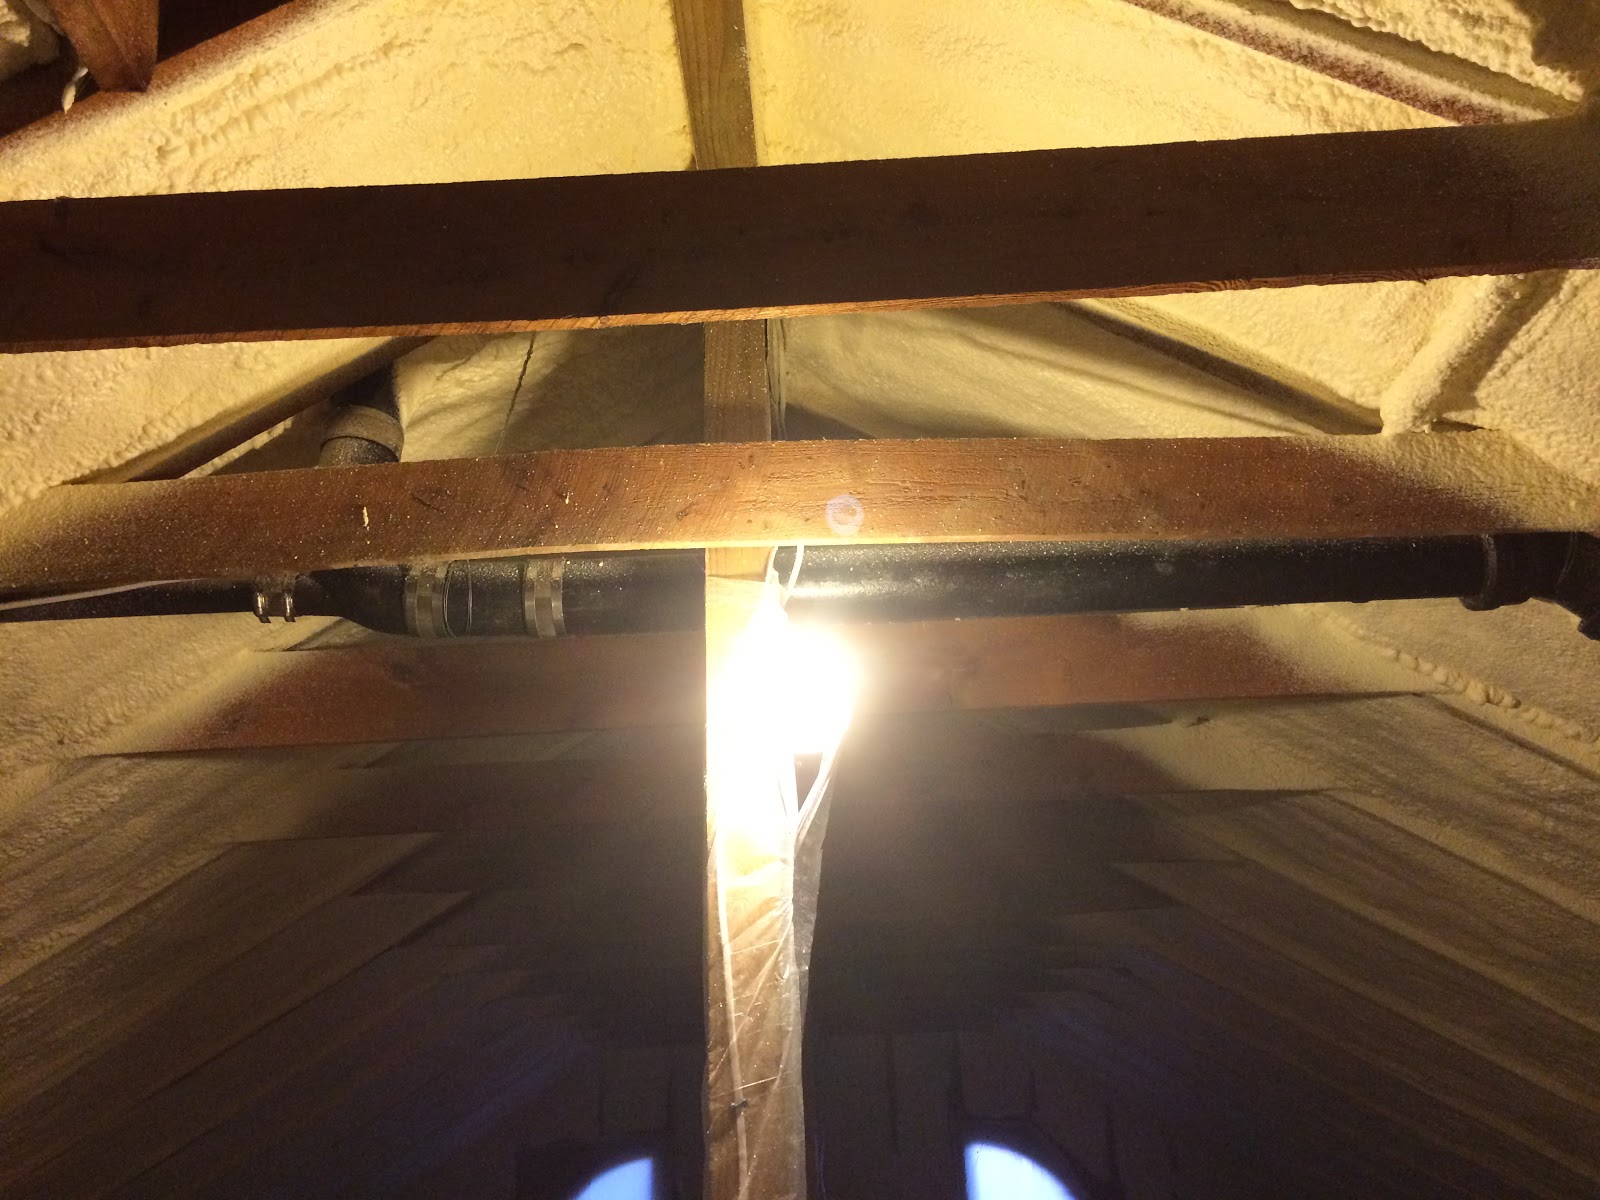
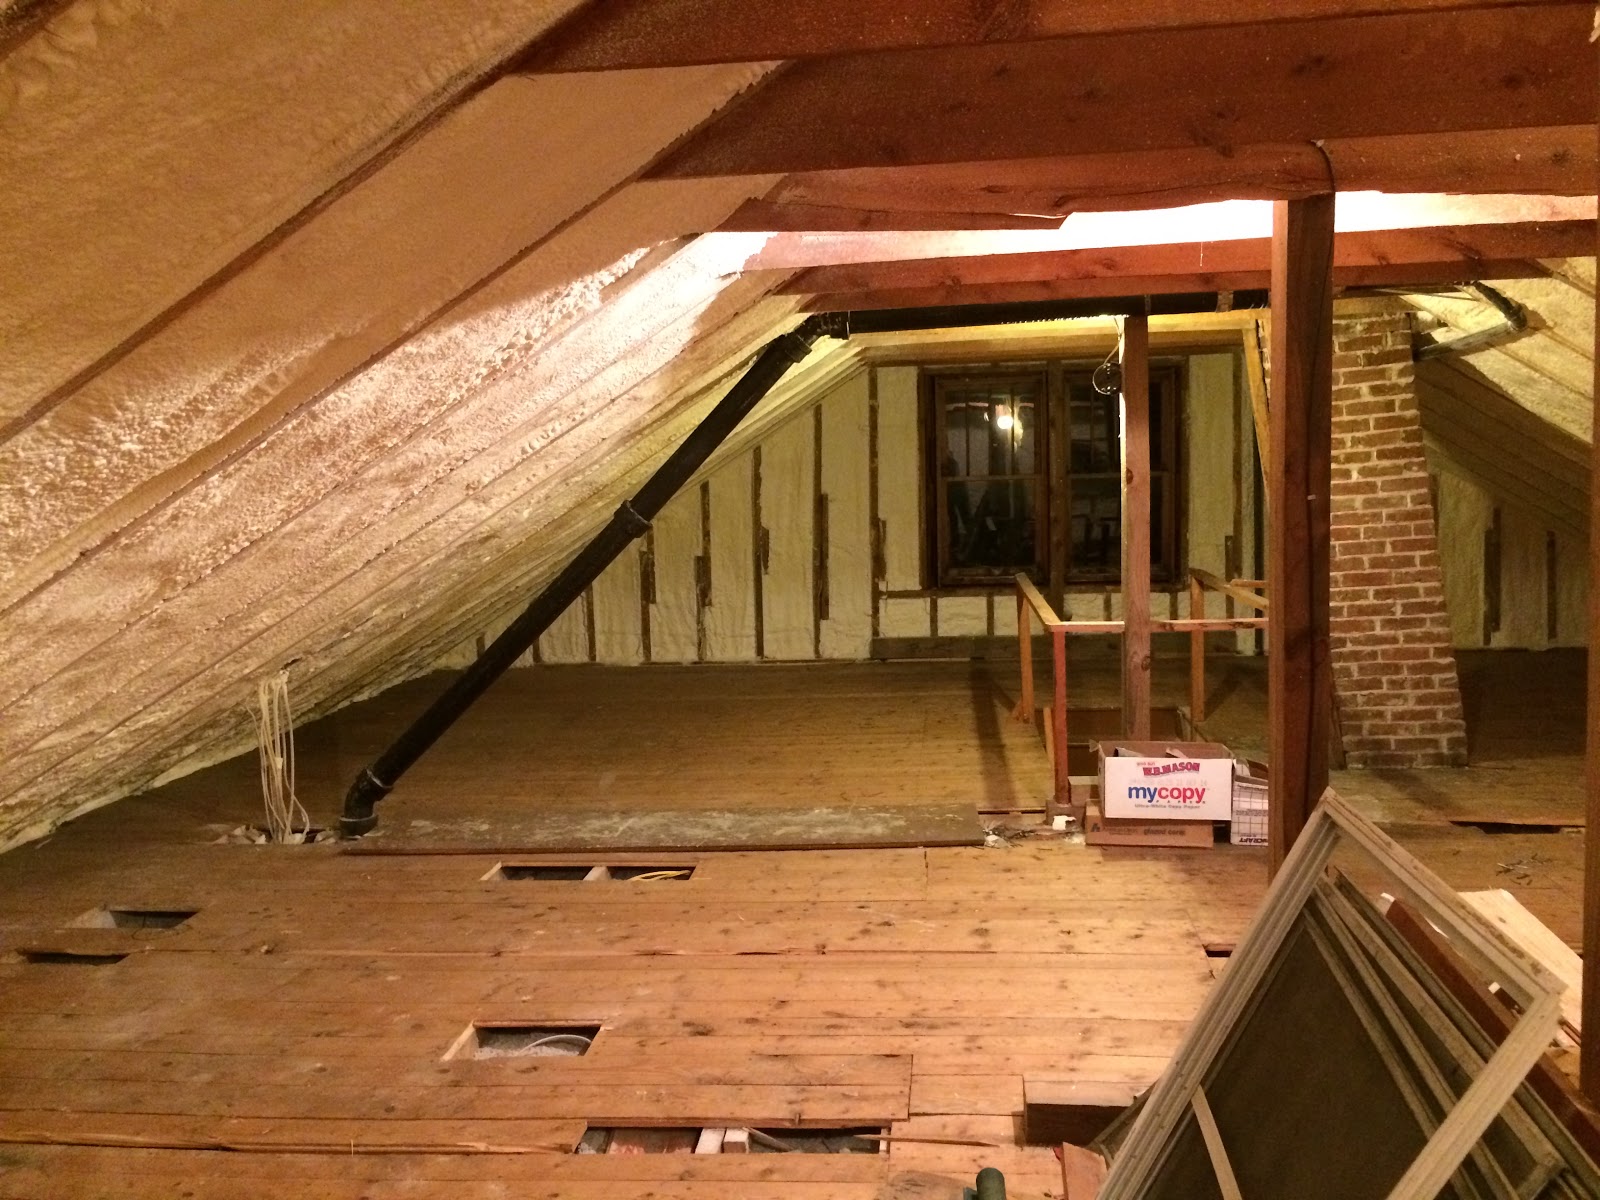
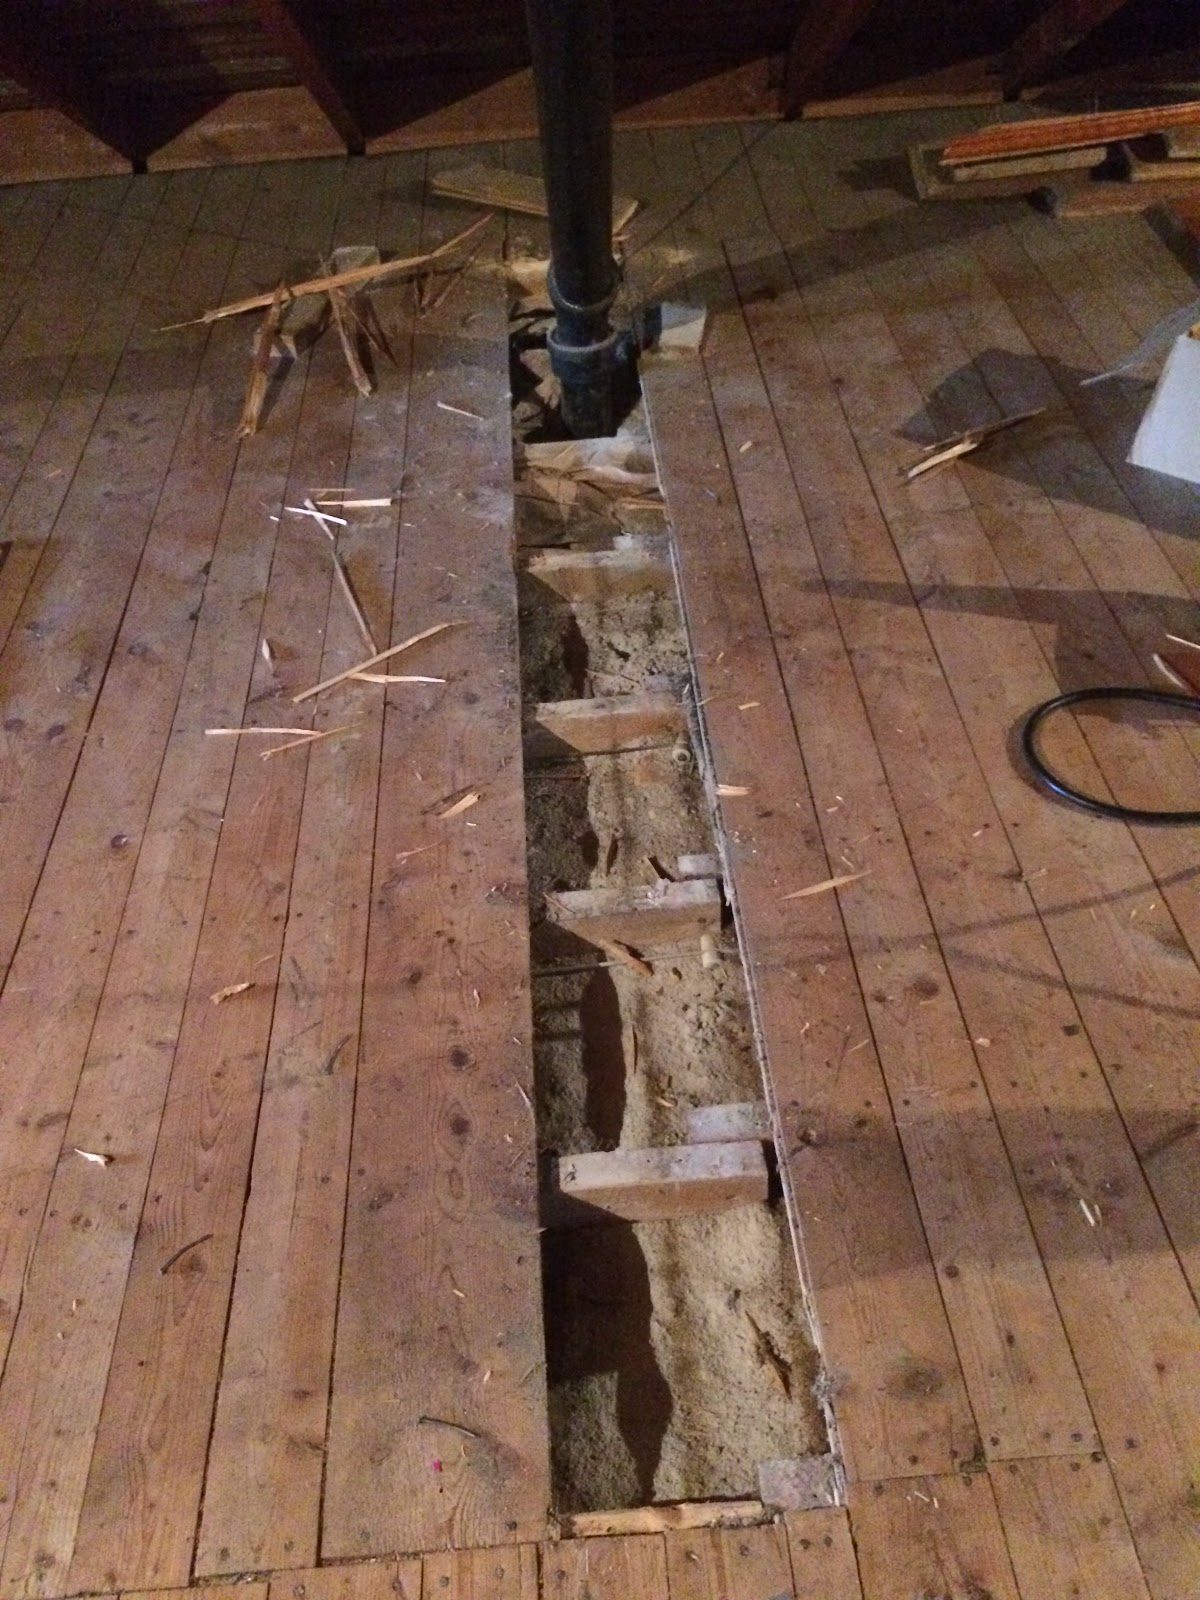
On Monday morning, we figured out how to get wires up to the attic. This involved holes in the wall to determine whether the plumbing stack would provide a good “chase” – a clear way upstairs with enough room for many wires.

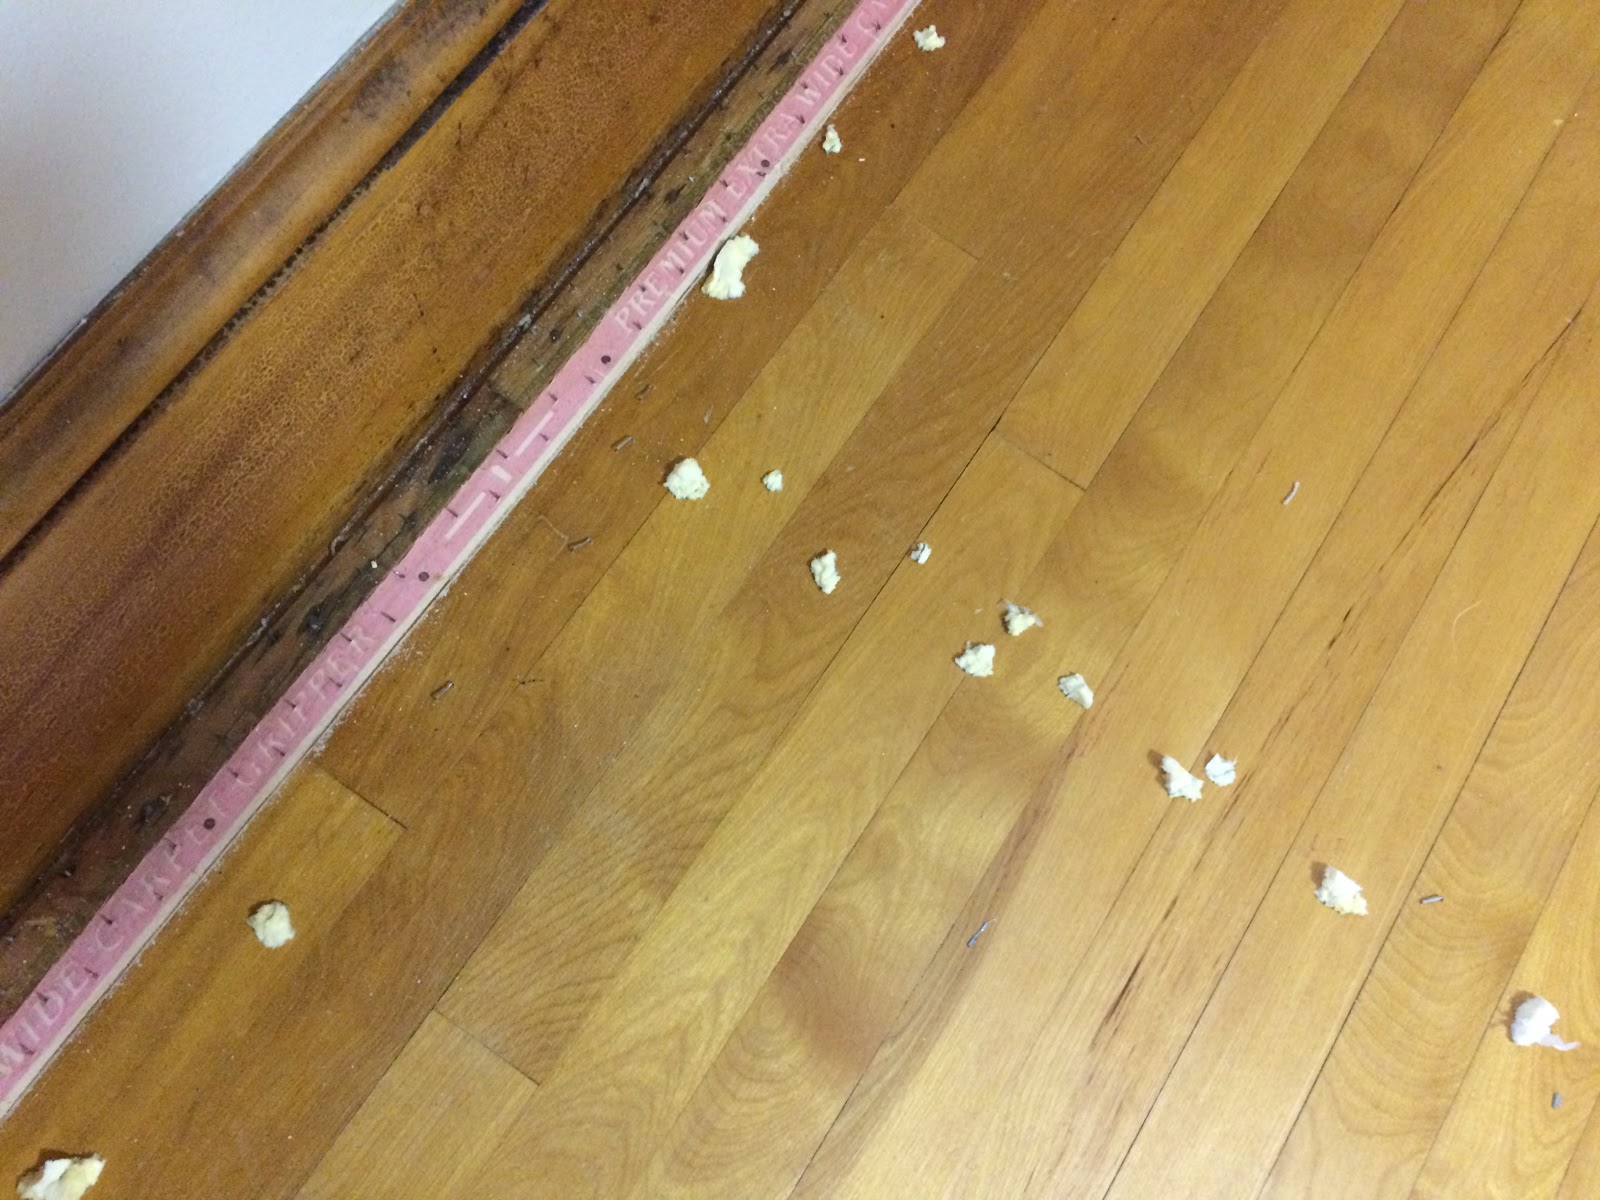
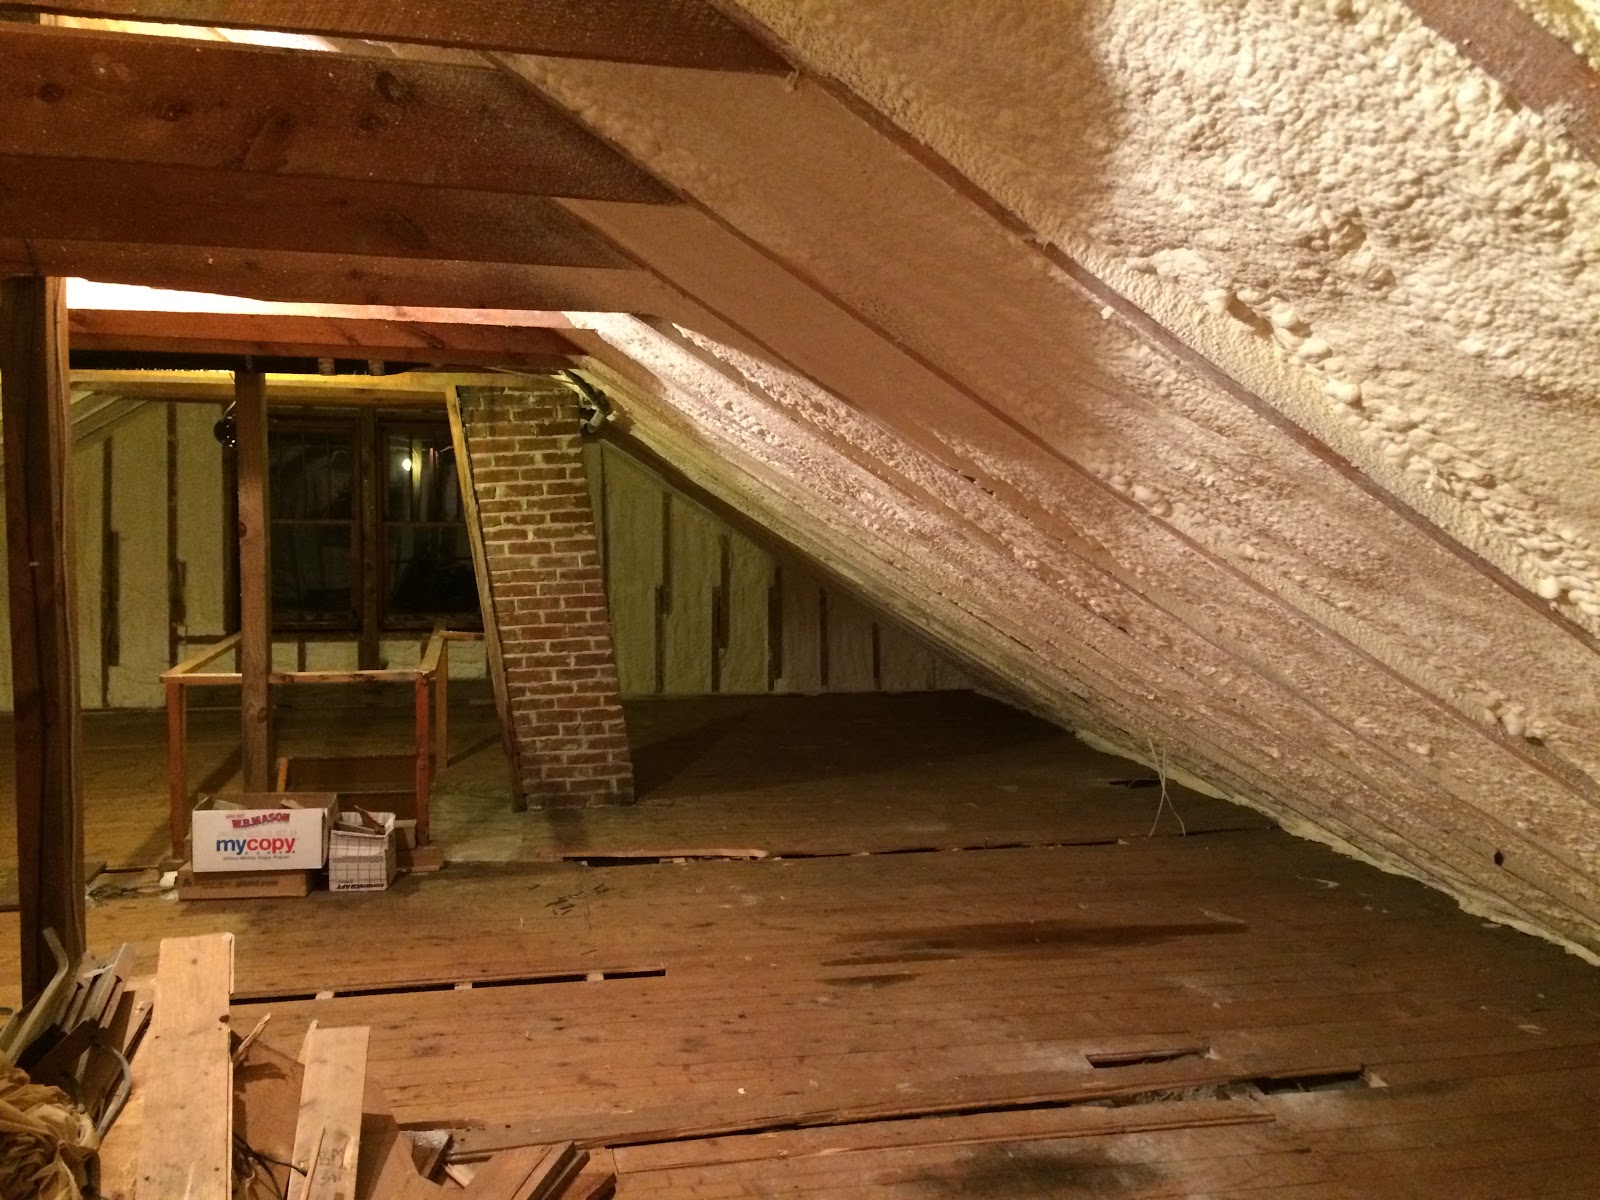
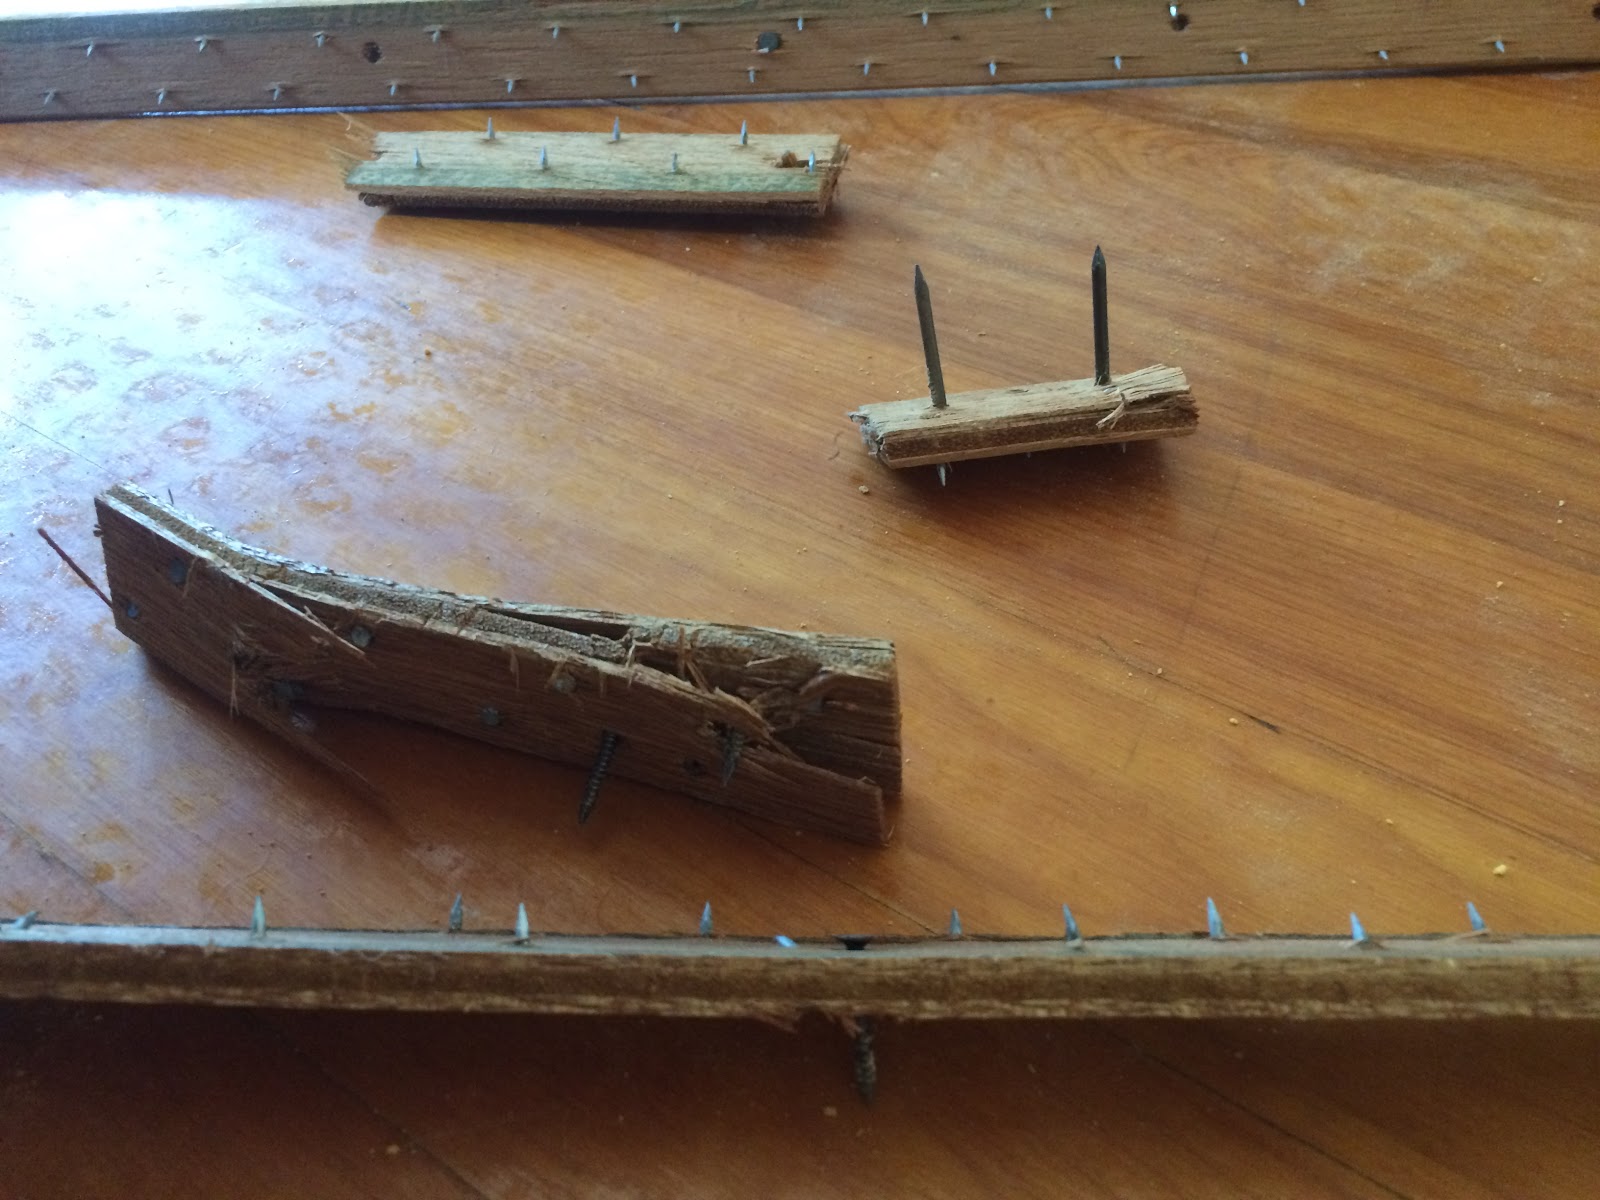
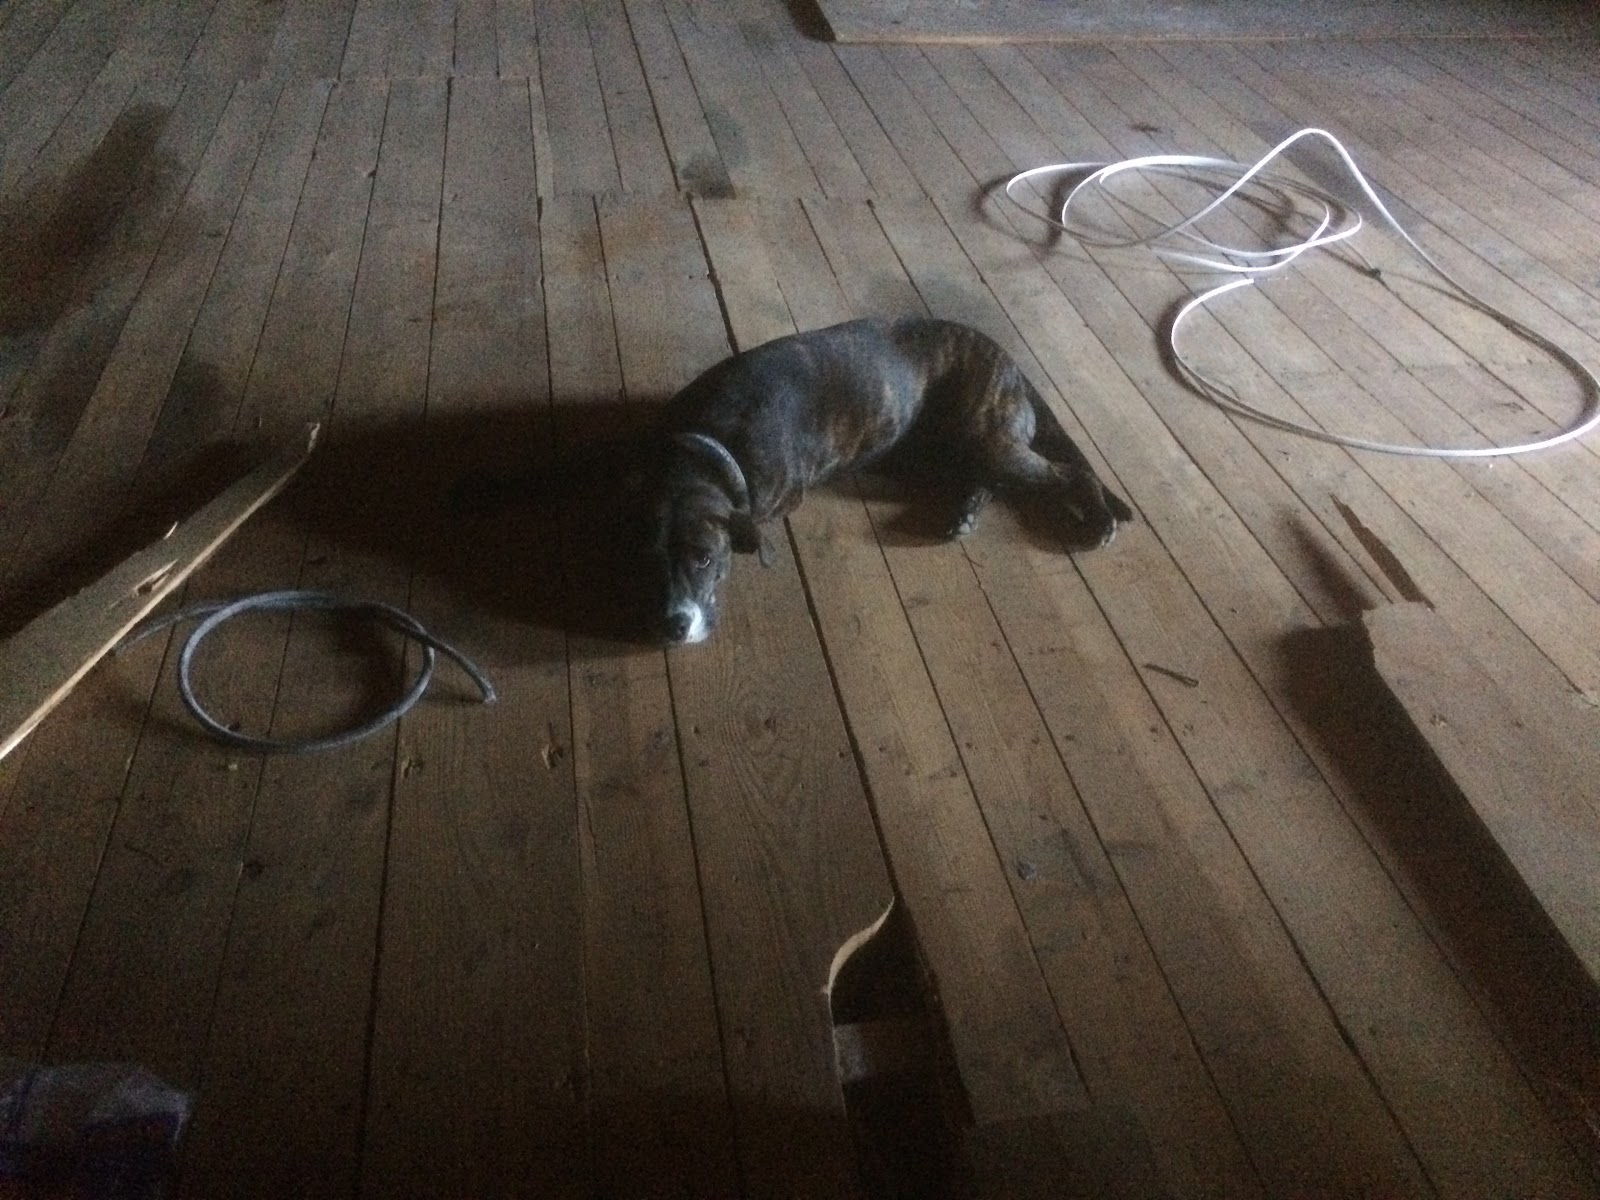
We were successful, and by 11:00 am had all the wires we needed in the attic. Part of our discovery process that morning was how unbelievably over-constructed the attic floor was. Every single board was tongue & groove, nailed at every joist, and then “toenailed,” ie, nailed diagonally down into the joist underneath the floor itself. A single board could have between 20-25 nails and would still need to be sawed out to remove the tongue & groove part, which had hardened together into a solid mass after nearly 100 years.

Monday afternoon, Tuesday all day, and Wednesday morning, we did the attic and second floor.

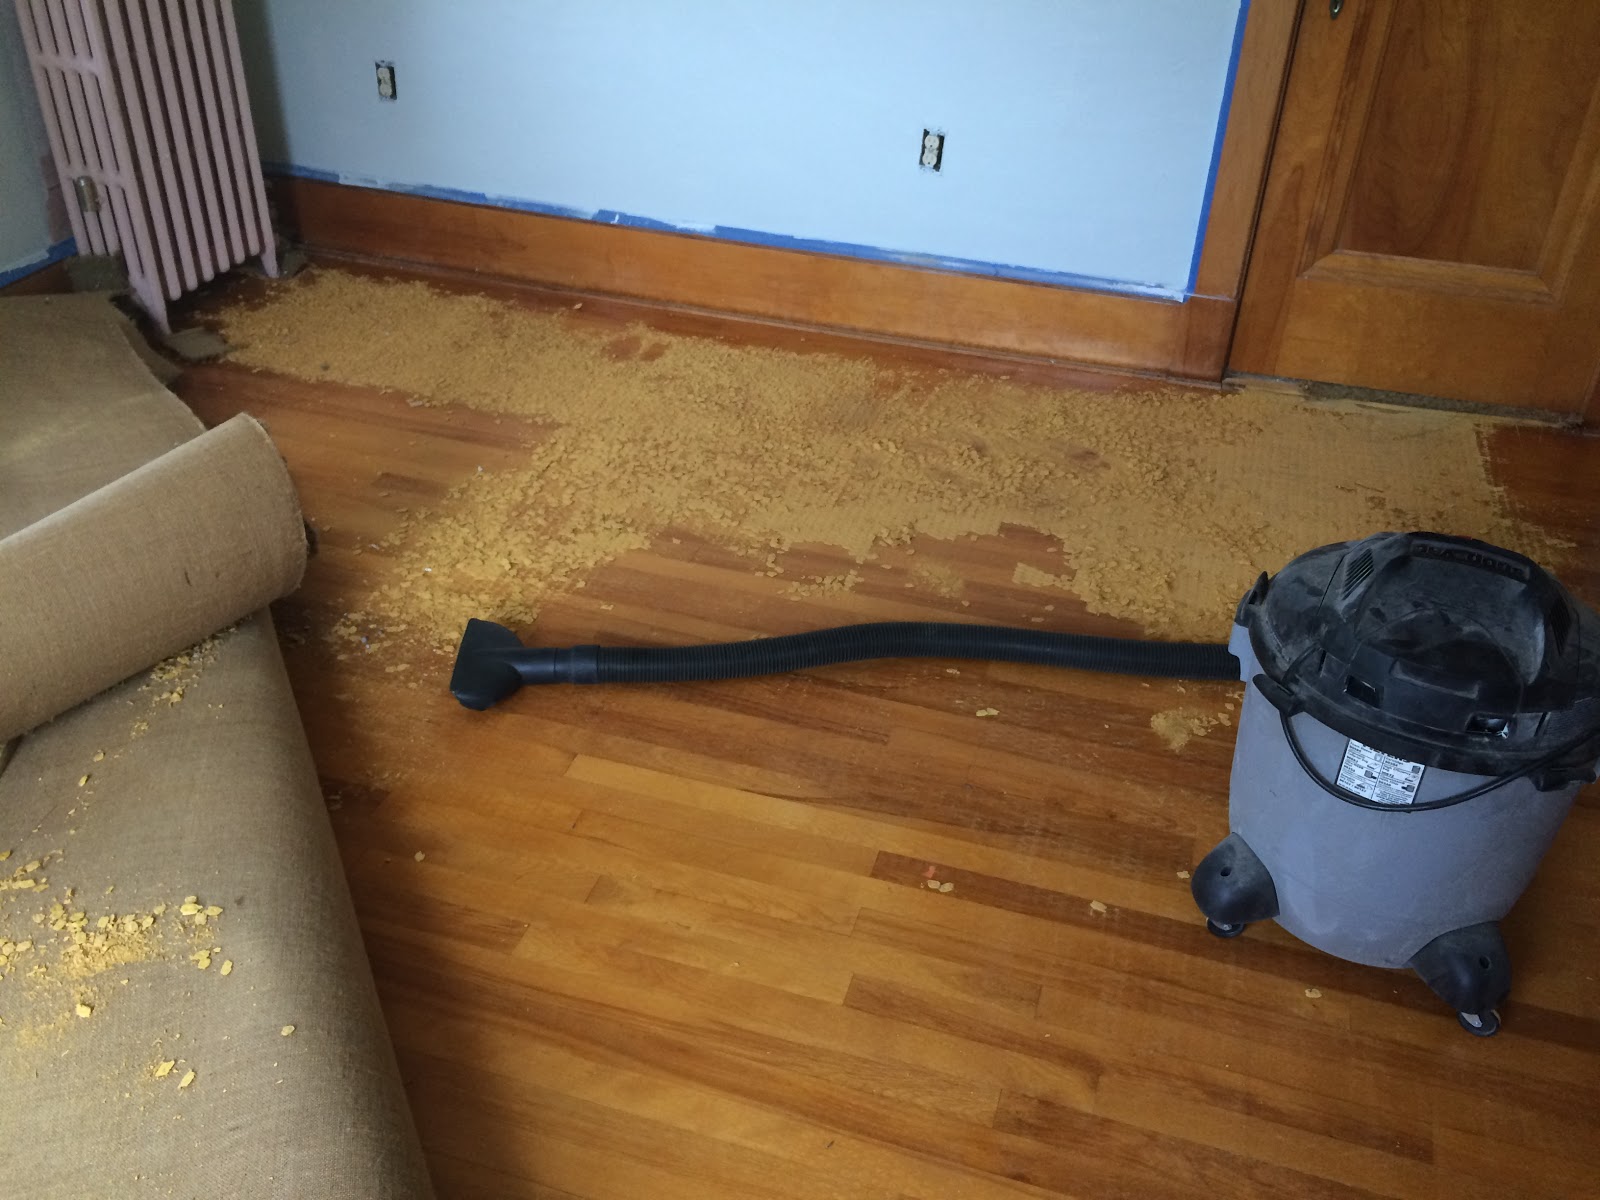
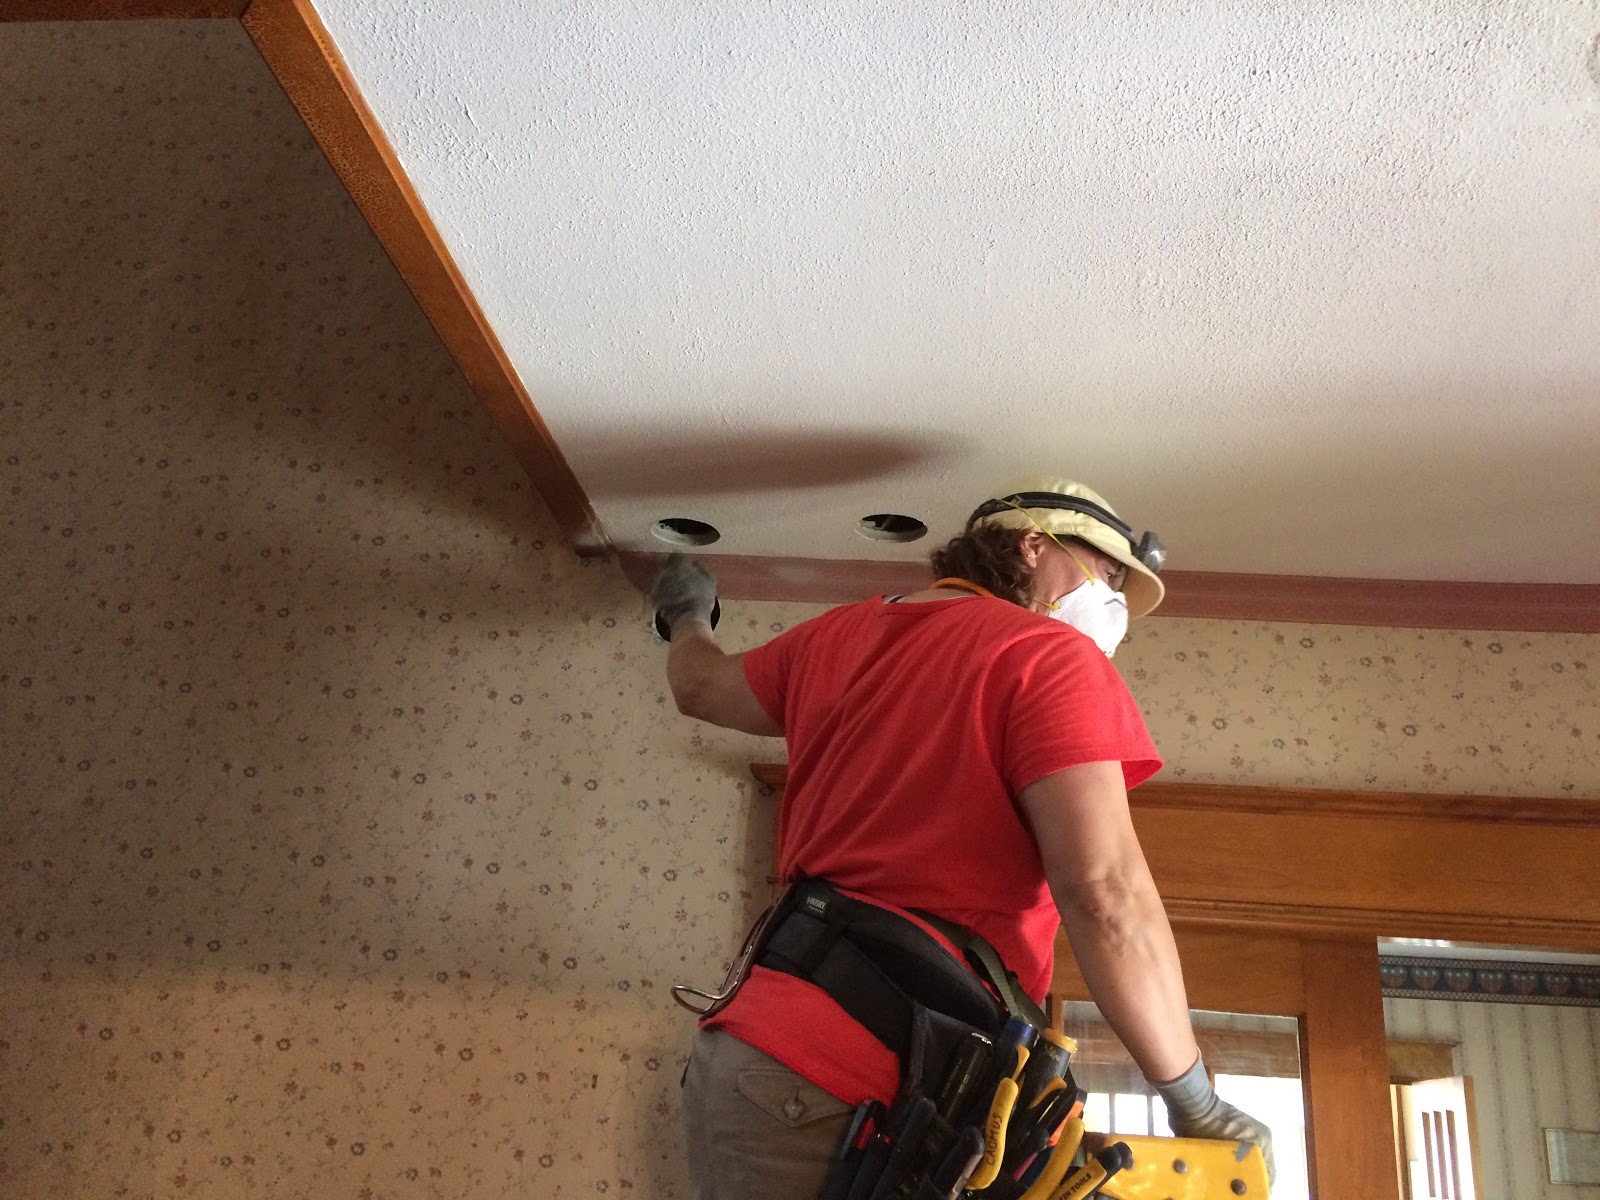
This involved: pulling up floor boards, getting wires up, down, and across to the right outlets, determining where to add new outlets (both to get up to code and to provide more convenience), and generally an absolute fuckton of hard, exhausting, complicated physical labor. My dad had a stomach bug for most of these days and was on and off, so I literally jogged from place to place to provide backup, communication, and grunt labor. I pulled up floor boards, held wires, opened up and pulled out switches and outlets, cut outlet & switch holes, fished into cavities, drilled holes through joists, made decisions about new outlets & switch configurations, passed tools, checked on circuits, and on and on.
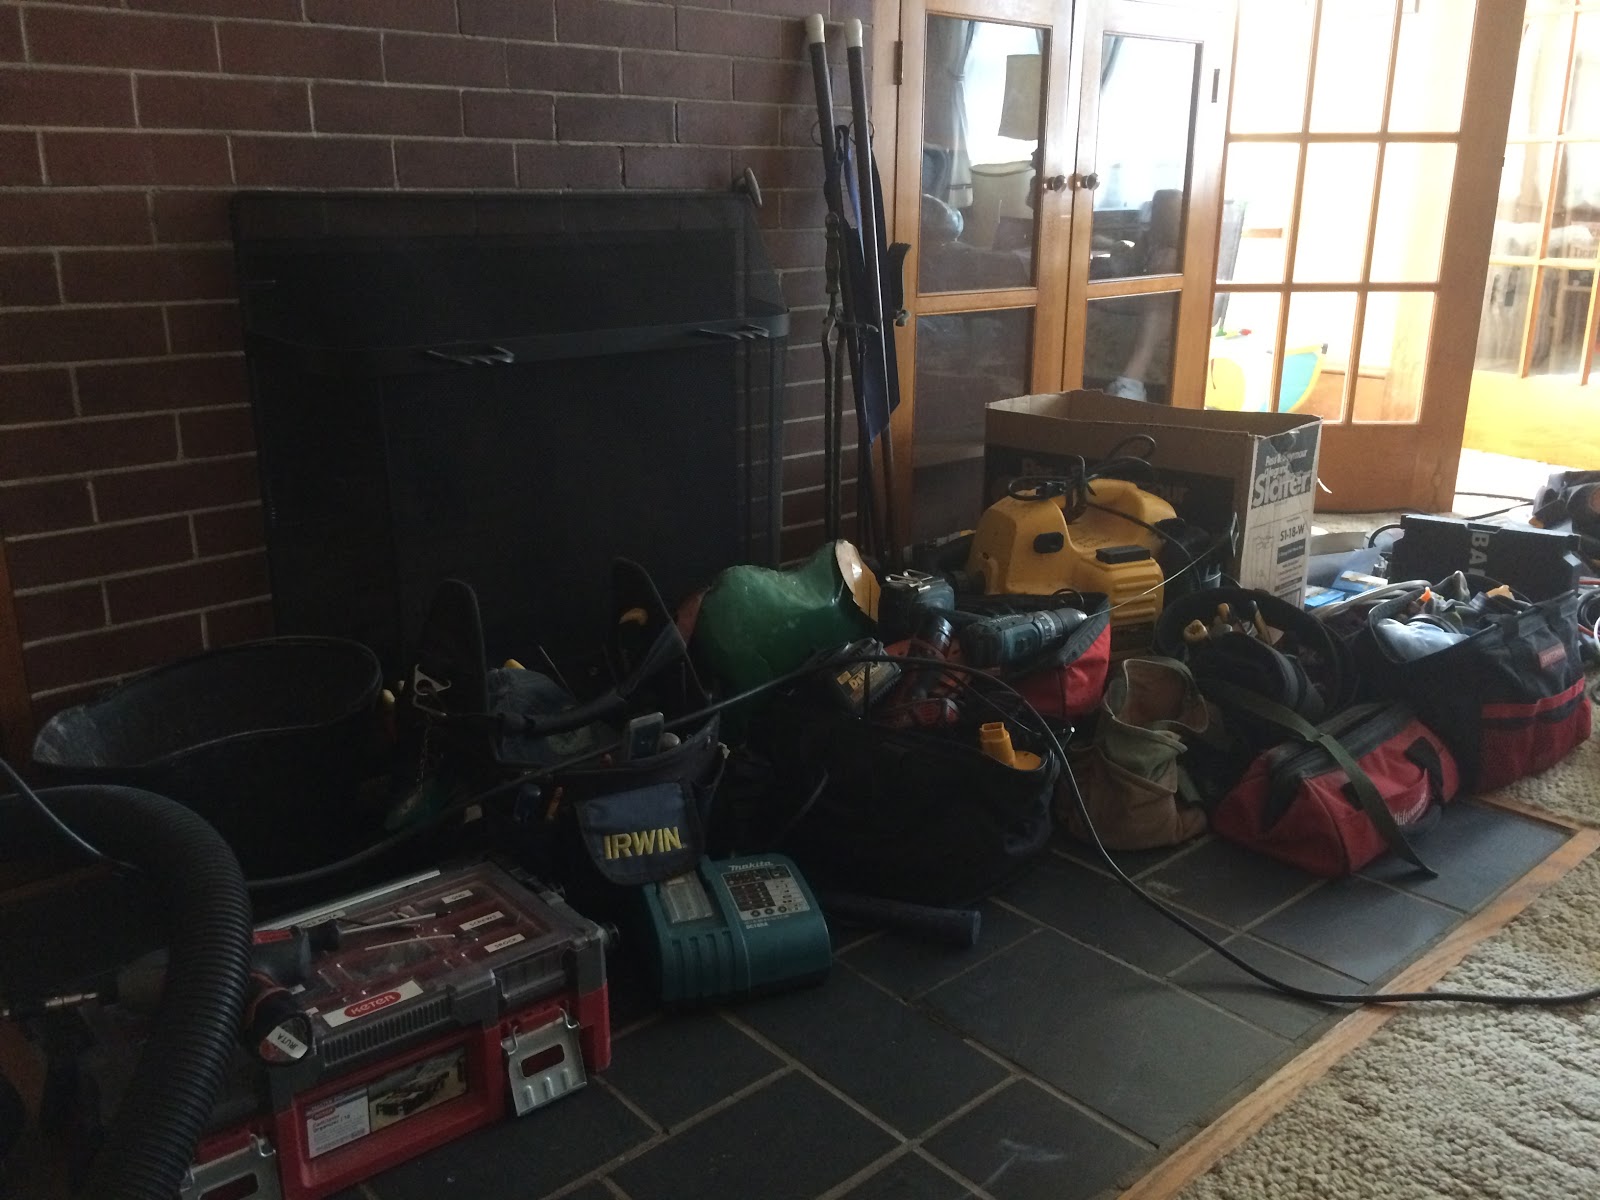
At night, every night, I cleaned up the day’s work – took the ground cover sheets outside to shake them, gathered all the wire bits for recycling, vacuumed up plaster chunks, consolidated tools, and made a plan of work for the next day.
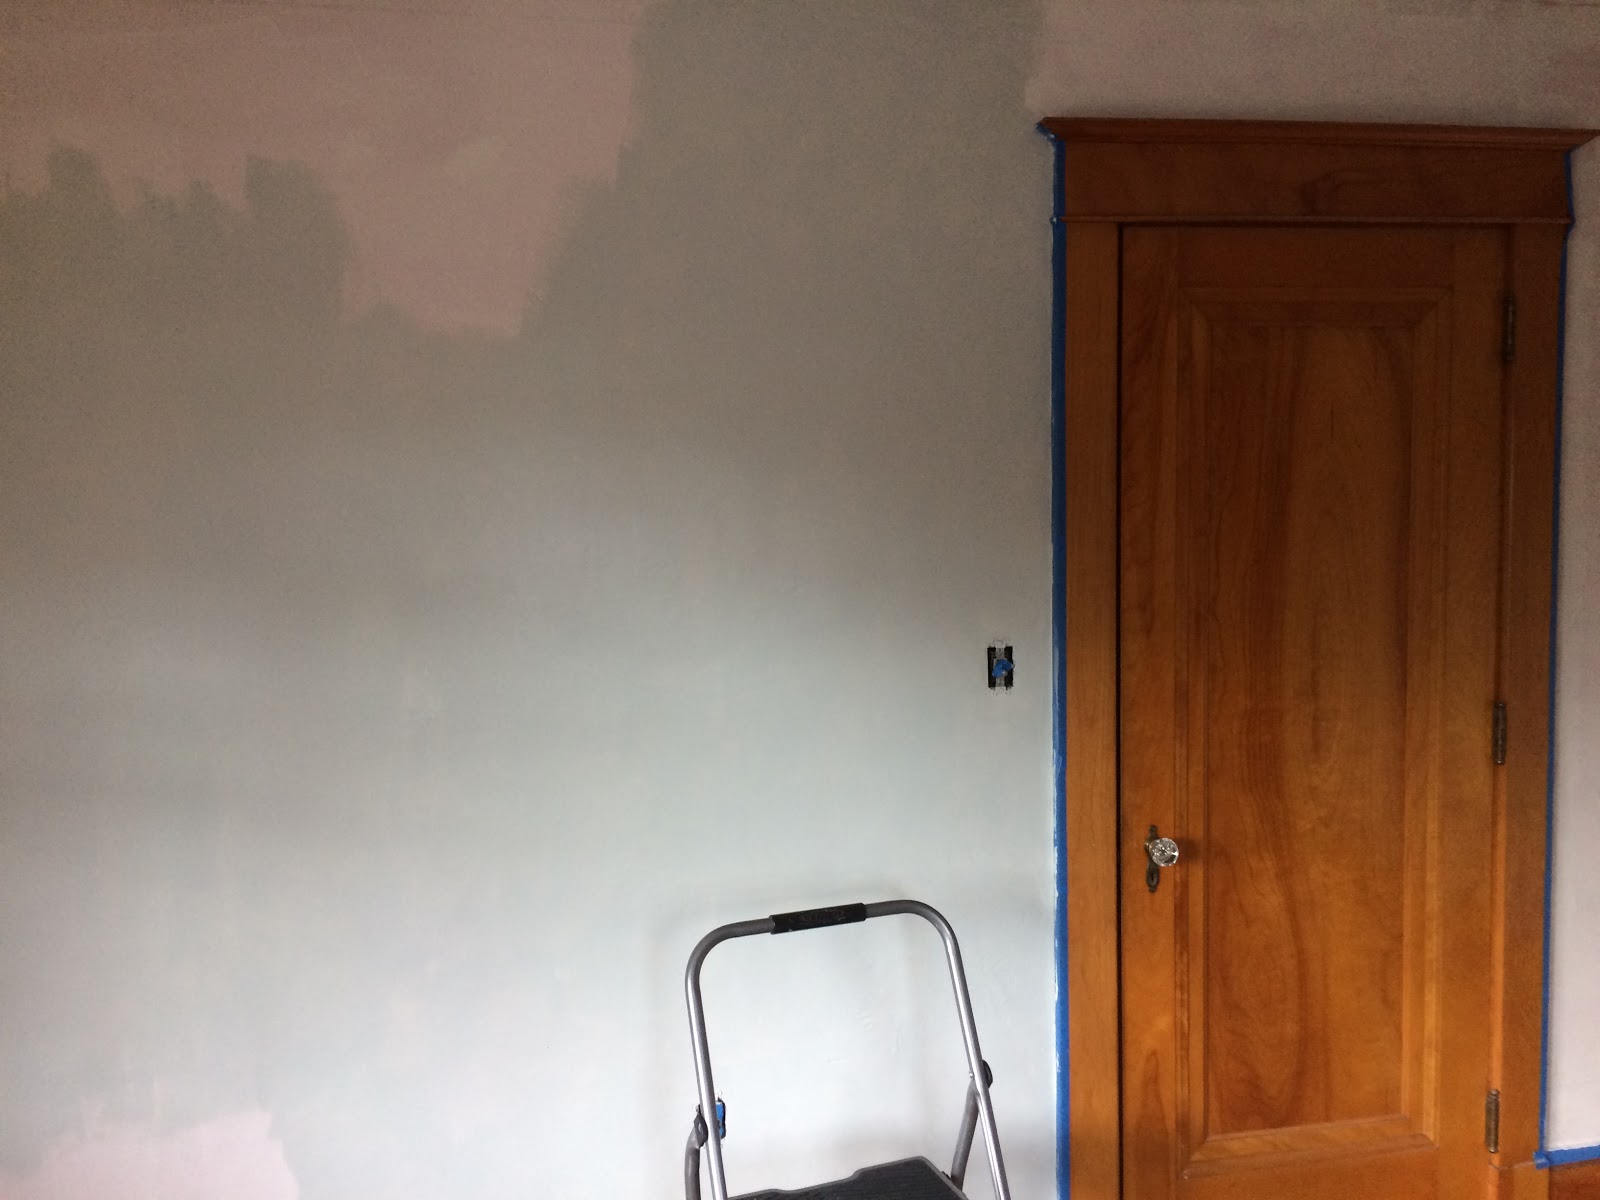
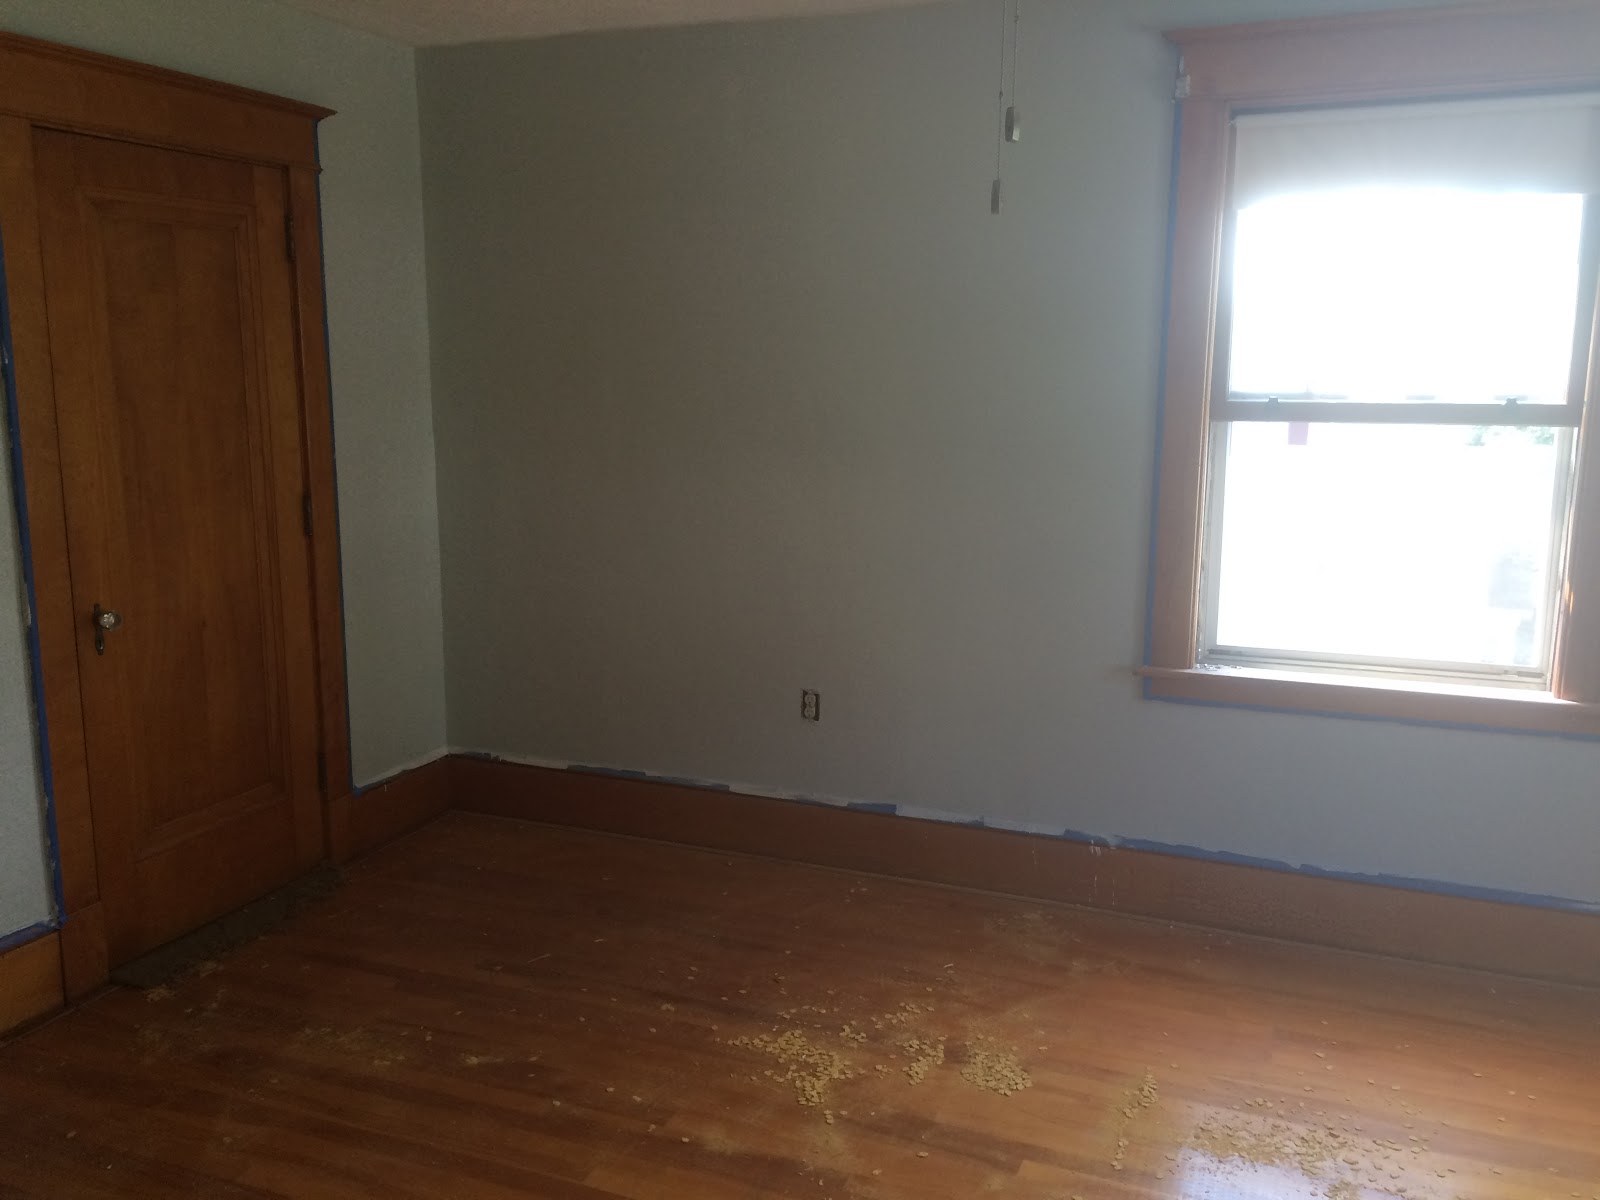
Wednesday afternoon and Thursday all day we worked on the first floor, which was in some ways easier and other ways harder. We were out of the attic, thank God, especially since it was 90+ degrees outside and an actual oven in the attic. But we also lost the easy drop-down of the attic, and in order to replace lights the electricians had to make many holes in my walls and ceiling.

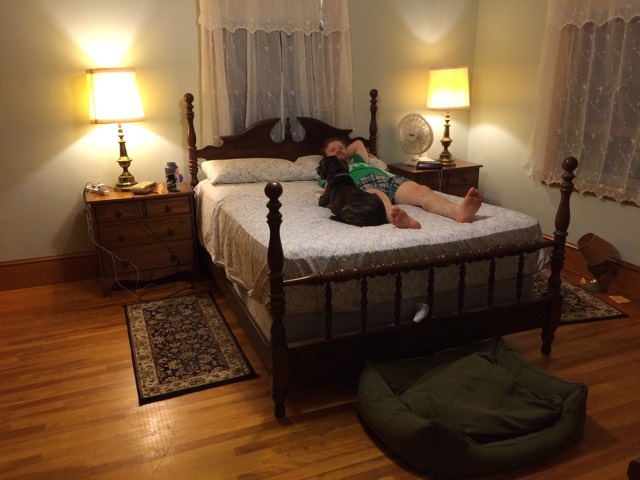
On Day 4, Arya heard the electrician’s truck pull into the driveway and ran upstairs to put herself back to bed.
As it stands right now, after 4 solid days of work, we are halfway done on the first floor. We know at some point soon that it has to get easier, because the panels downstairs have a lot of new wire, and we have only found two circuits so far that do not need to be rewired. So we’re really hoping that the kitchen, breakfast nook, and back office are all set. We’re also hopeful that the basement will be a little easier, being all open.
On Friday, my father installed a bathroom ceiling fan in our upstairs bathroom – or got most of the way there; it was more complicated than he intended. I used my newfound skills to install two new ceiling fans in our living room & sun room, and just cleaned up/made lists/unpacked and re-packed various things.

Friday night, I consolidated one last time and did as thorough a vacuuming of rooms as possible. Today, I’m going through our overall house layout and identifying the last places we need to pull/swap wire. Then I am headed out of town for tonight and tomorrow, and Sunday night I will pull all the remaining knob & tube in the basement so we can just go through and get the last of it done.
Whew.
house post

House Post: Living Room Couch

This is going to be a very short post that does not properly encapsulate the agony of trying to find this damn couch.

My fiances parents are the loveliest people ever (I seriously hit the in-law jackpot.) Even after doing so much for us already, they wanted to get us a housewarming gift. A few conversations later and we decided on a nice couch.

Fiance had his heart set on sectional, which is…not my style. However, he also wants to keep all the wall-to-wall carpeting in the house, because he hates hardwood floors, because he has no soul. So I figured: he can have a sectional, and I will win my hardwood floors.

However. Our living room, while quite spacious, is not a modern living room. It is a 1928 living room, and in 1928, they did not envision monstrous sectionals. We measured the walls, and we started visiting furniture stores. And more furniture stores. And mooooooore furniture stores.

First of all, 90% of all of them were too big for the space. Another 5% were out of the budget. Of the remaining 5%, 4% were ugly.

Finally, we arrived at a couch we both liked, with the measurements we needed, and we ordered it. And then we waited. I’ve never bought grown up furniture before, so it was a revelation to me that you couldn’t just go get it from the warehouse. (Okay, I honestly can’t remember the last piece of furniture I bought new that wasn’t IKEA.)

Friday, the new couch arrived!

Before! Fiance was way less than impressed with my need for a before picture.
After, with bonus excited pup.
And the final arrangement. I even got the coasters out of their box so we could use them on the nice table from his grandmother.
can i go back to bed now? · house post · stupid human tricks

Maintaining

I’ve been in a sort of funny place with my riding. I want to and I don’t want to. I crave the feeling I get while riding, but I’m currently exhausted and overbooked, and the idea of getting everything together to go to the barn just to be hot and sweaty and miserable is not appealing, when there’s SO much to do at home. So Tris is just sort of hanging out not getting a ton of exercise right now.

It’s not like Tris has been neglected; far from. I’ve gone a few times to pet him on the nose, gather supplies, etc. Other things on the horse front are moving along: I’m washing his winter blankets, and have started showing the trailer. If all goes well, I’ll sell it by the end of the week.

Arya’s separation anxiety issues have been spiking, too, so it’s doubly hard to leave her alone on my days off with her, when she cries and shivers and glues herself to my leg as soon as I start making motions to leave. We may be on the right track to helping her out, but that doesn’t make it any easier to see her so miserable.

The house is moving right along. We’re in a sort of weird decision crunch right now; the electrician comes on Monday to start rewiring, so I’m picking out ceiling fans, bathroom fans, and trying to line up other things to get done next week so that we’re in the right place for rewiring.

We’re finally painting in the master bedroom, too, and I am happy with the test color. One more wall to prep & sand, then prime, and some detail work for the priming to do, and then we will finish with a first coat around the room.

In short: not terribly exciting. I have things I want to blog about and ask, but 99% of my at-home internet time lately has been taken up by endless trawling through home improvement blogs to think about what rating ceiling fan I really need, what the Vermont code is for fire walls, and the relative R-values of insulation. Whew.