house post

House Post: Year One Roundup

Today is our official one year anniversary of owning a house!

I really kind of love it. Both the house, and the actual thing that is owning a house. Even though we started with the vague thought that we might purchase land, I don’t regret going with a “city” house. It’s the right fit for us.

So, what did we accomplish in year one?

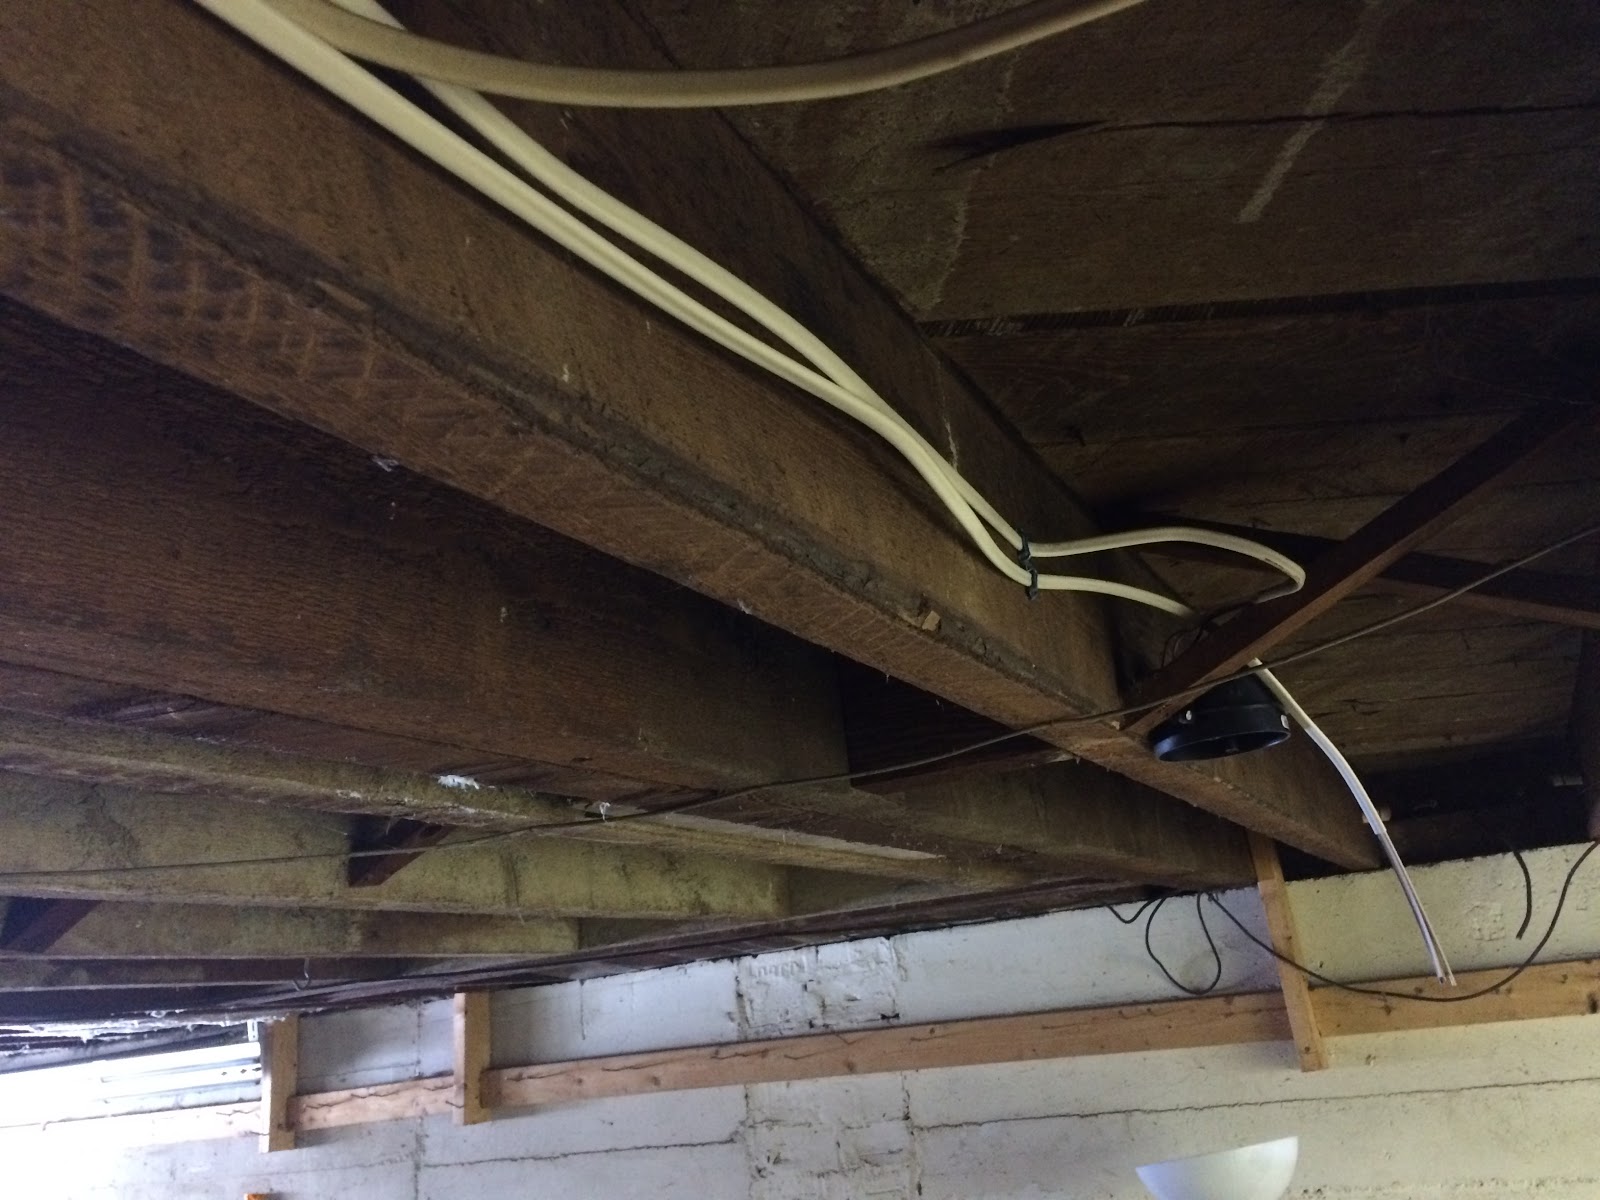
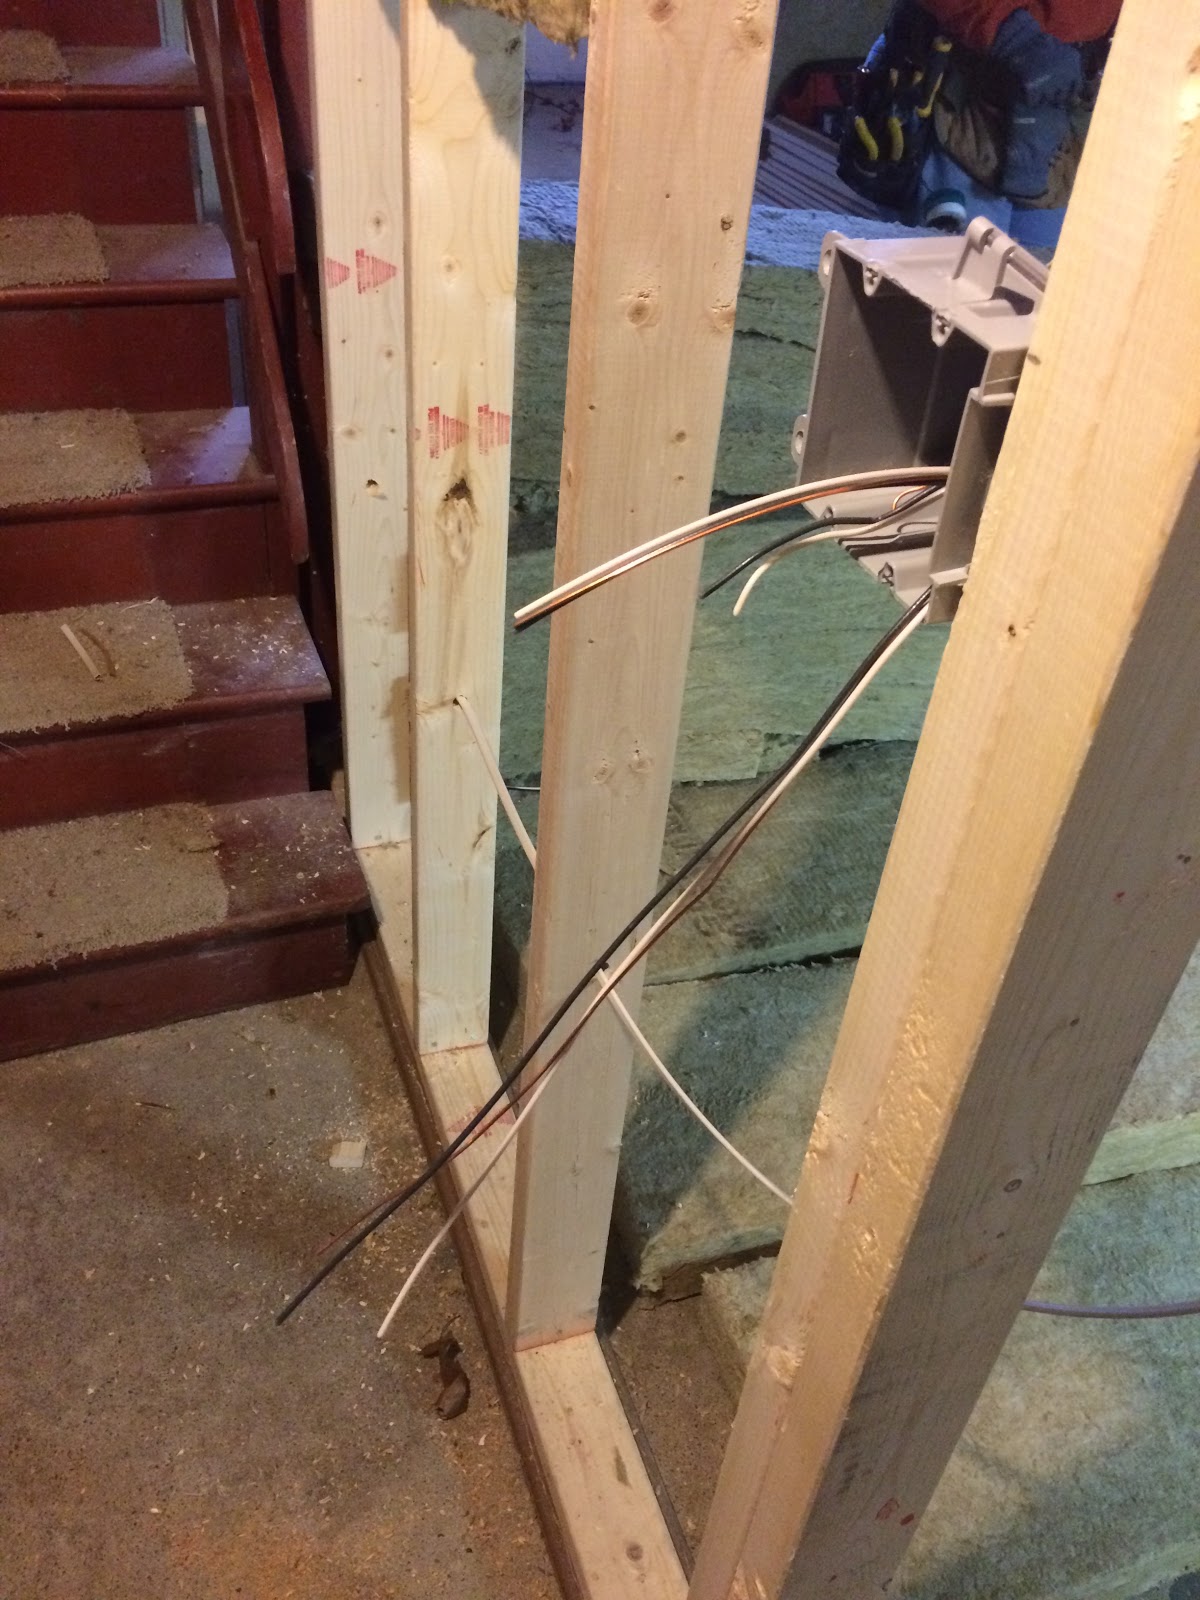
The first big project was rewiring, in which I learned that I really liked electrical work.

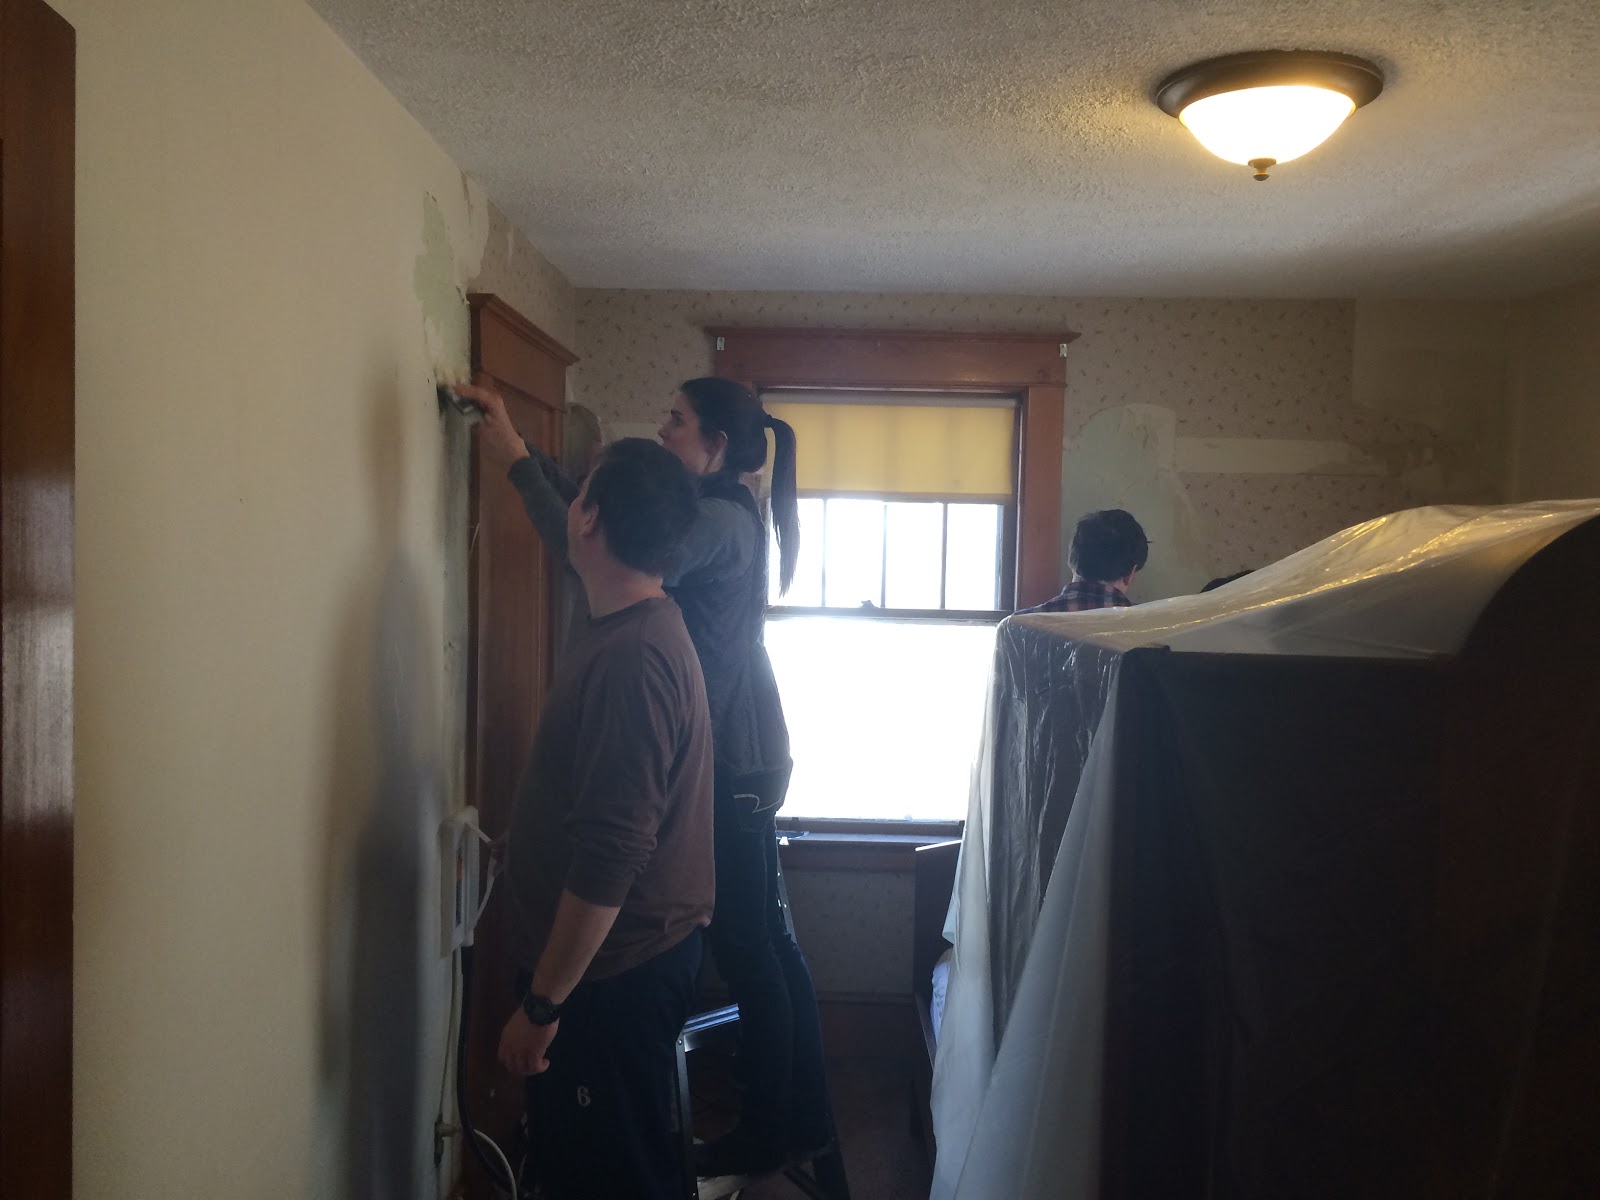
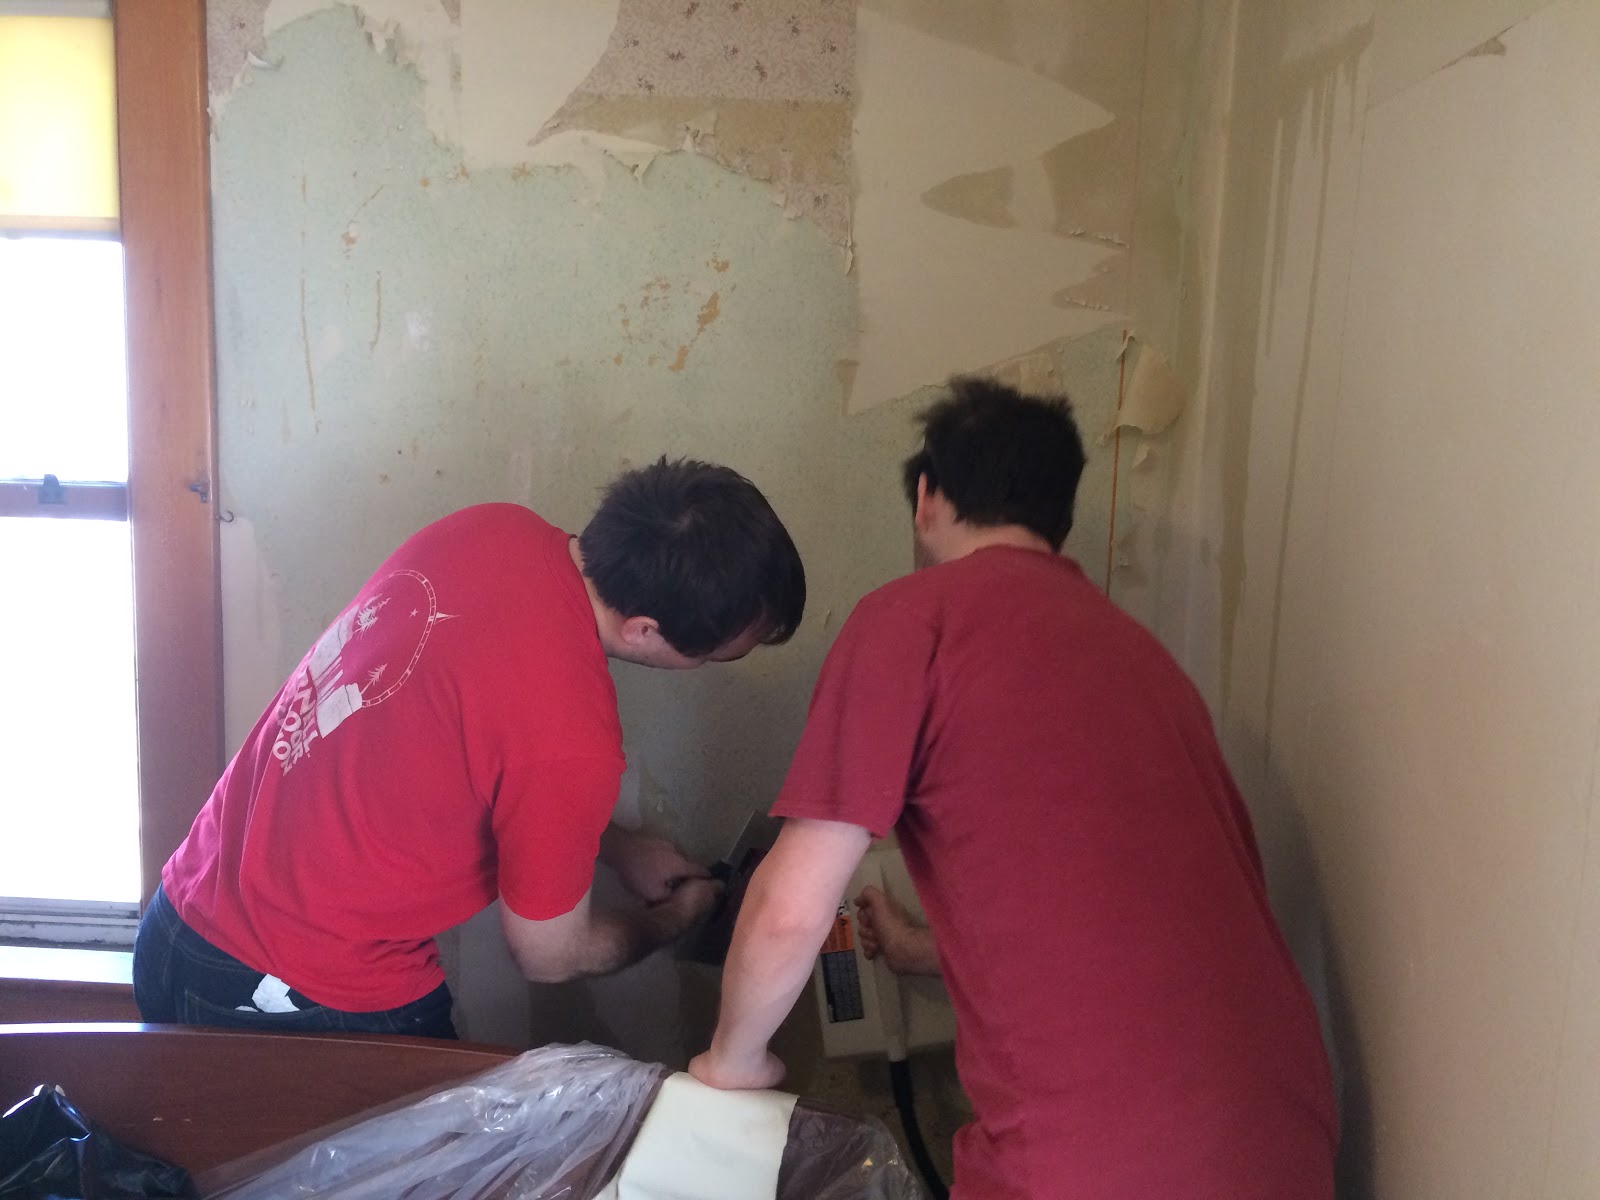
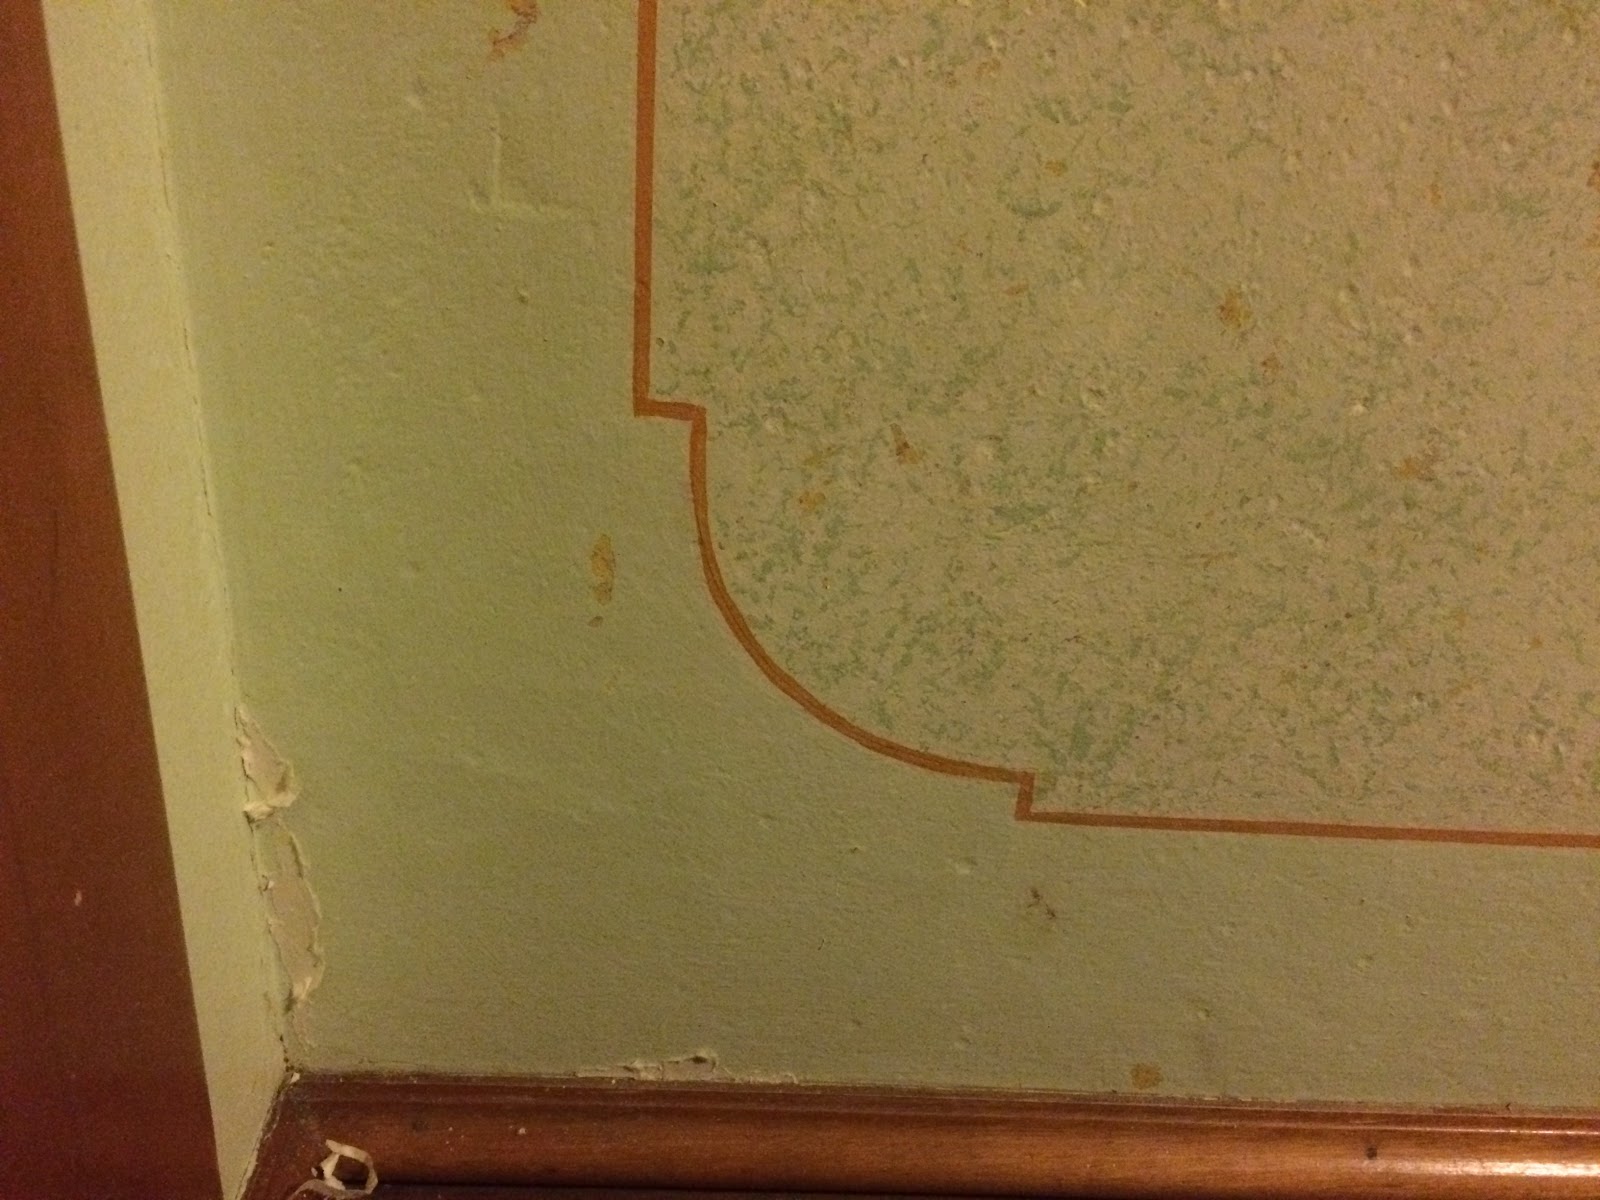
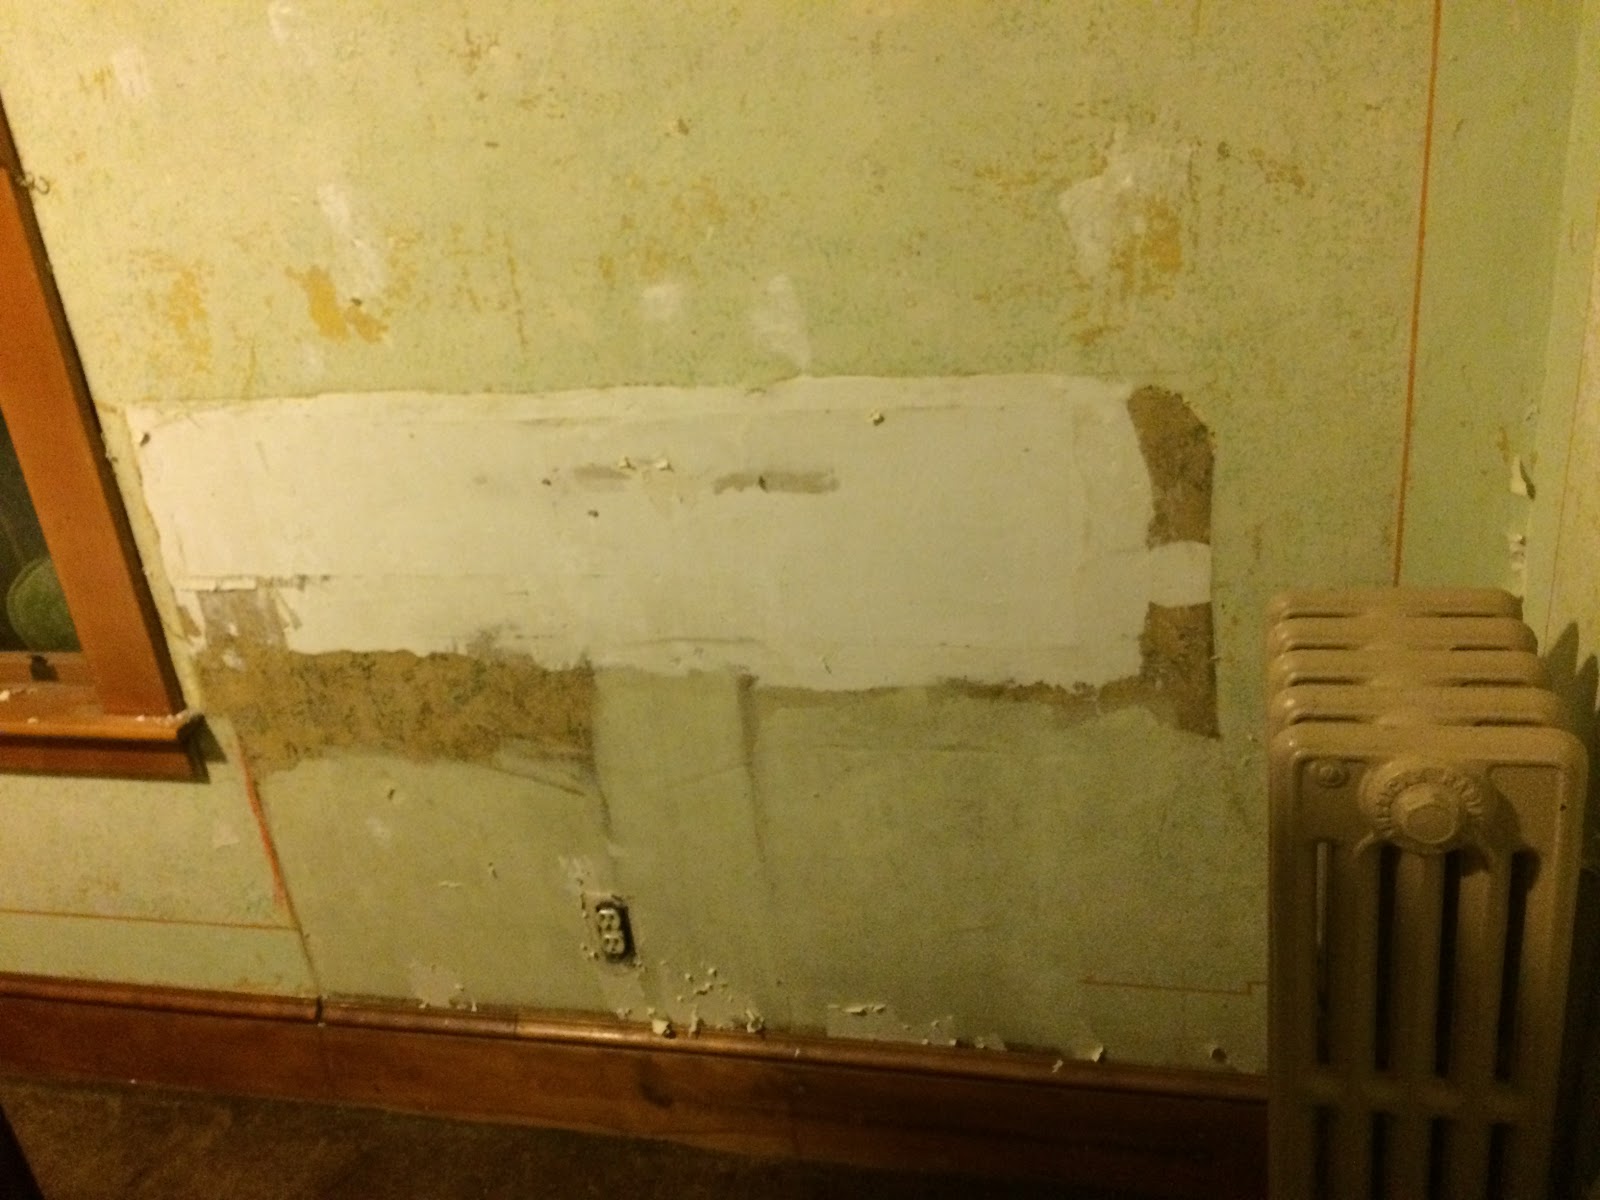
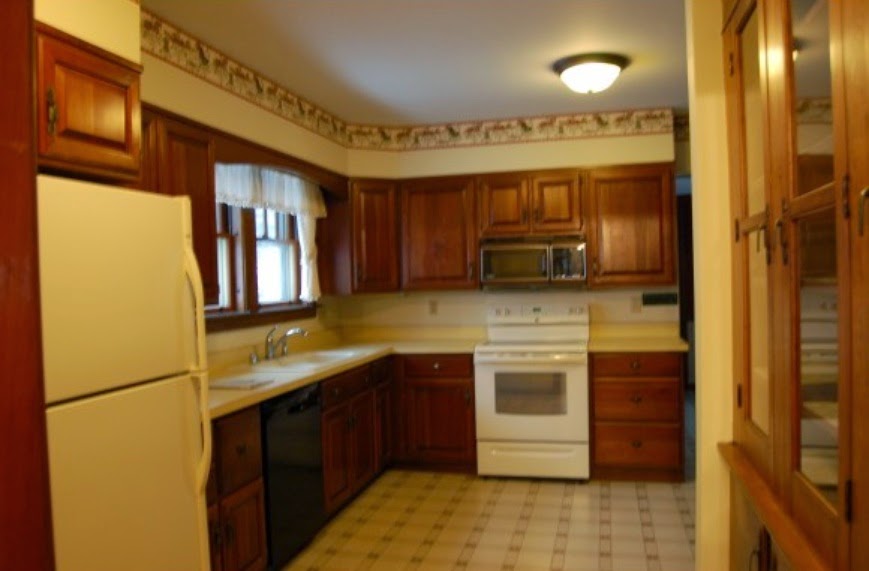
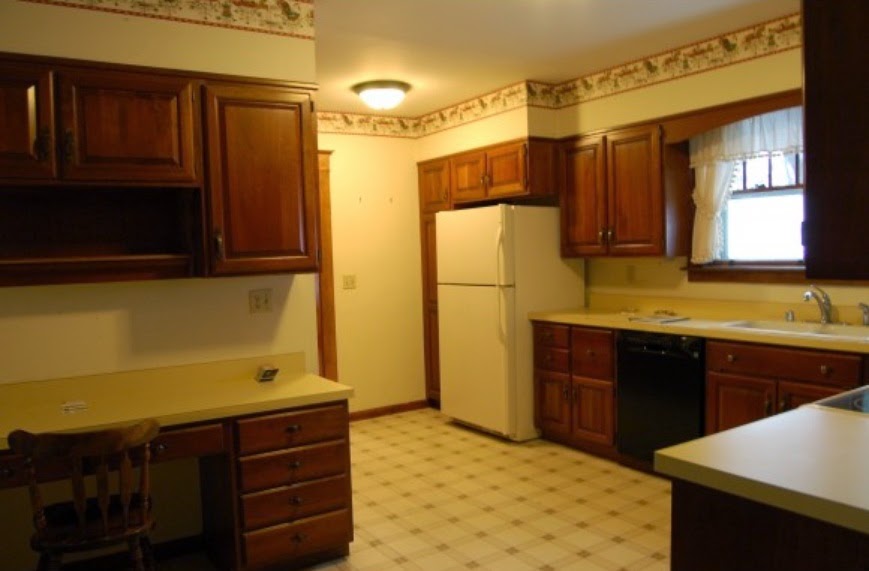
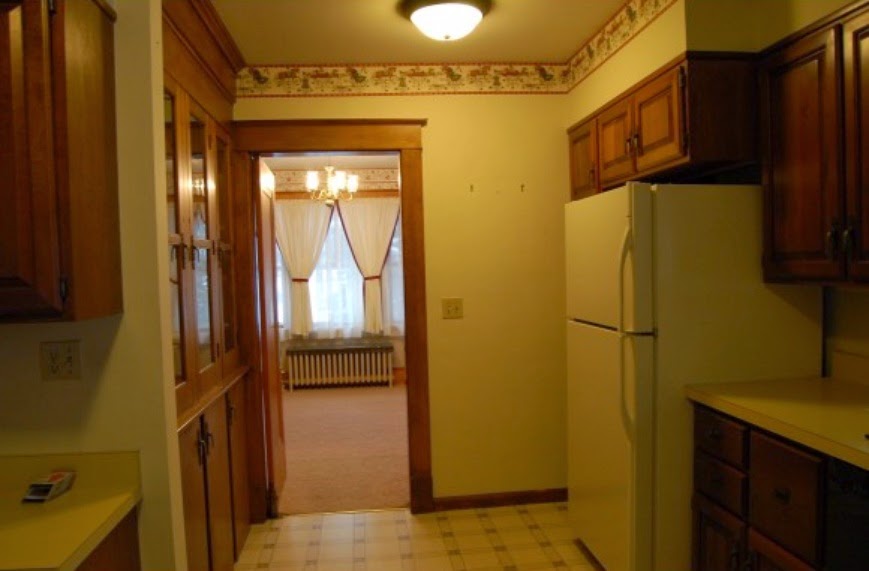
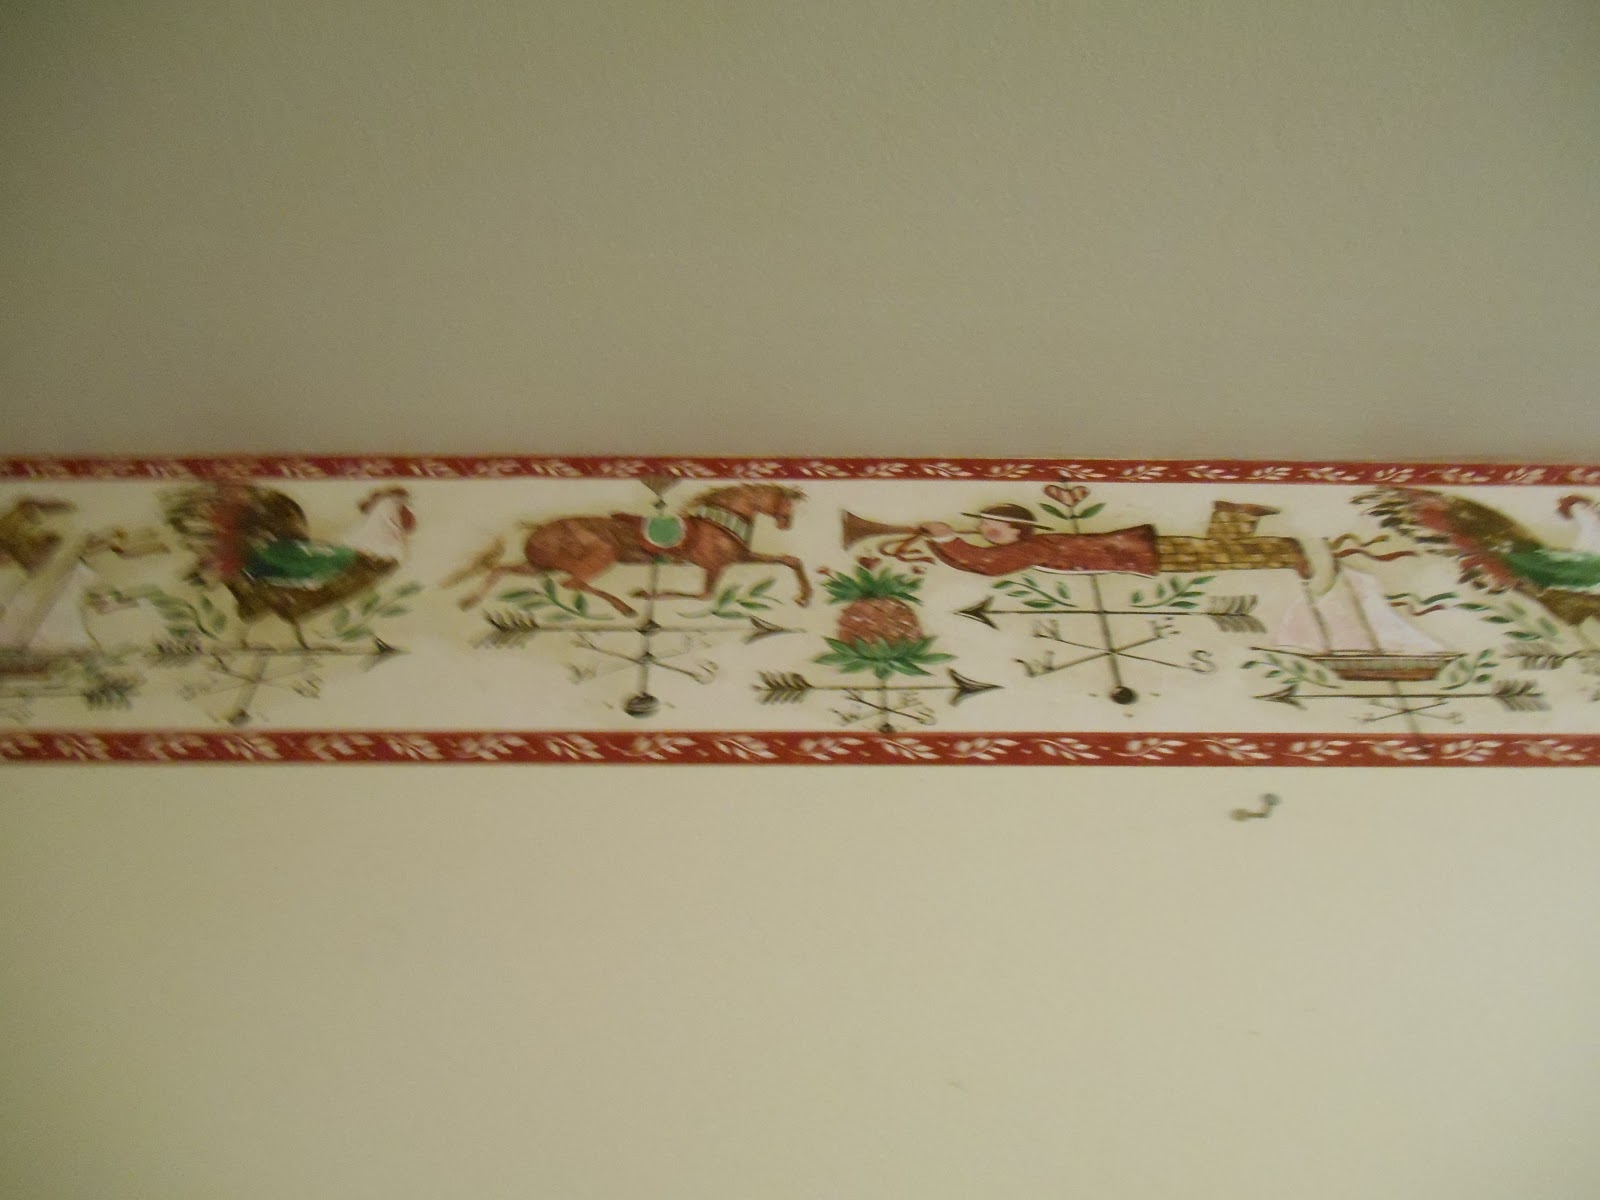
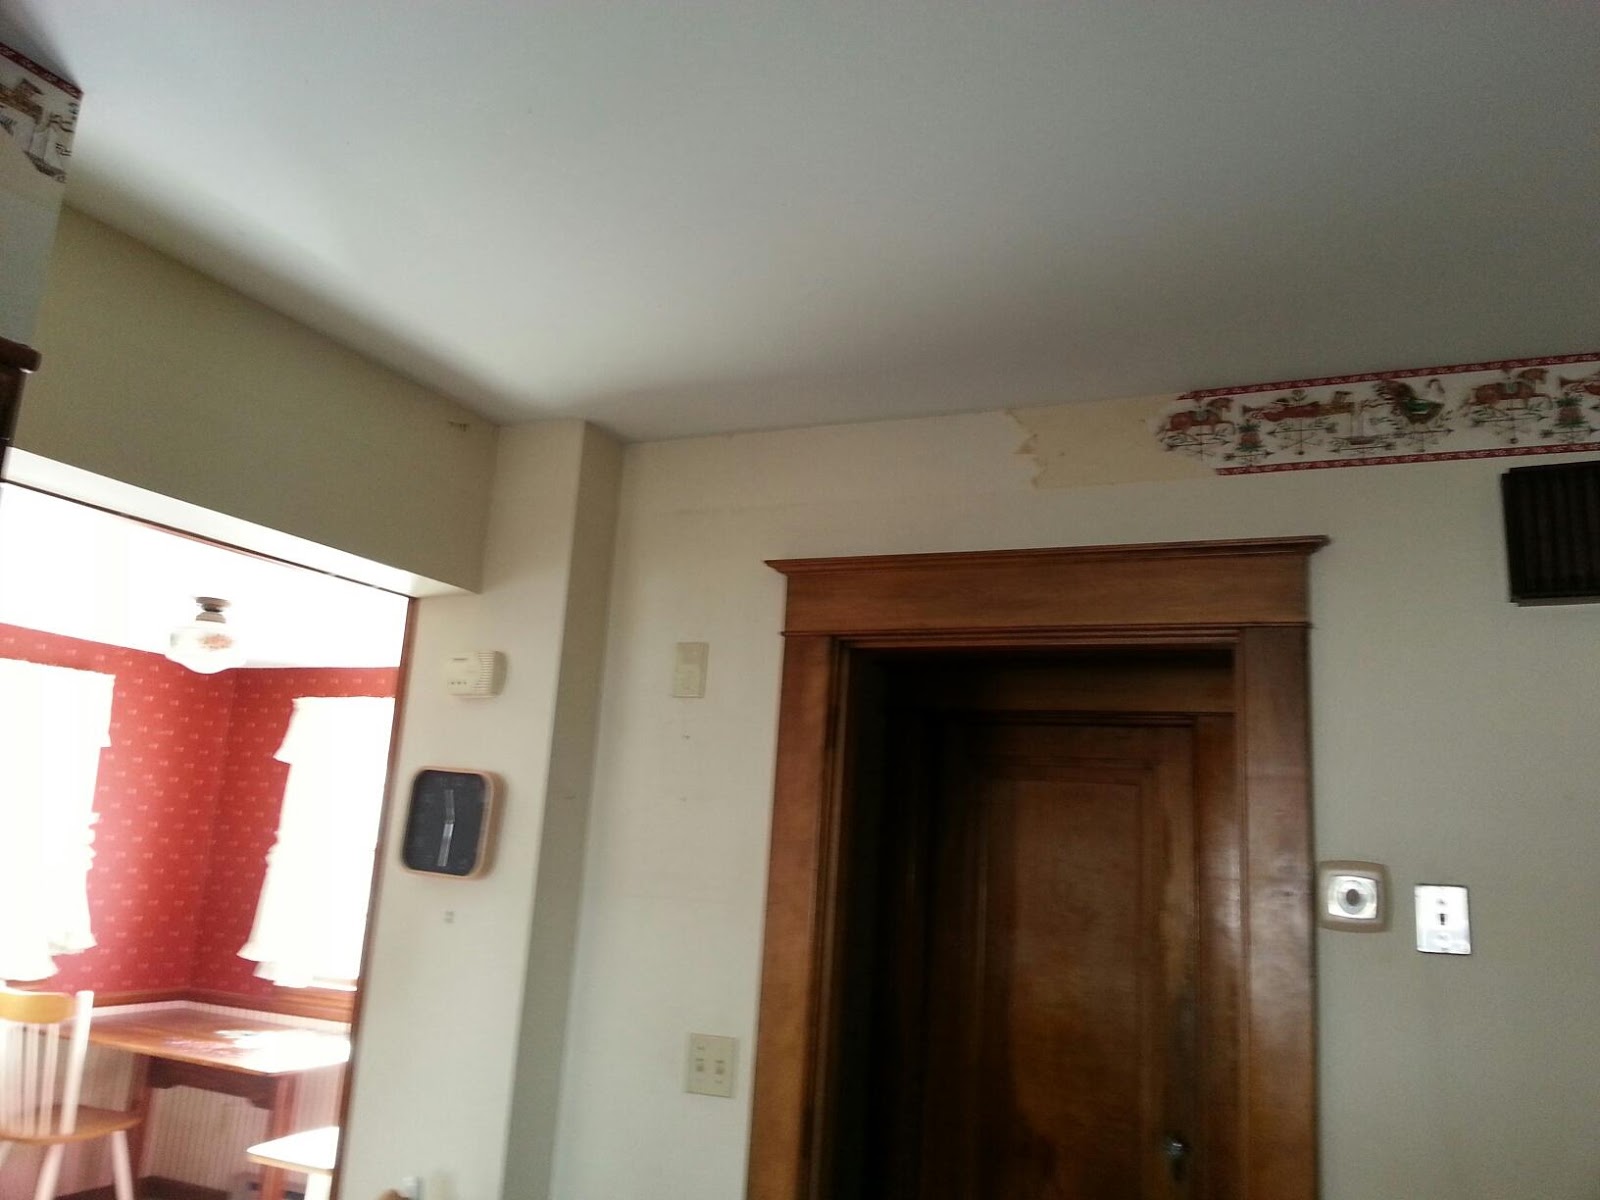
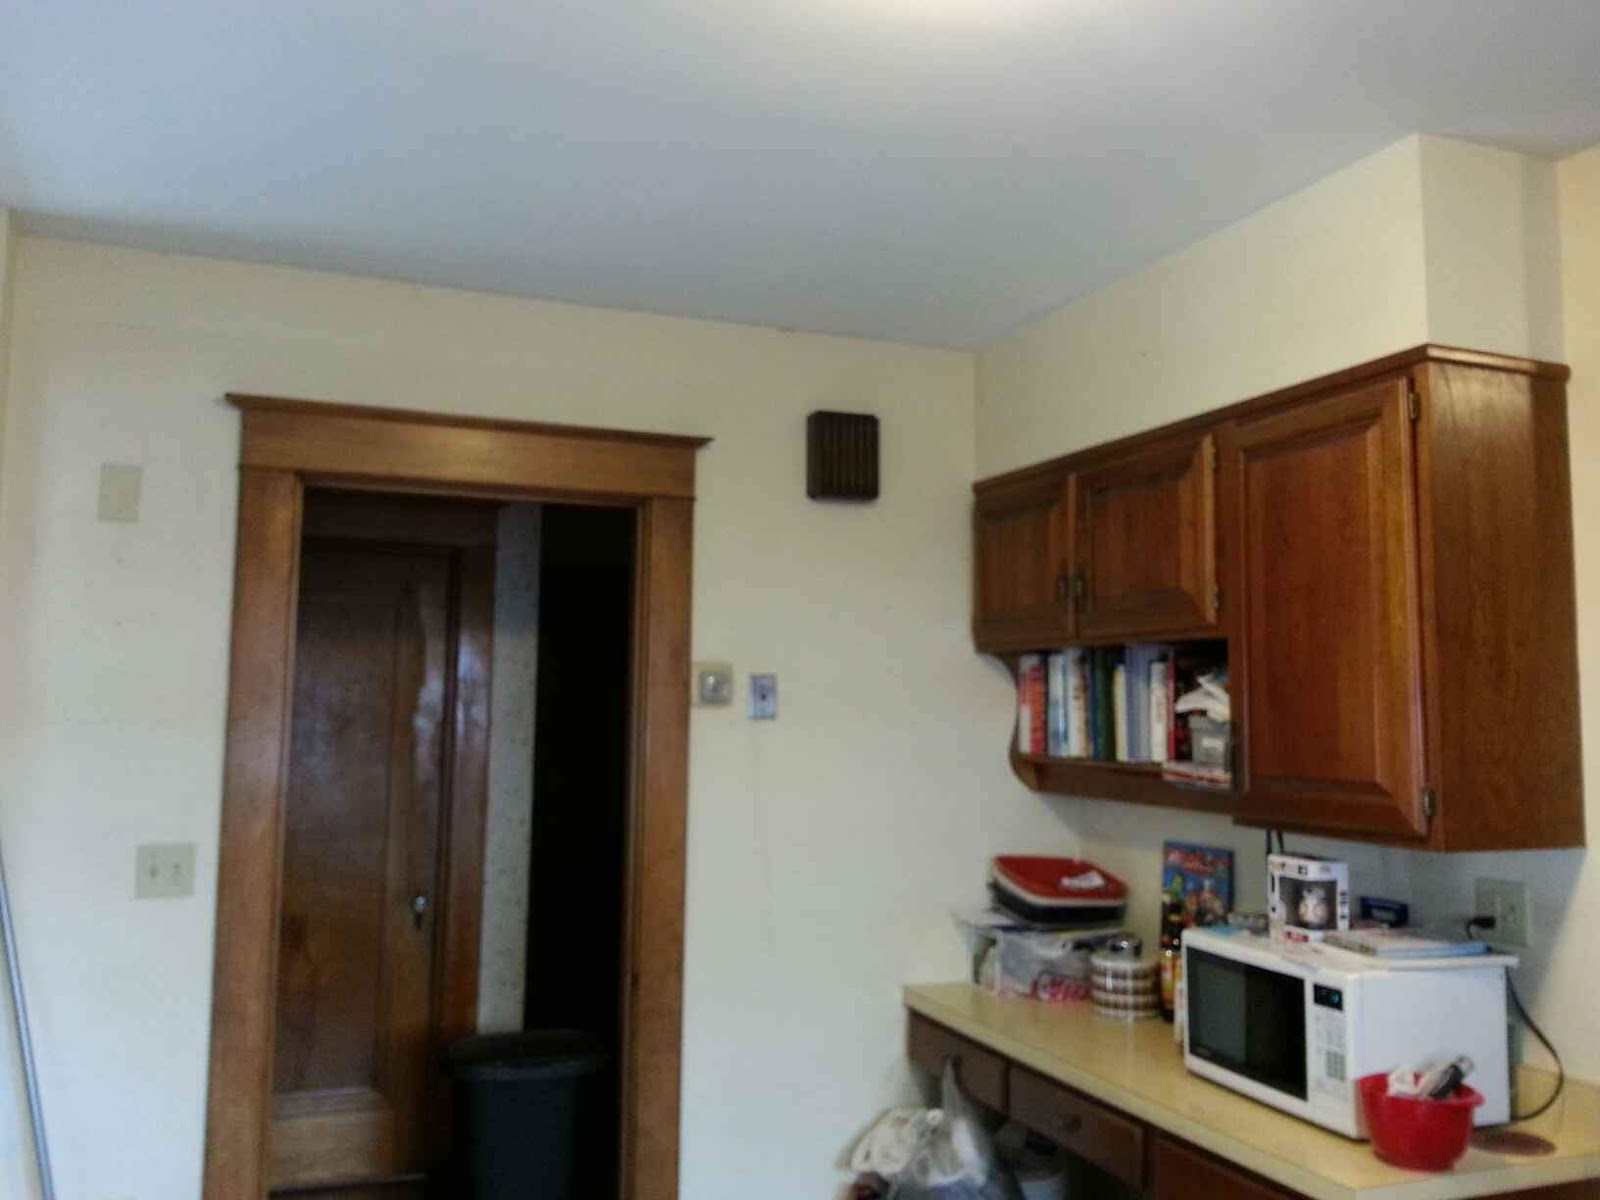
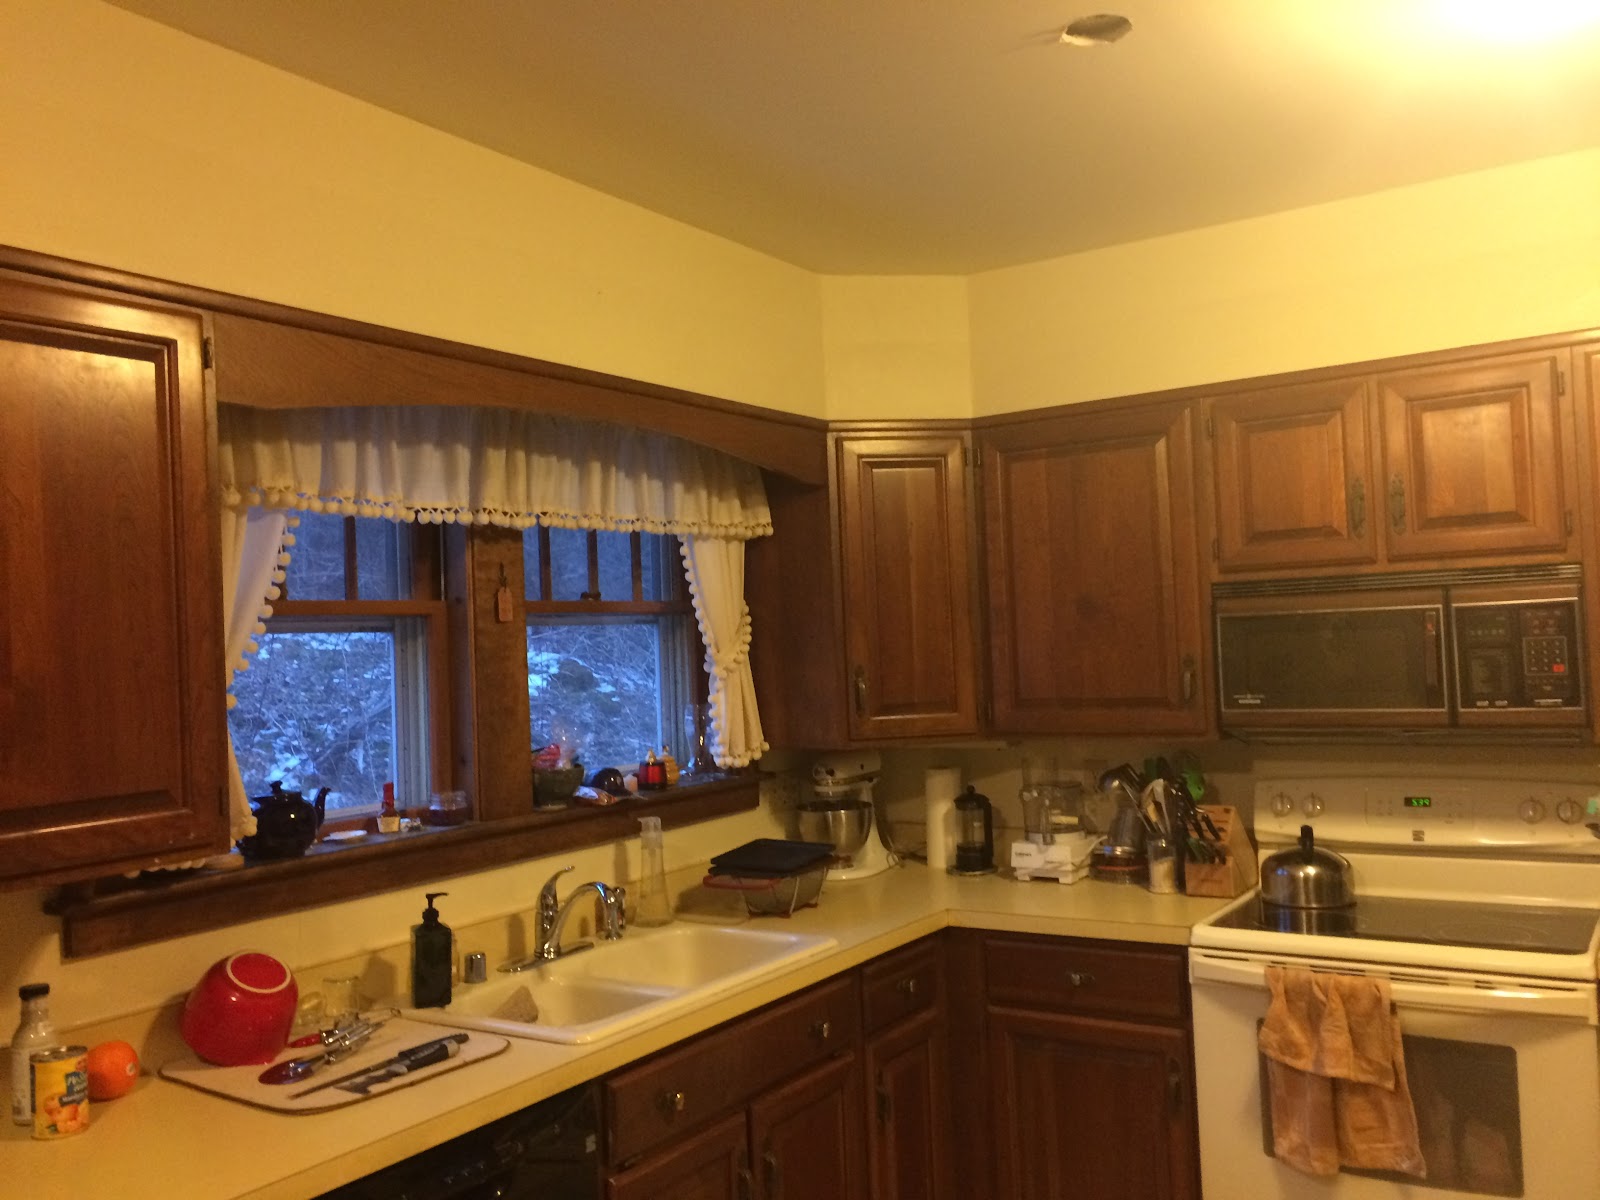
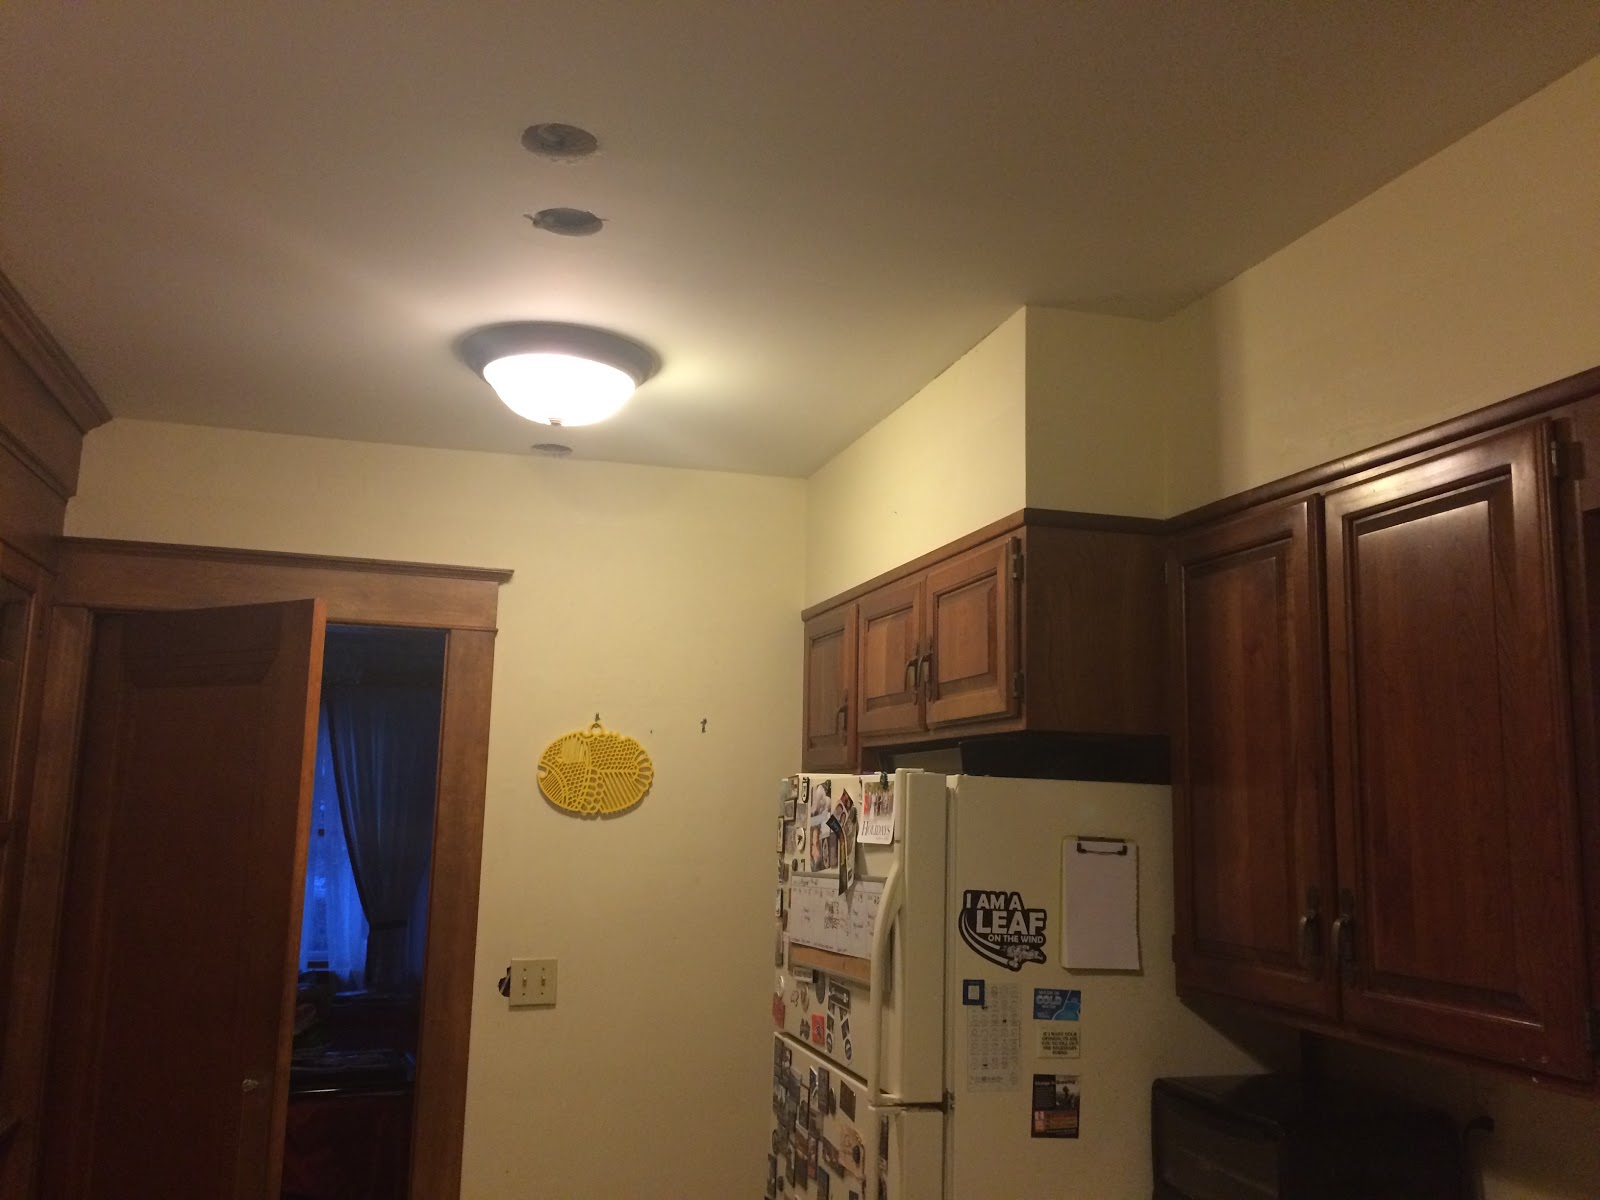
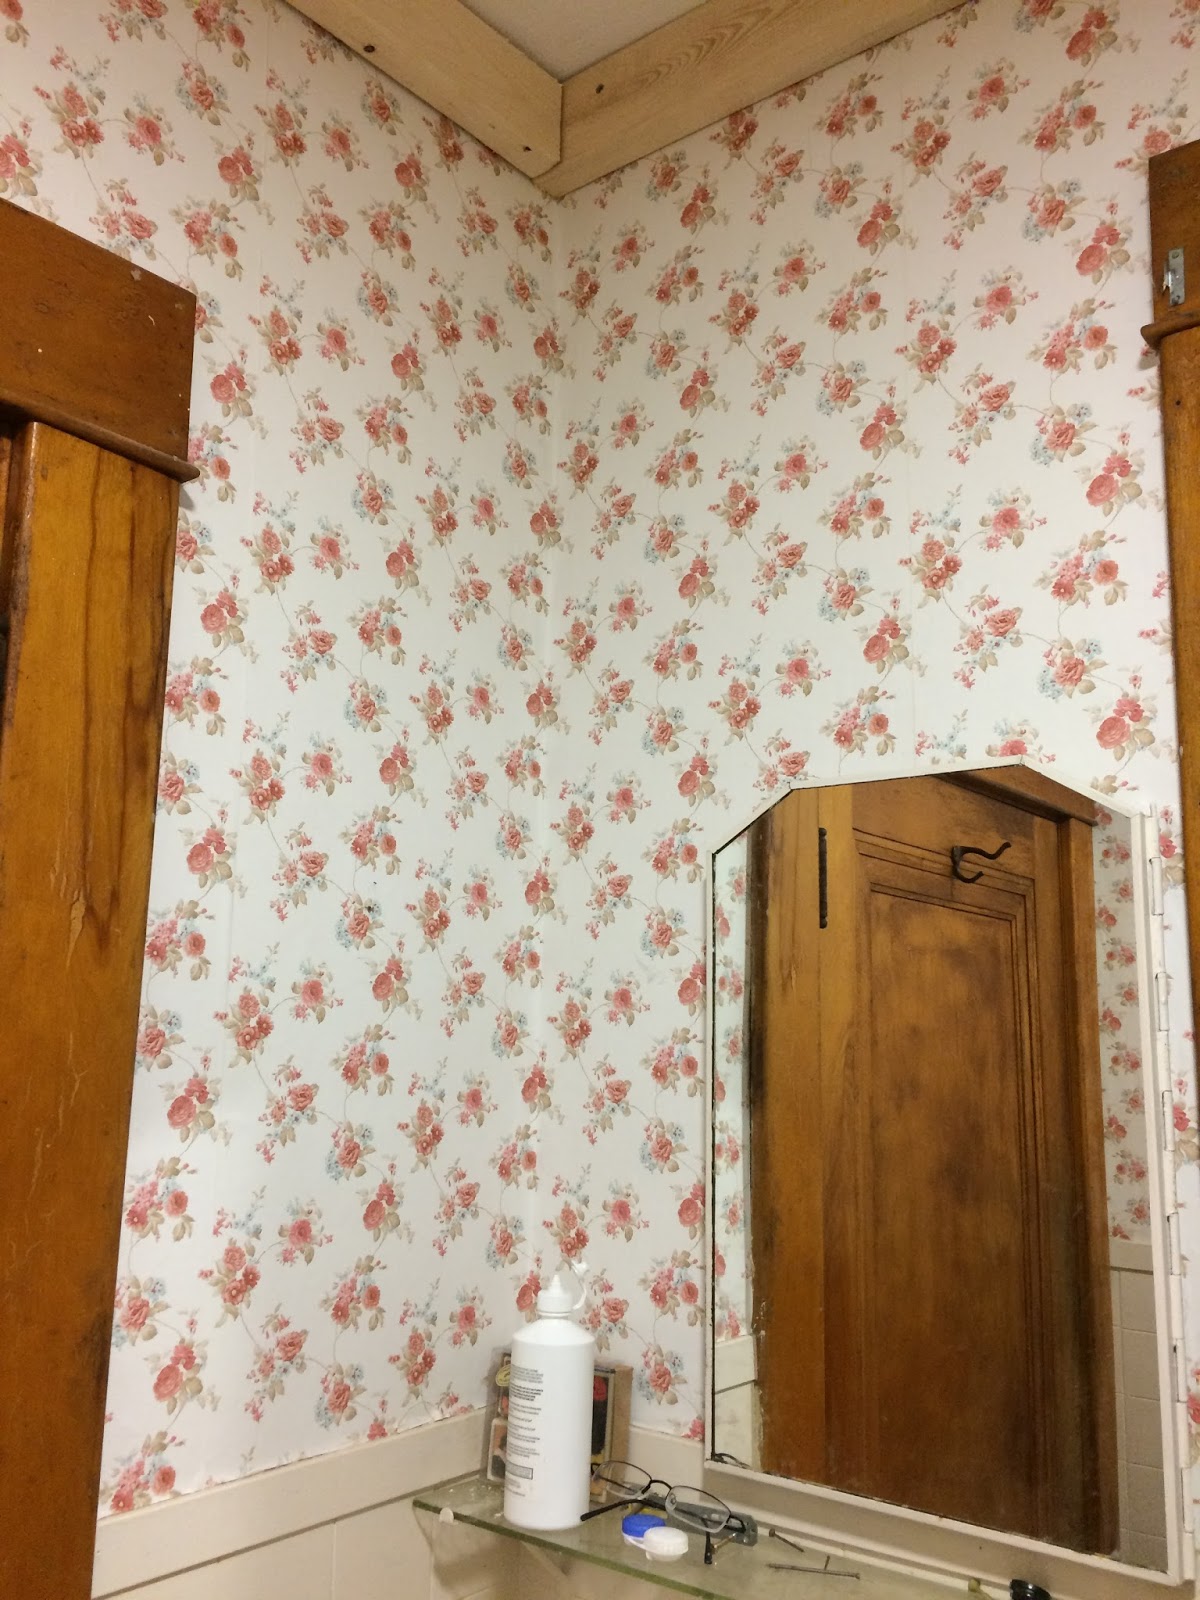
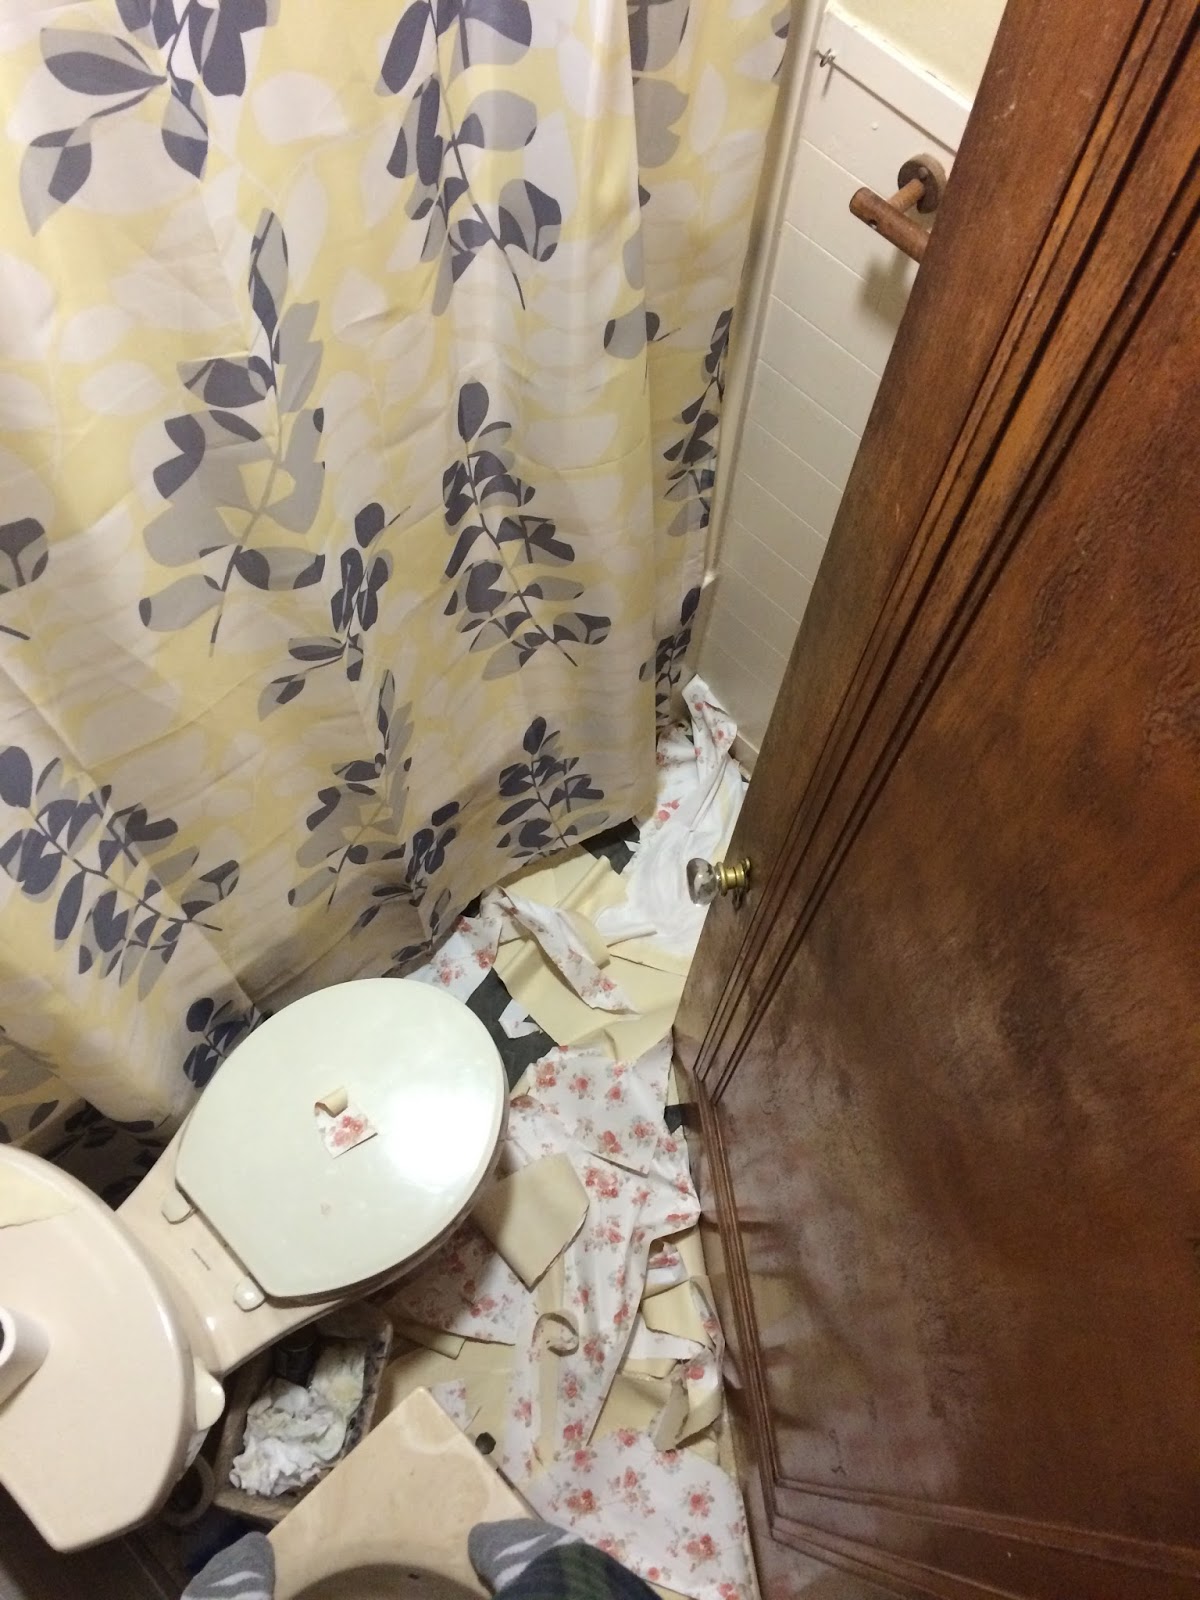
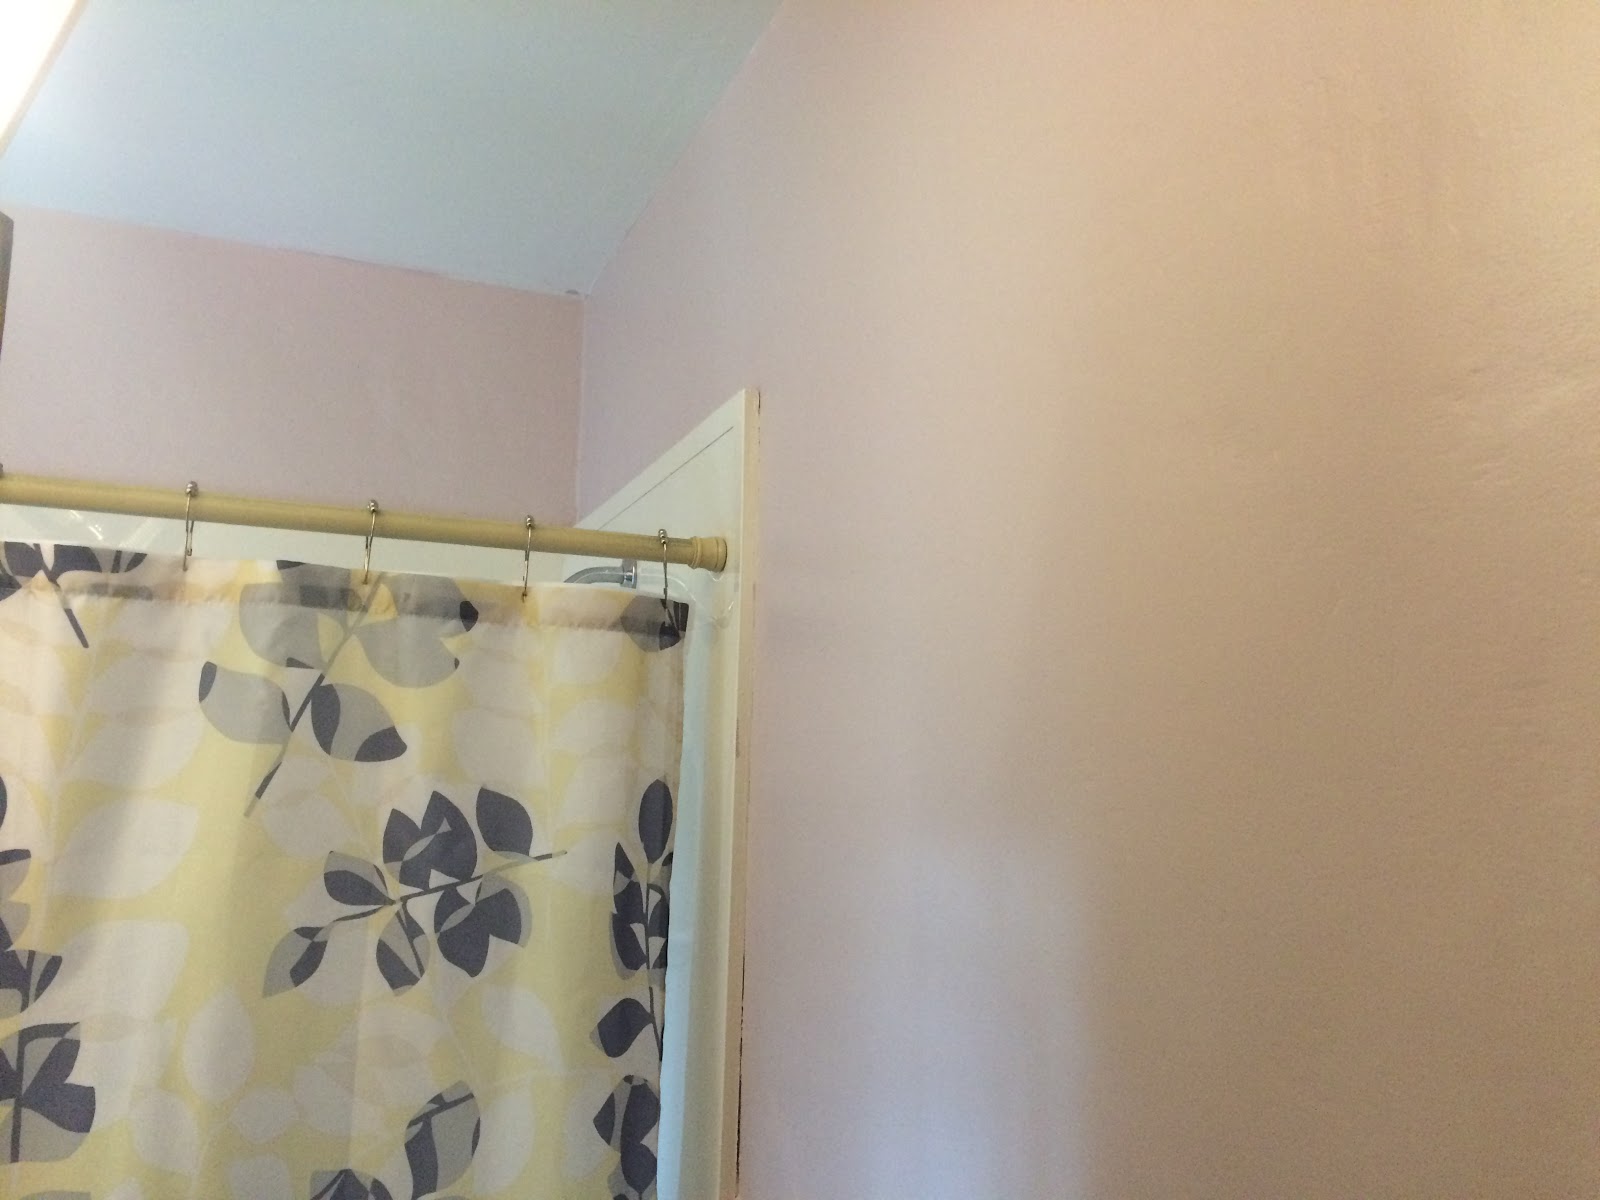
We also stripped wallpaper from and repainted four rooms: the master bedroom, the library, the downstairs bathroom, and the kitchen. (No post for the kitchen yet; I’ll cover that soon, but it got finished just in under the deadline.

We pulled carpet and exposed gorgeous hardwood floors in three rooms: master bedroom, library, and dining room. (Apparently I never blogged about the dining room? Whoops.)

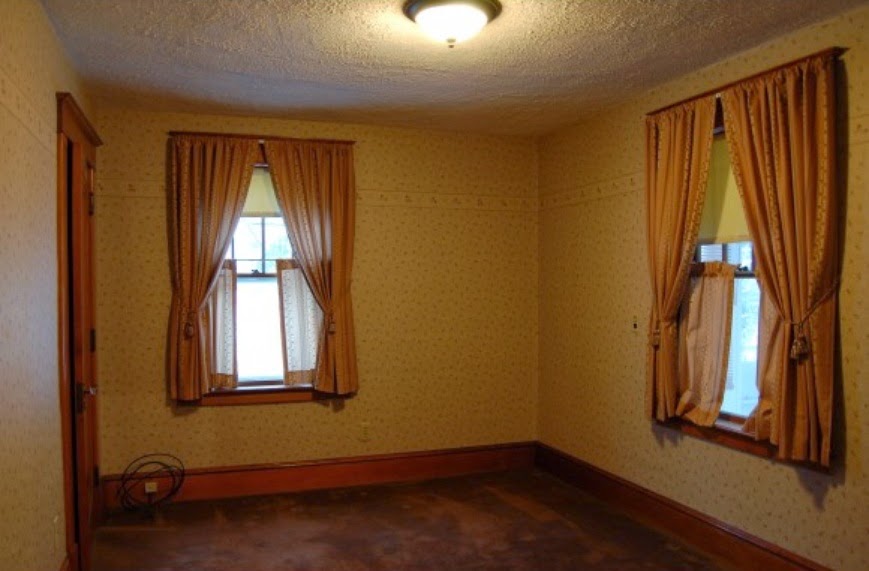
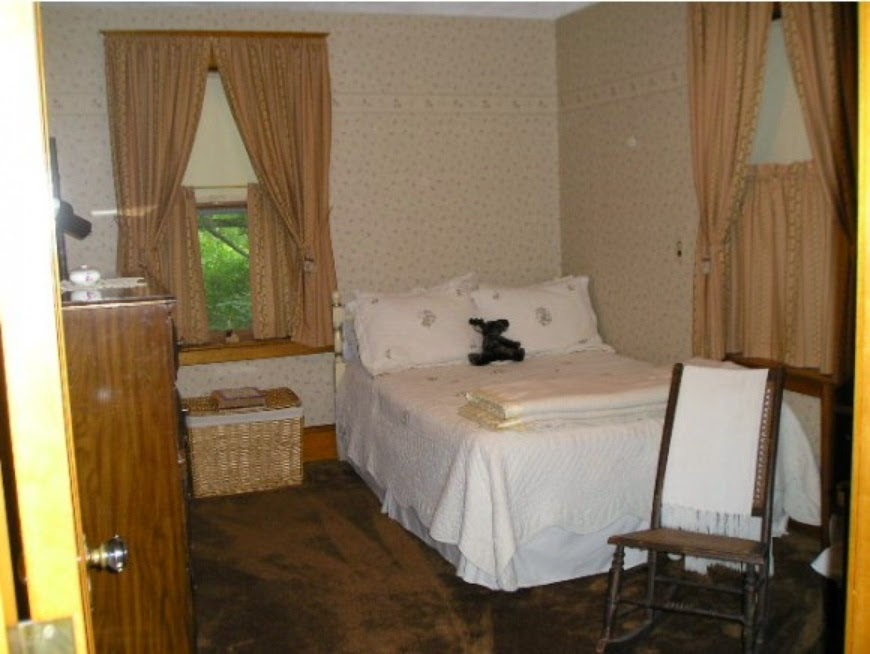
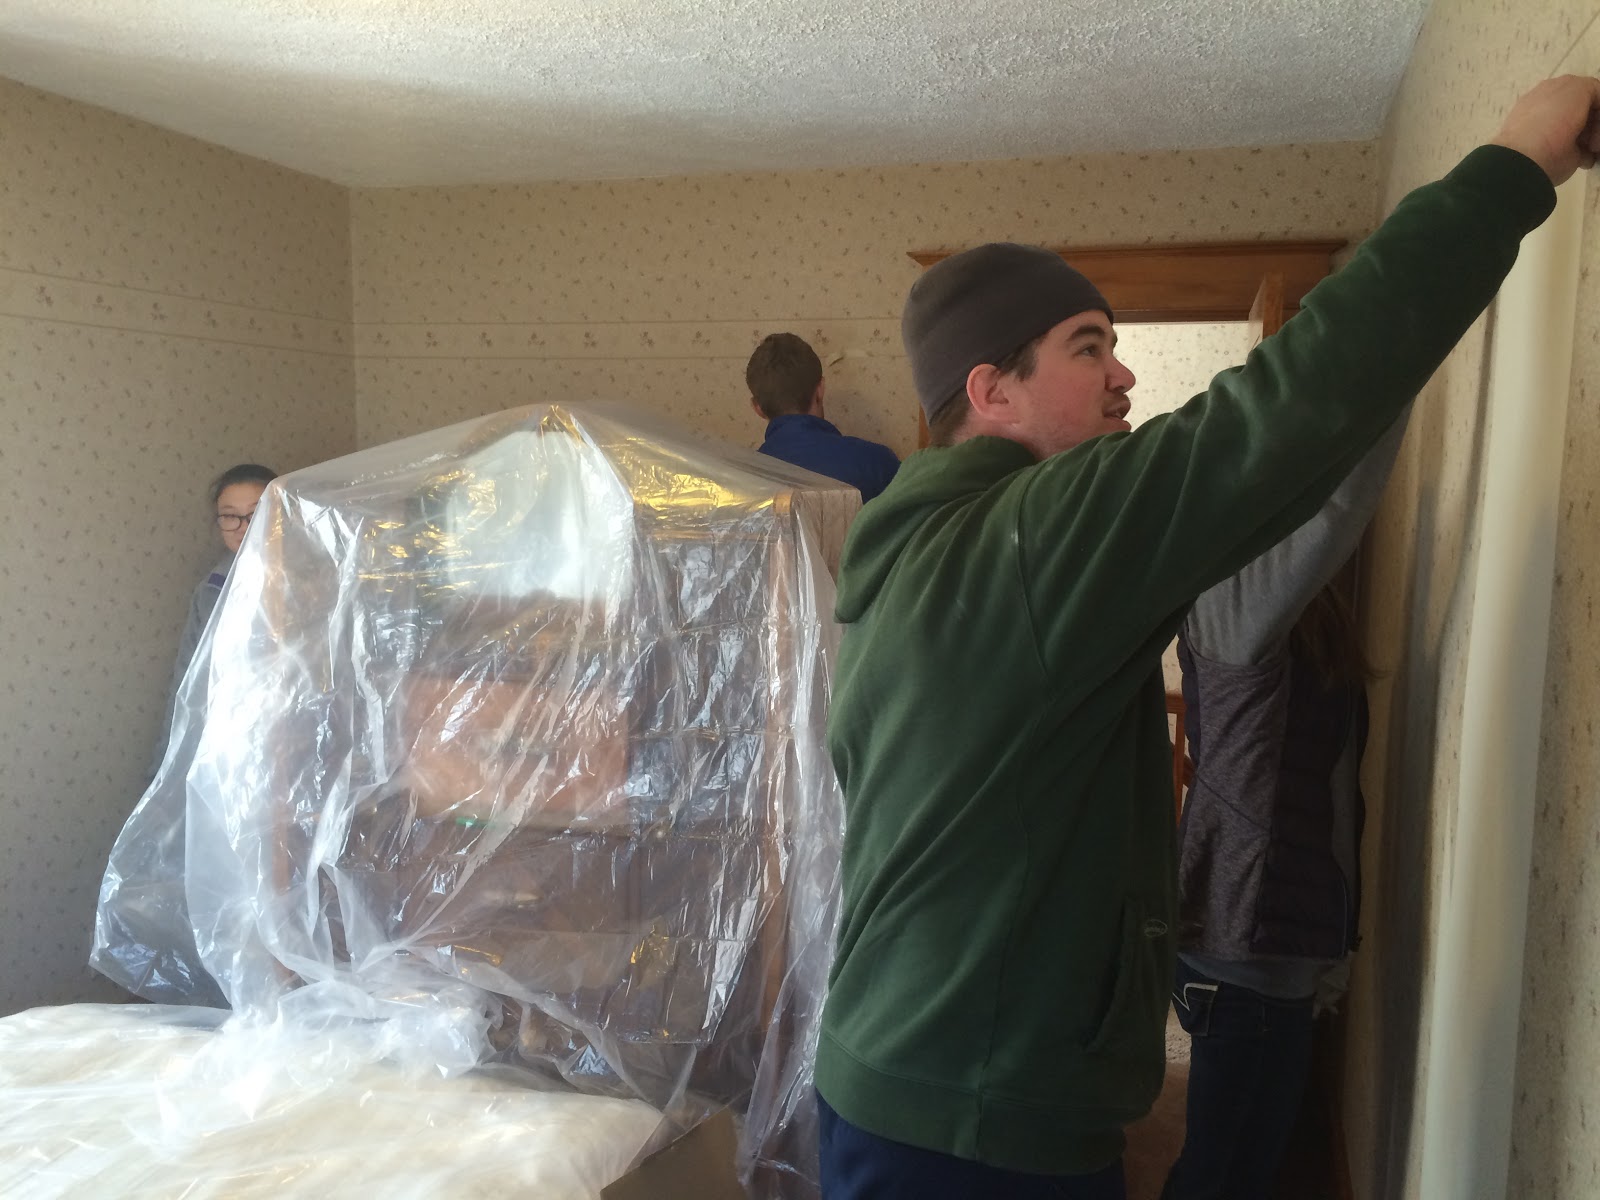
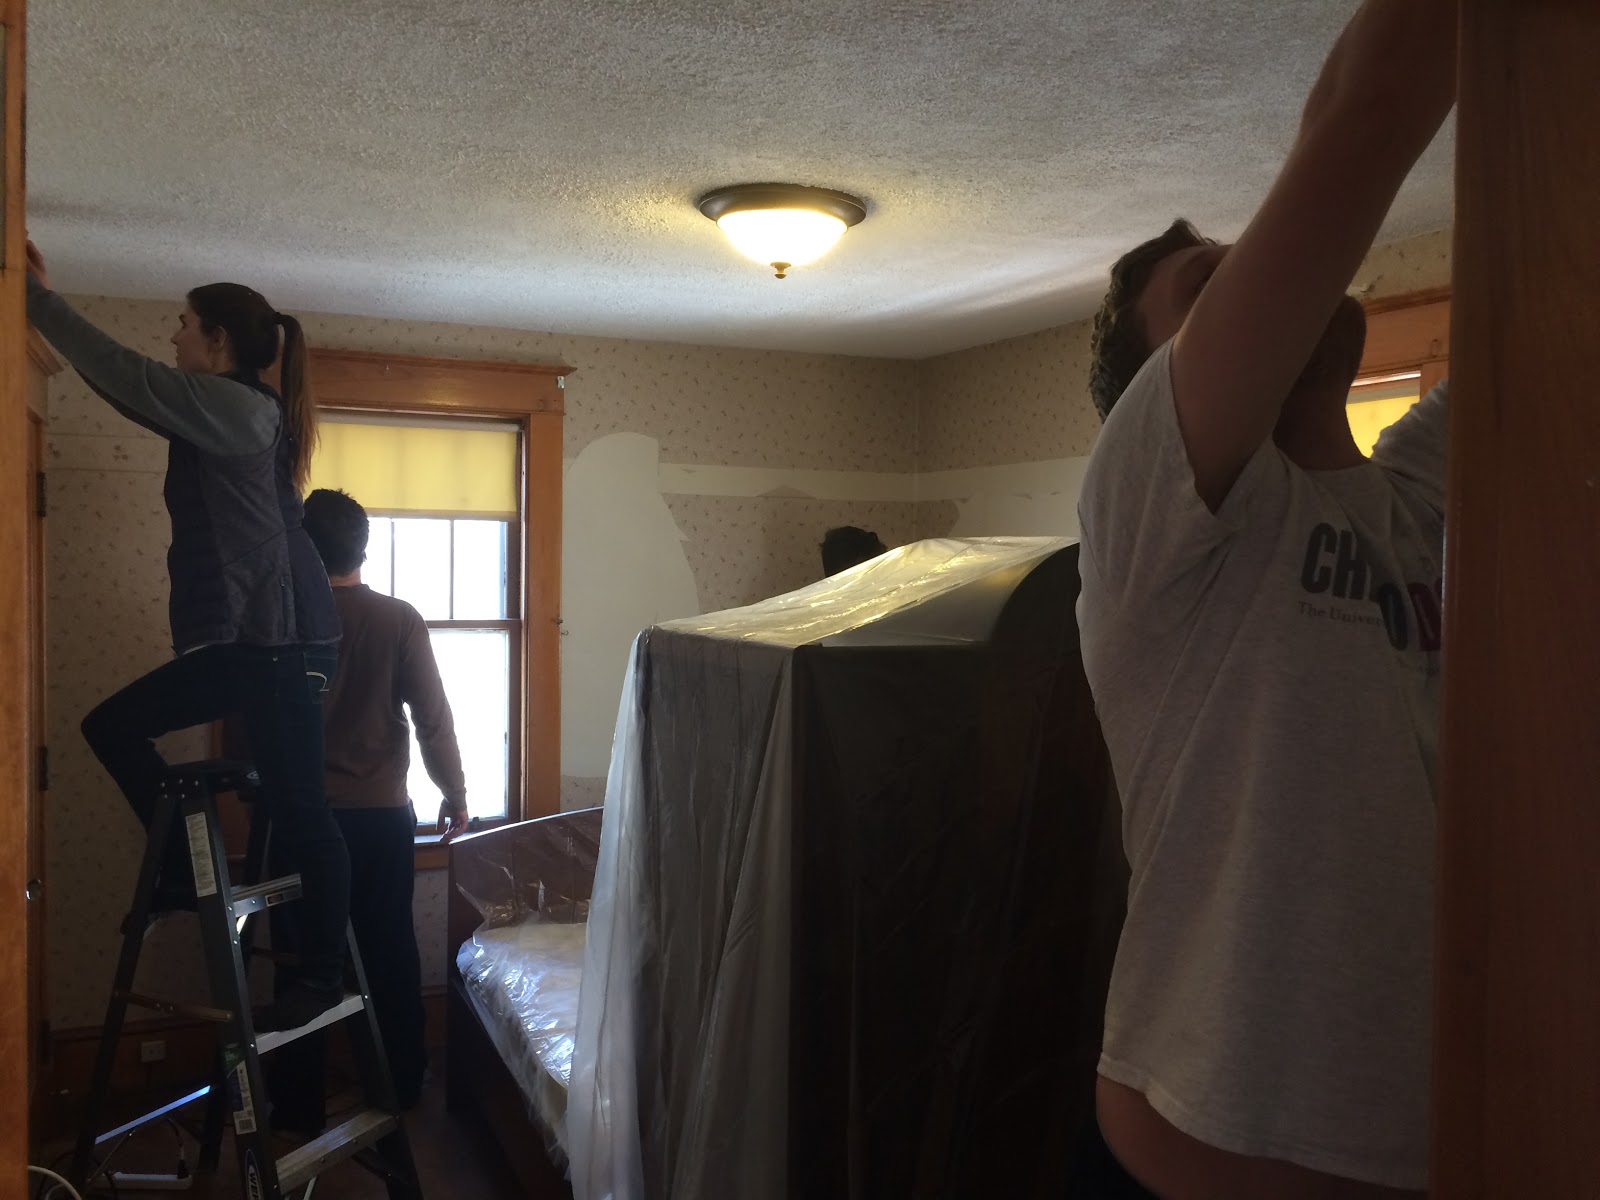
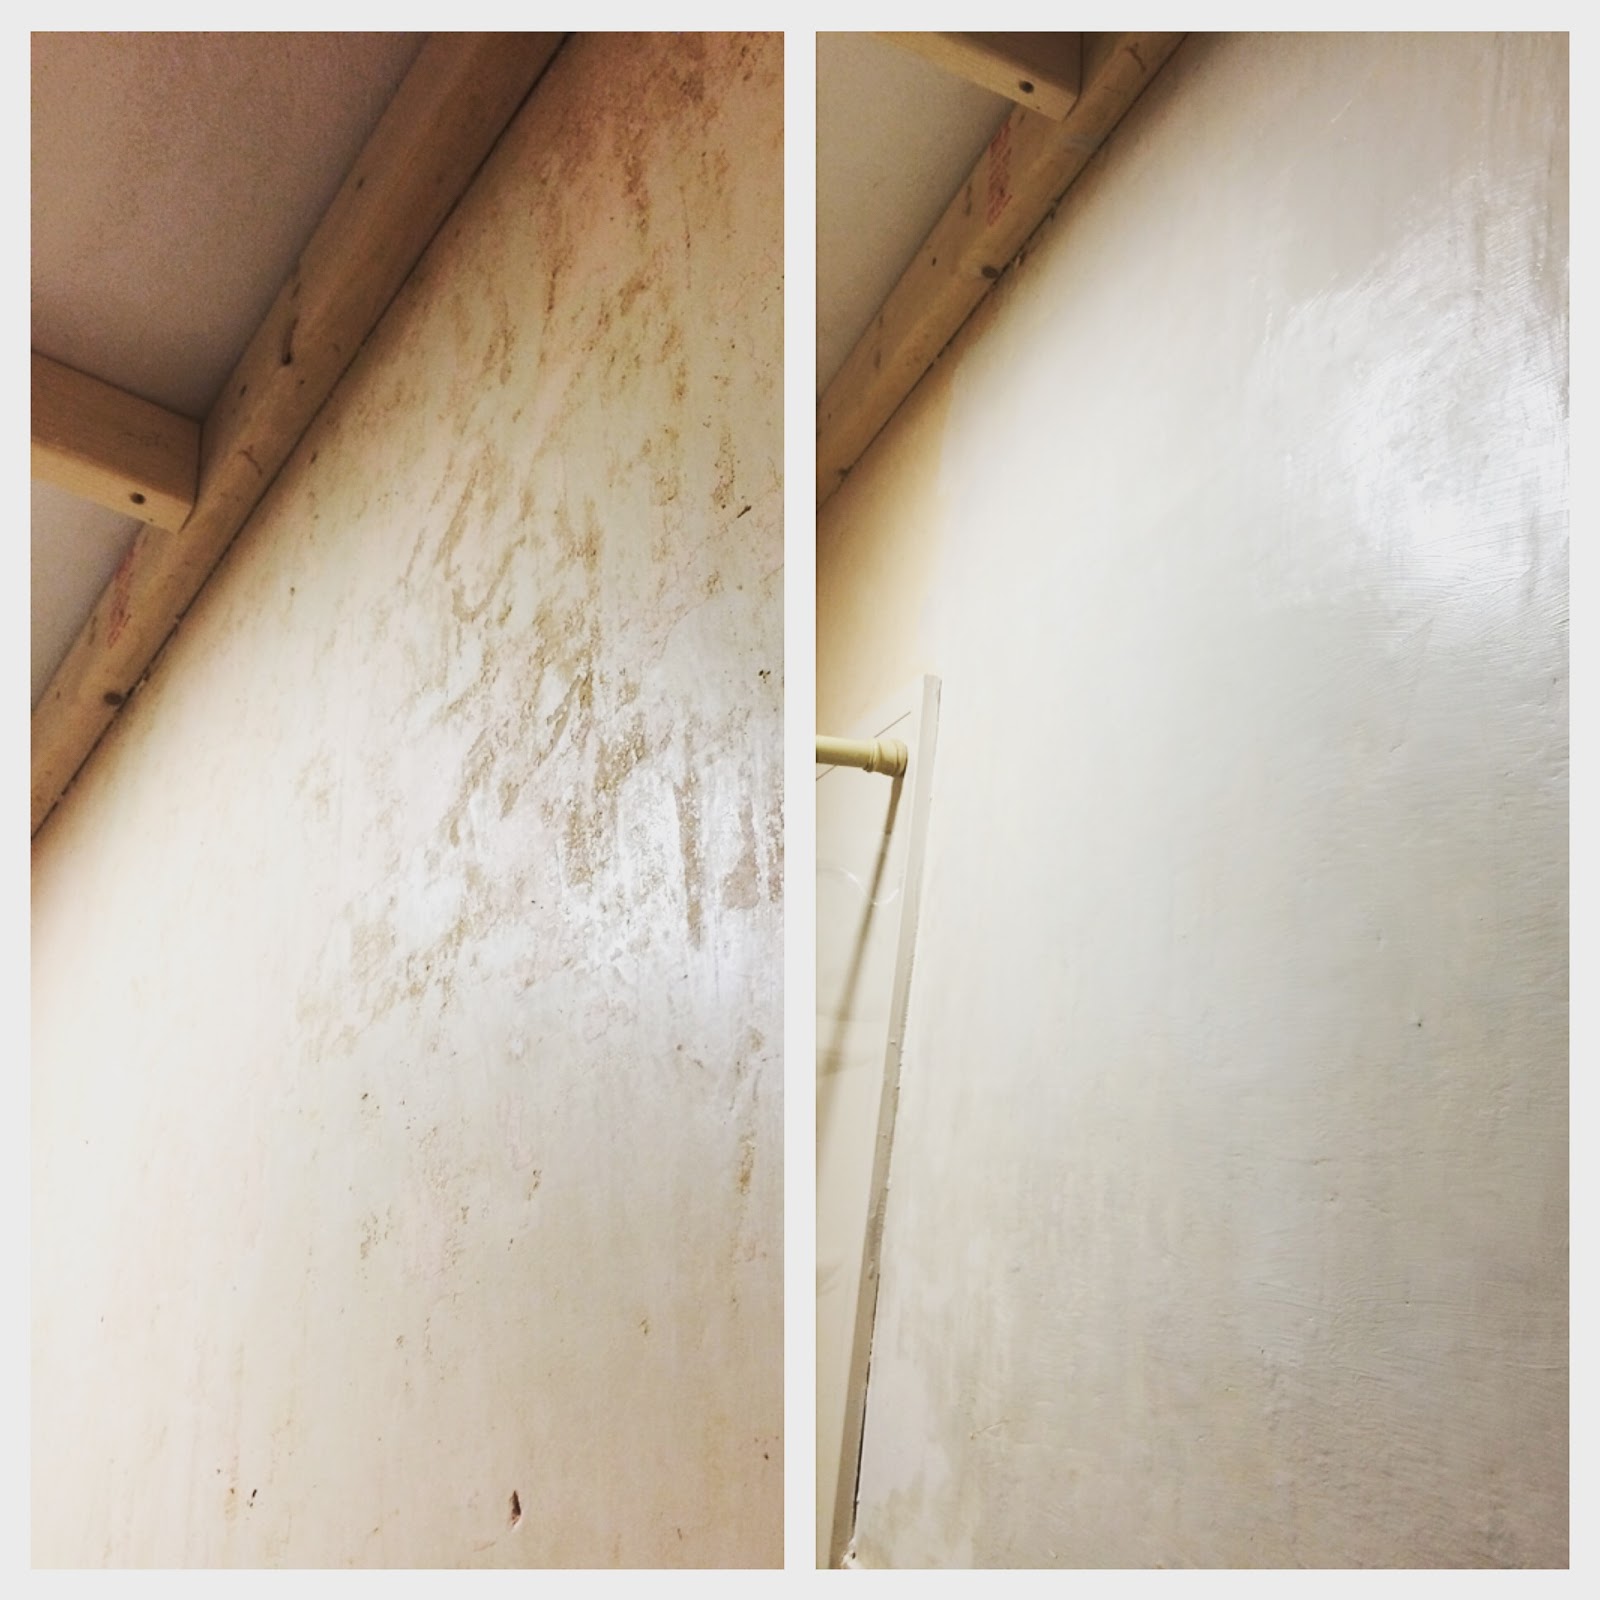
We also stripped wallpaper from two additional rooms: back guest room and front entryway.

Our biggest $$$ project, by a pretty large factor, was insulating the attic. It was also the most frustrating project, as the contractors were way overbooked and really terrible at communicating.

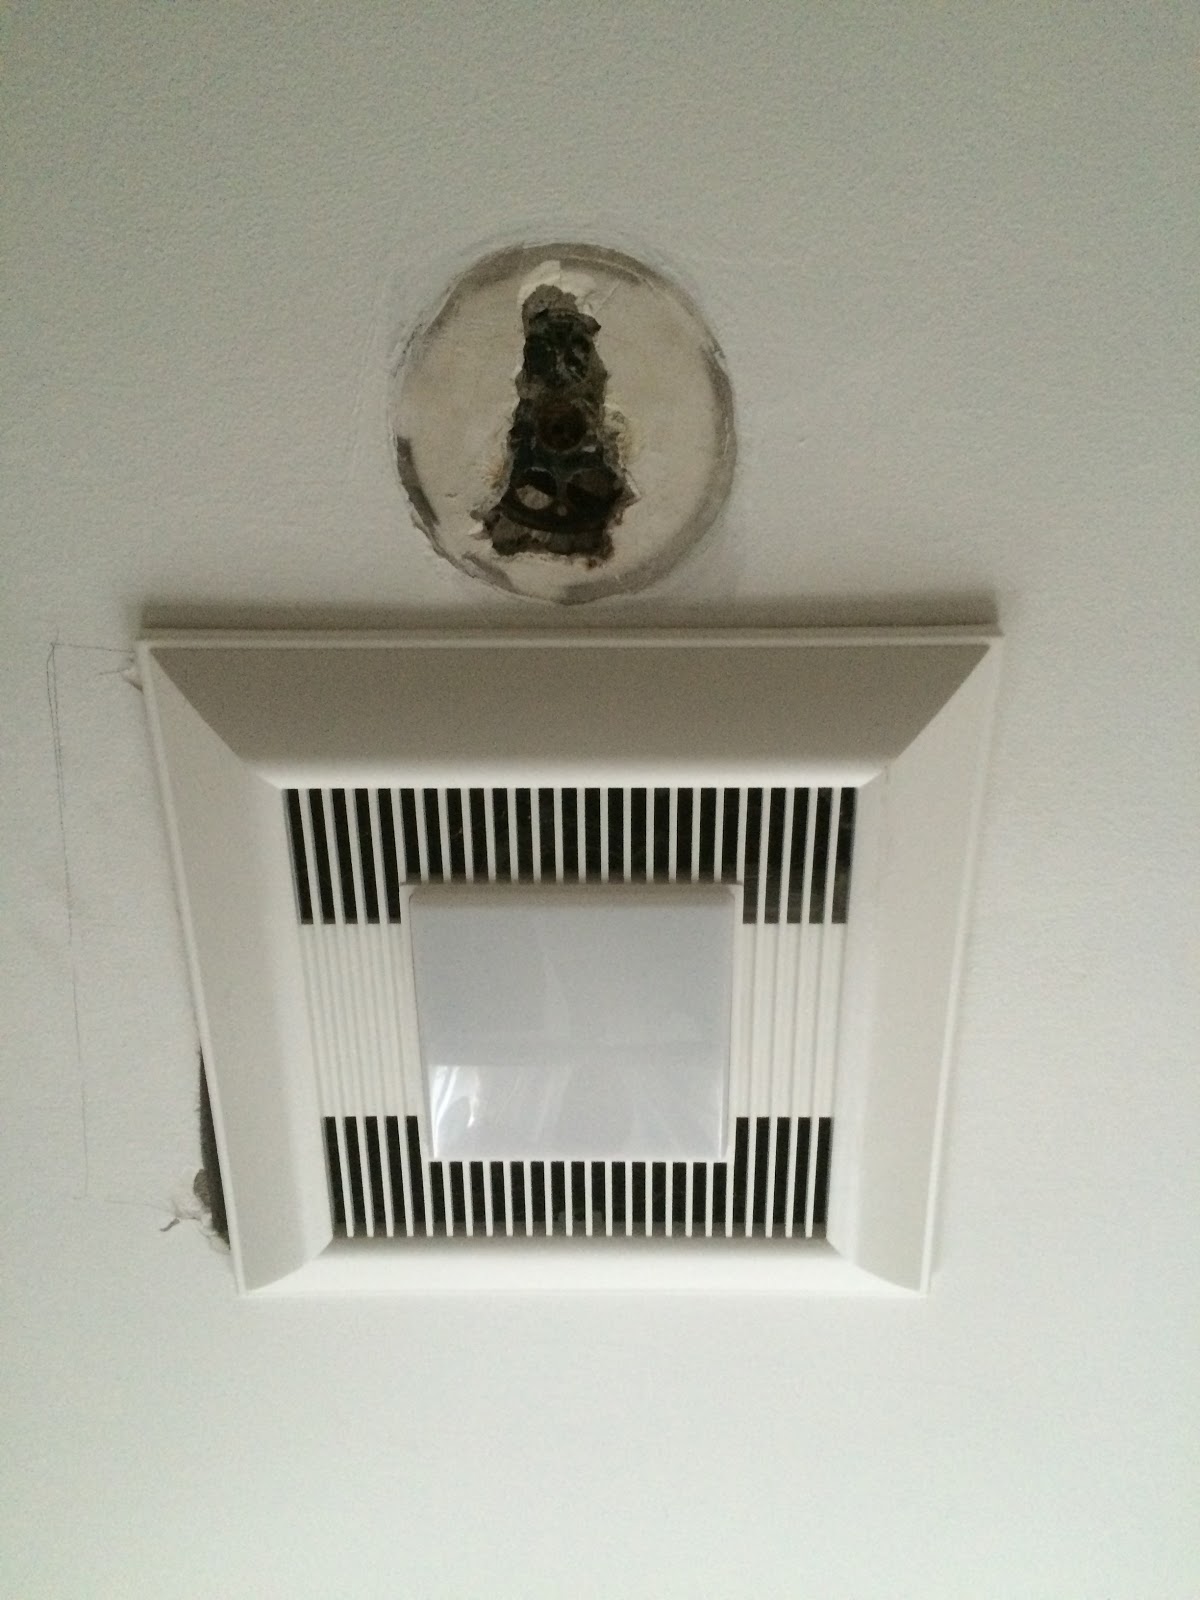
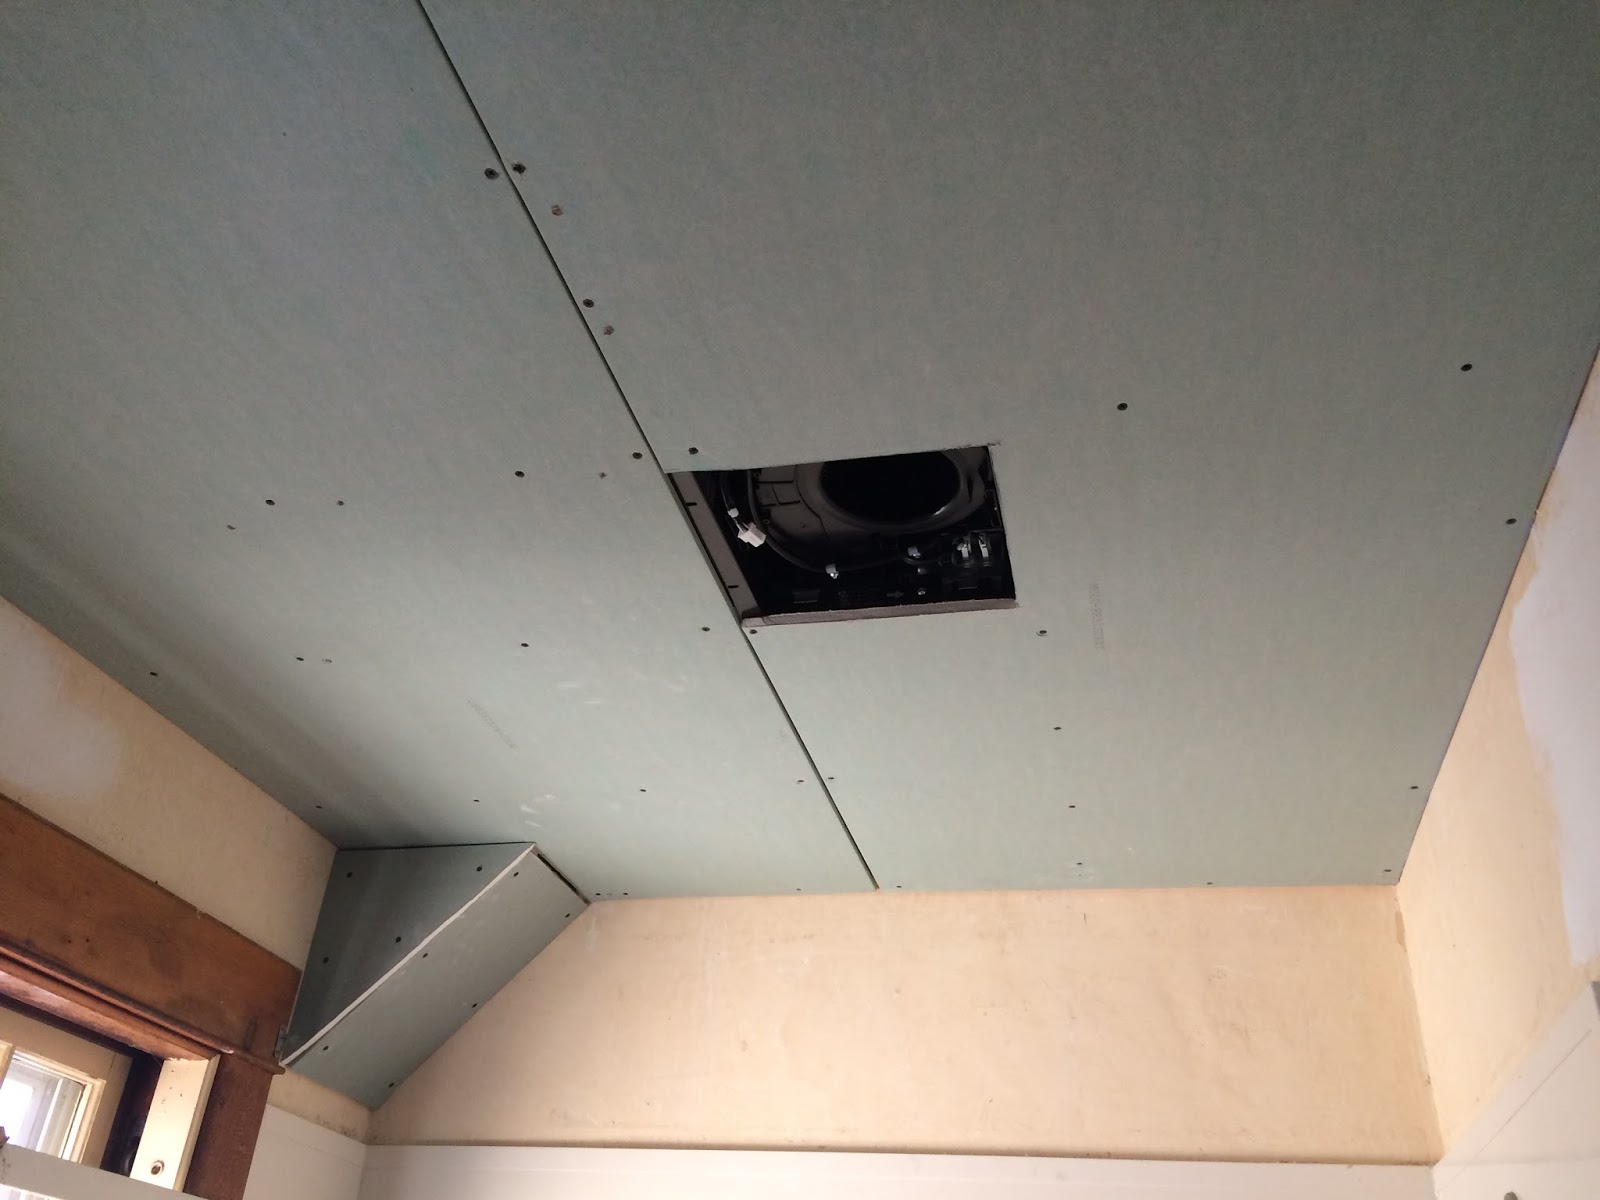
We tackled a project that was seemingly little but actually huge and complicated: installing vent fans in both bathrooms.

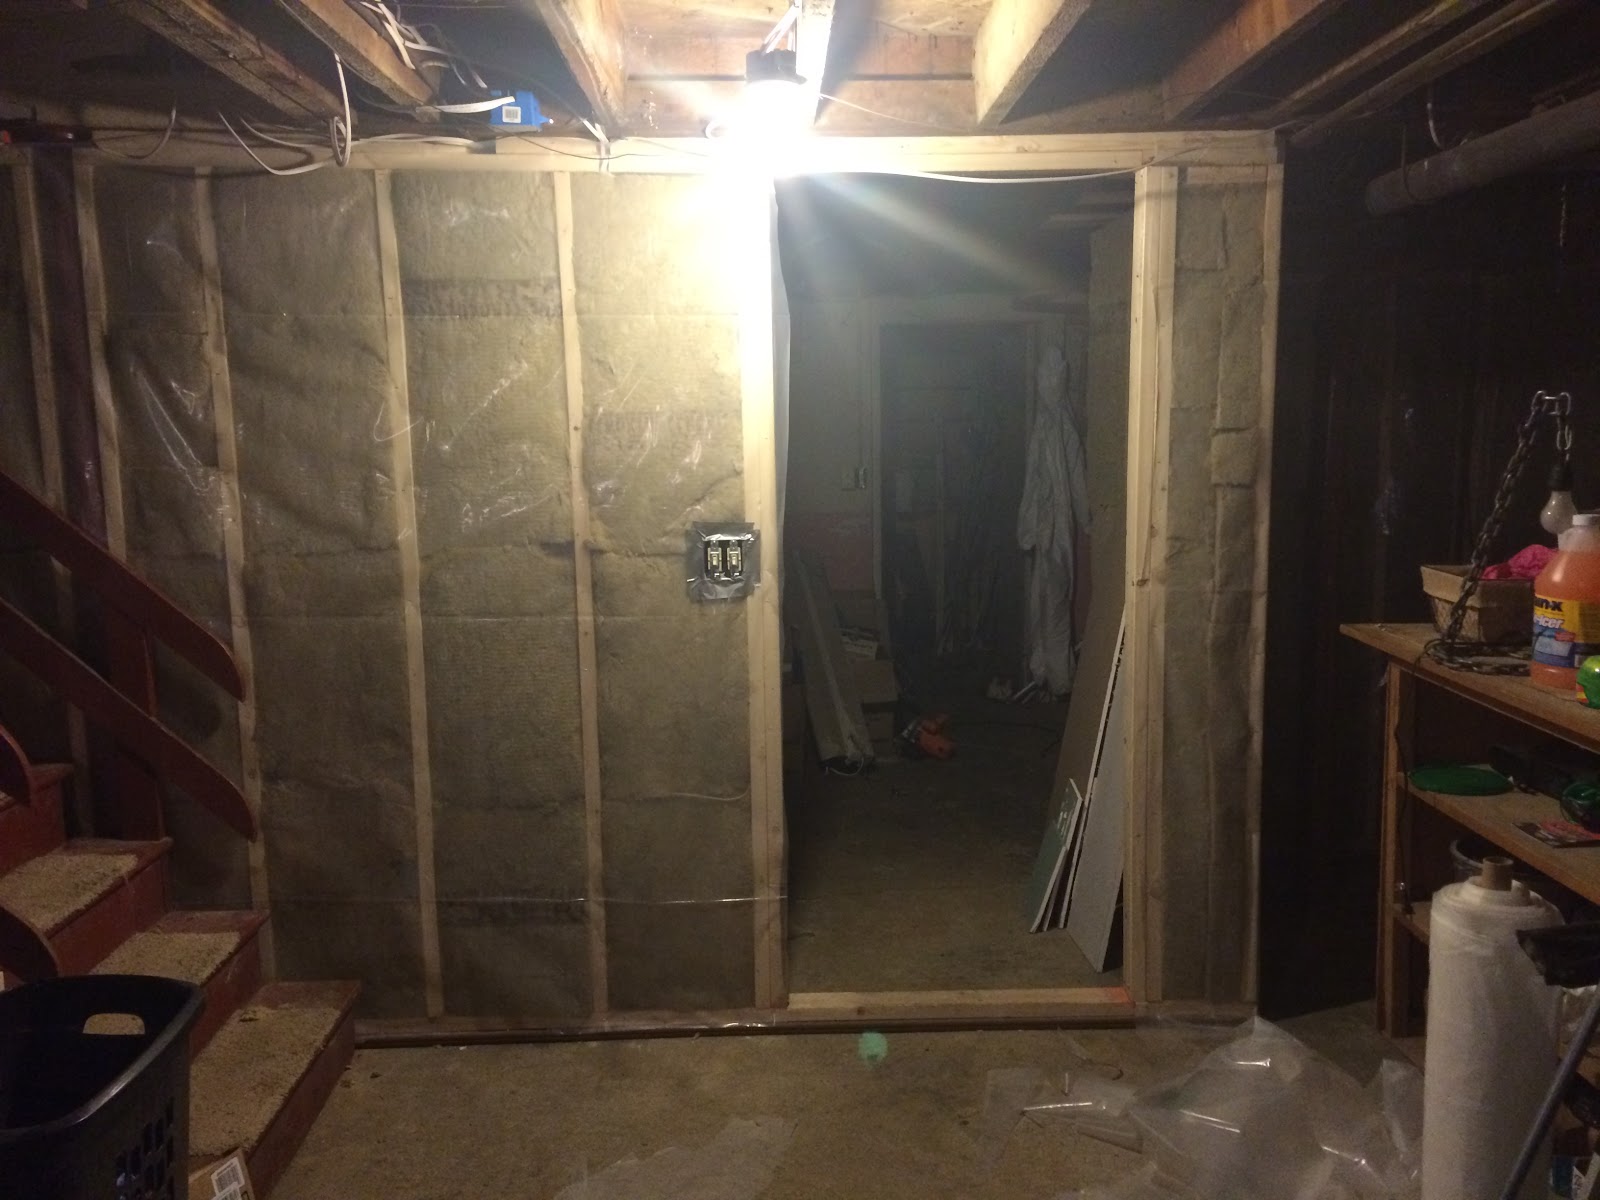
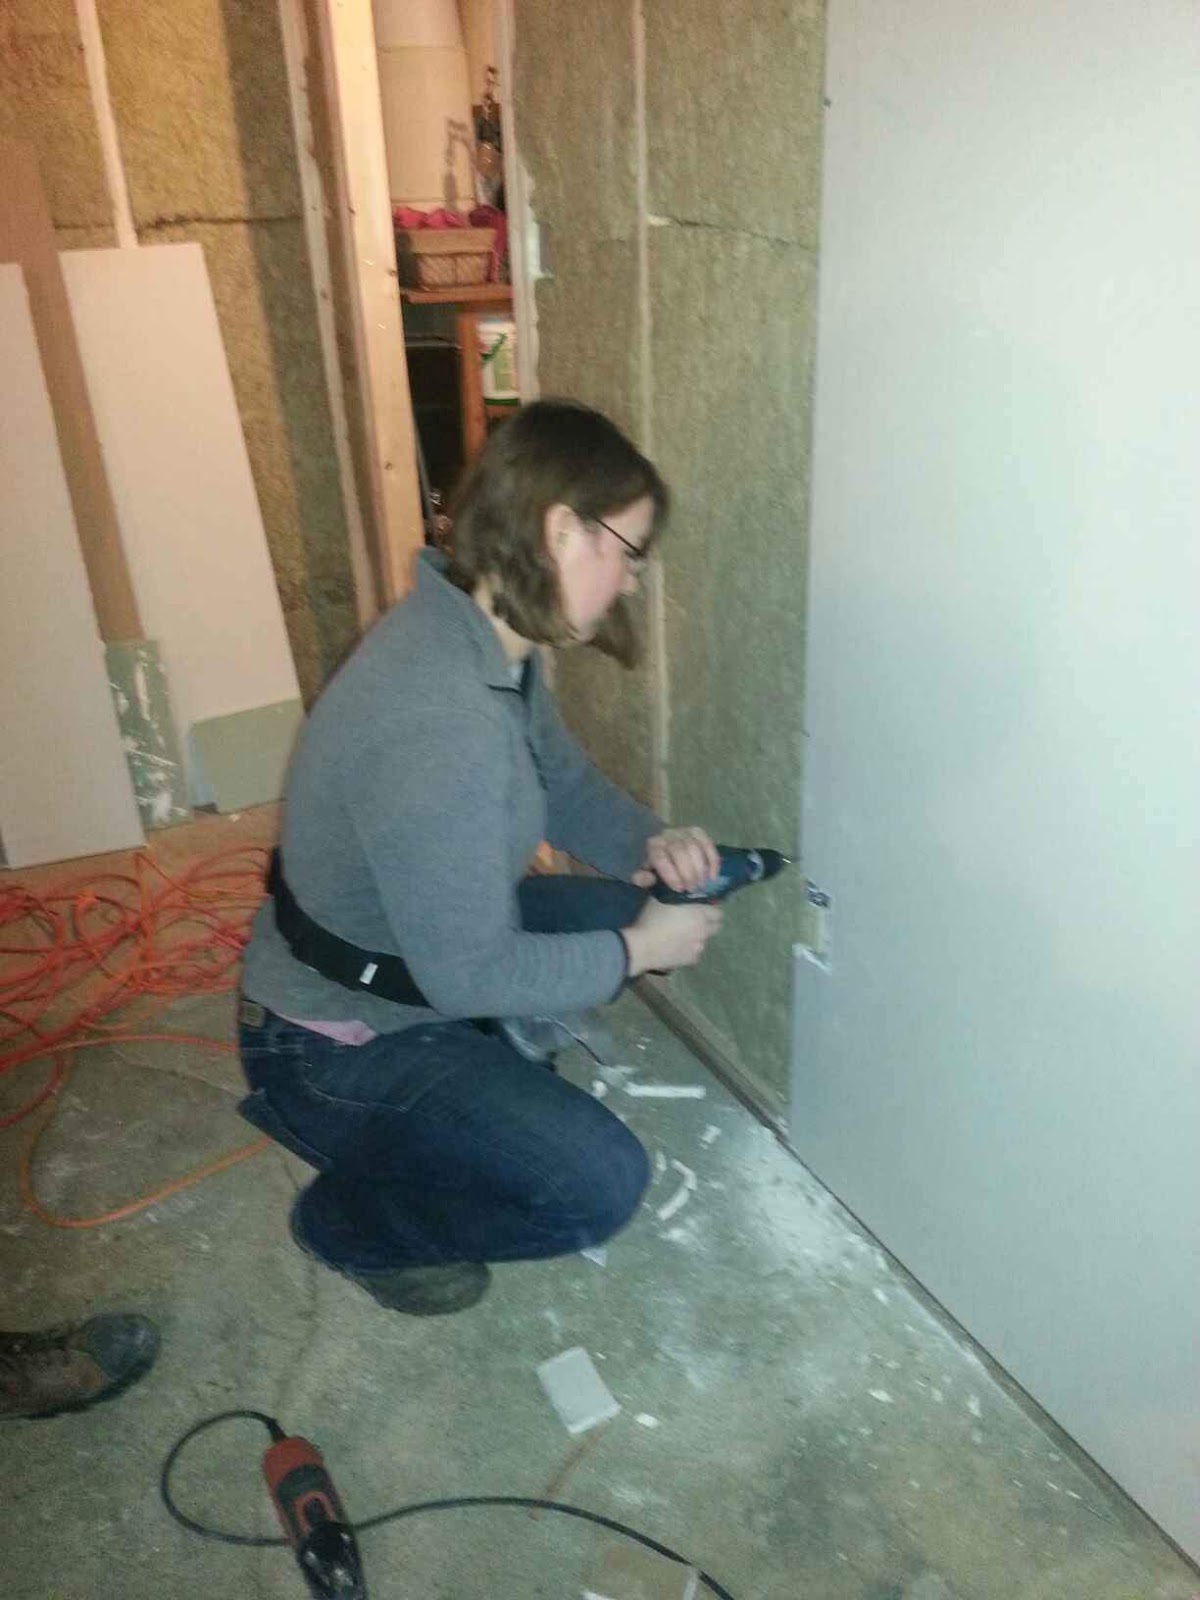
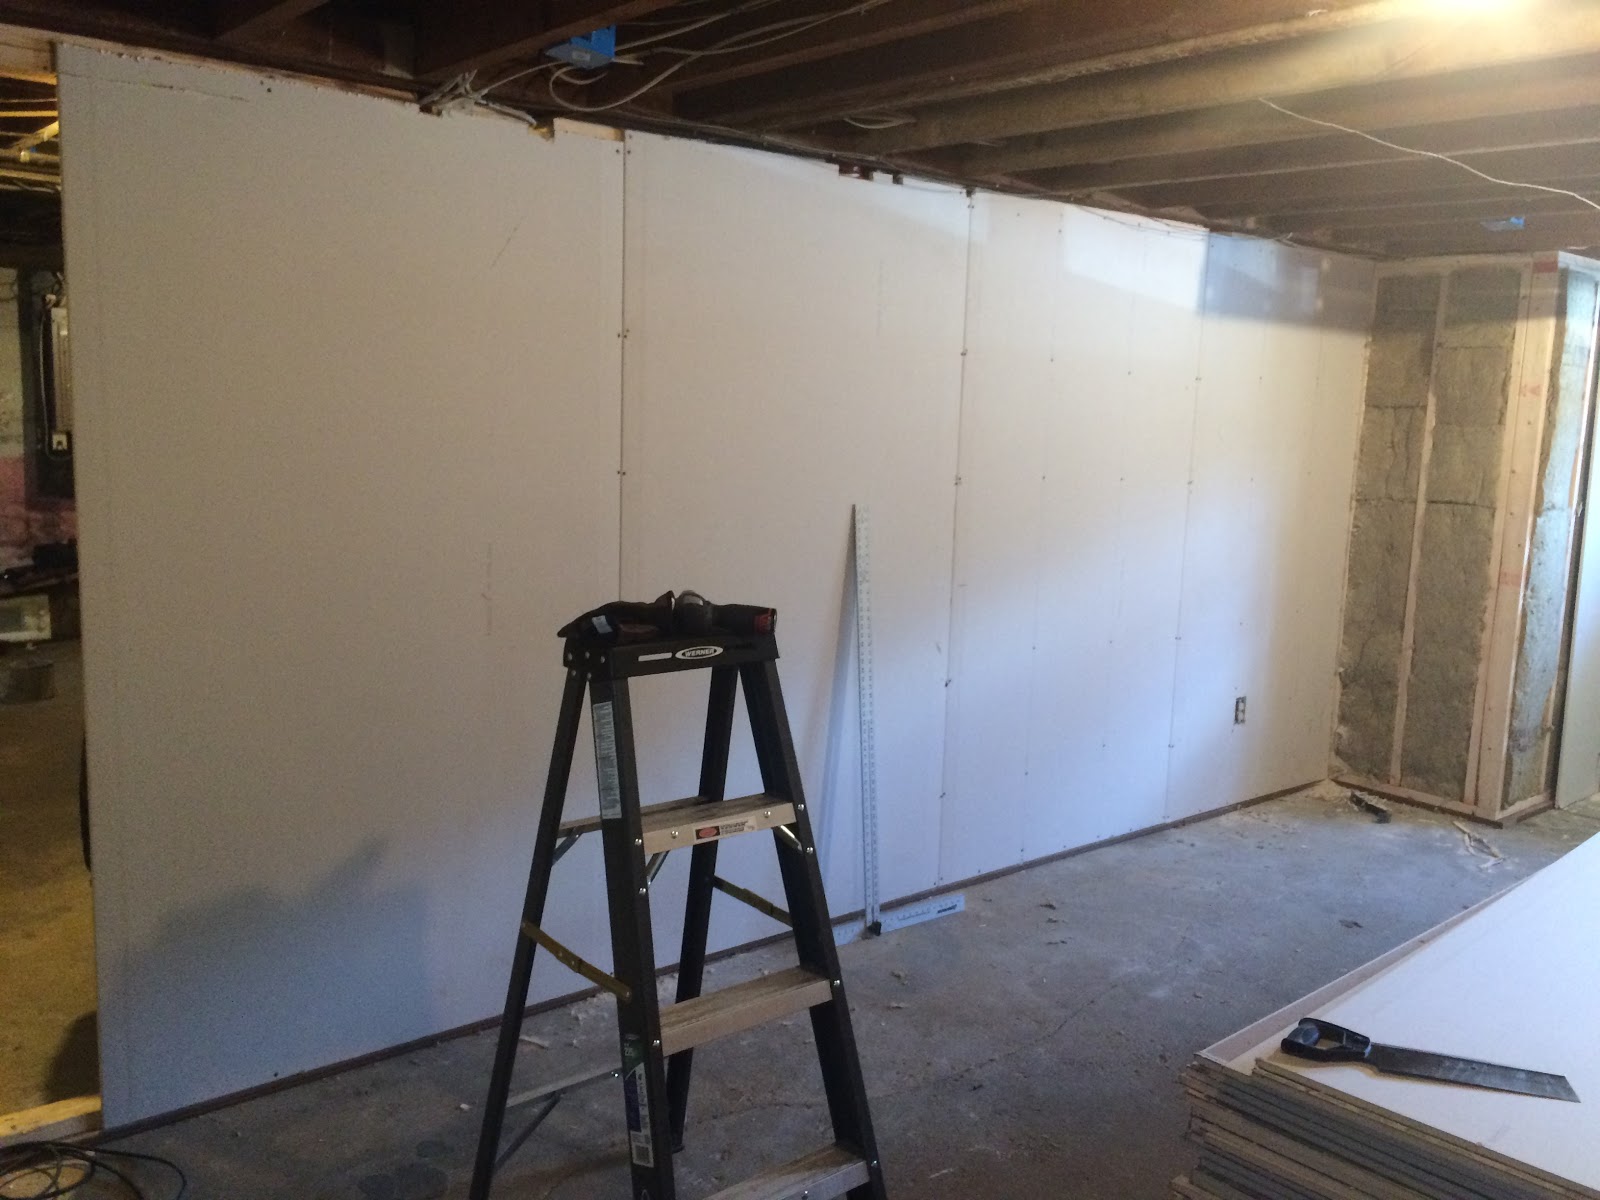
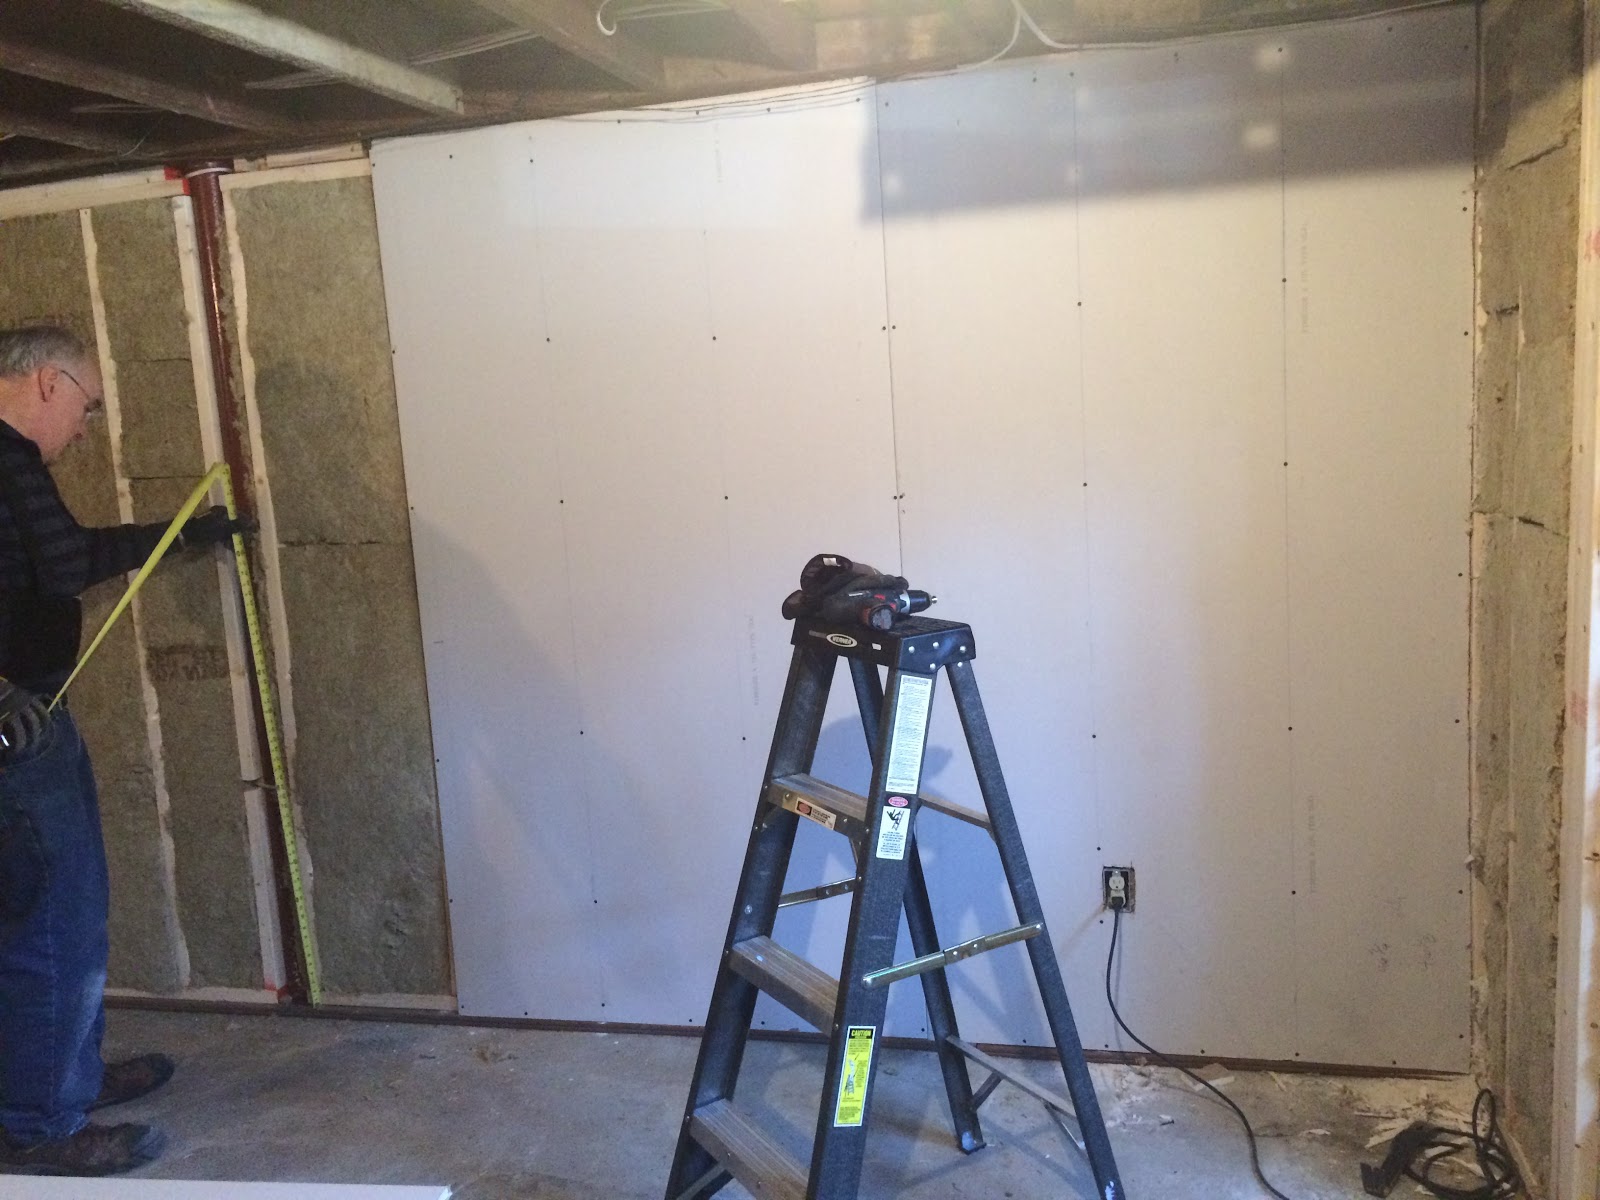
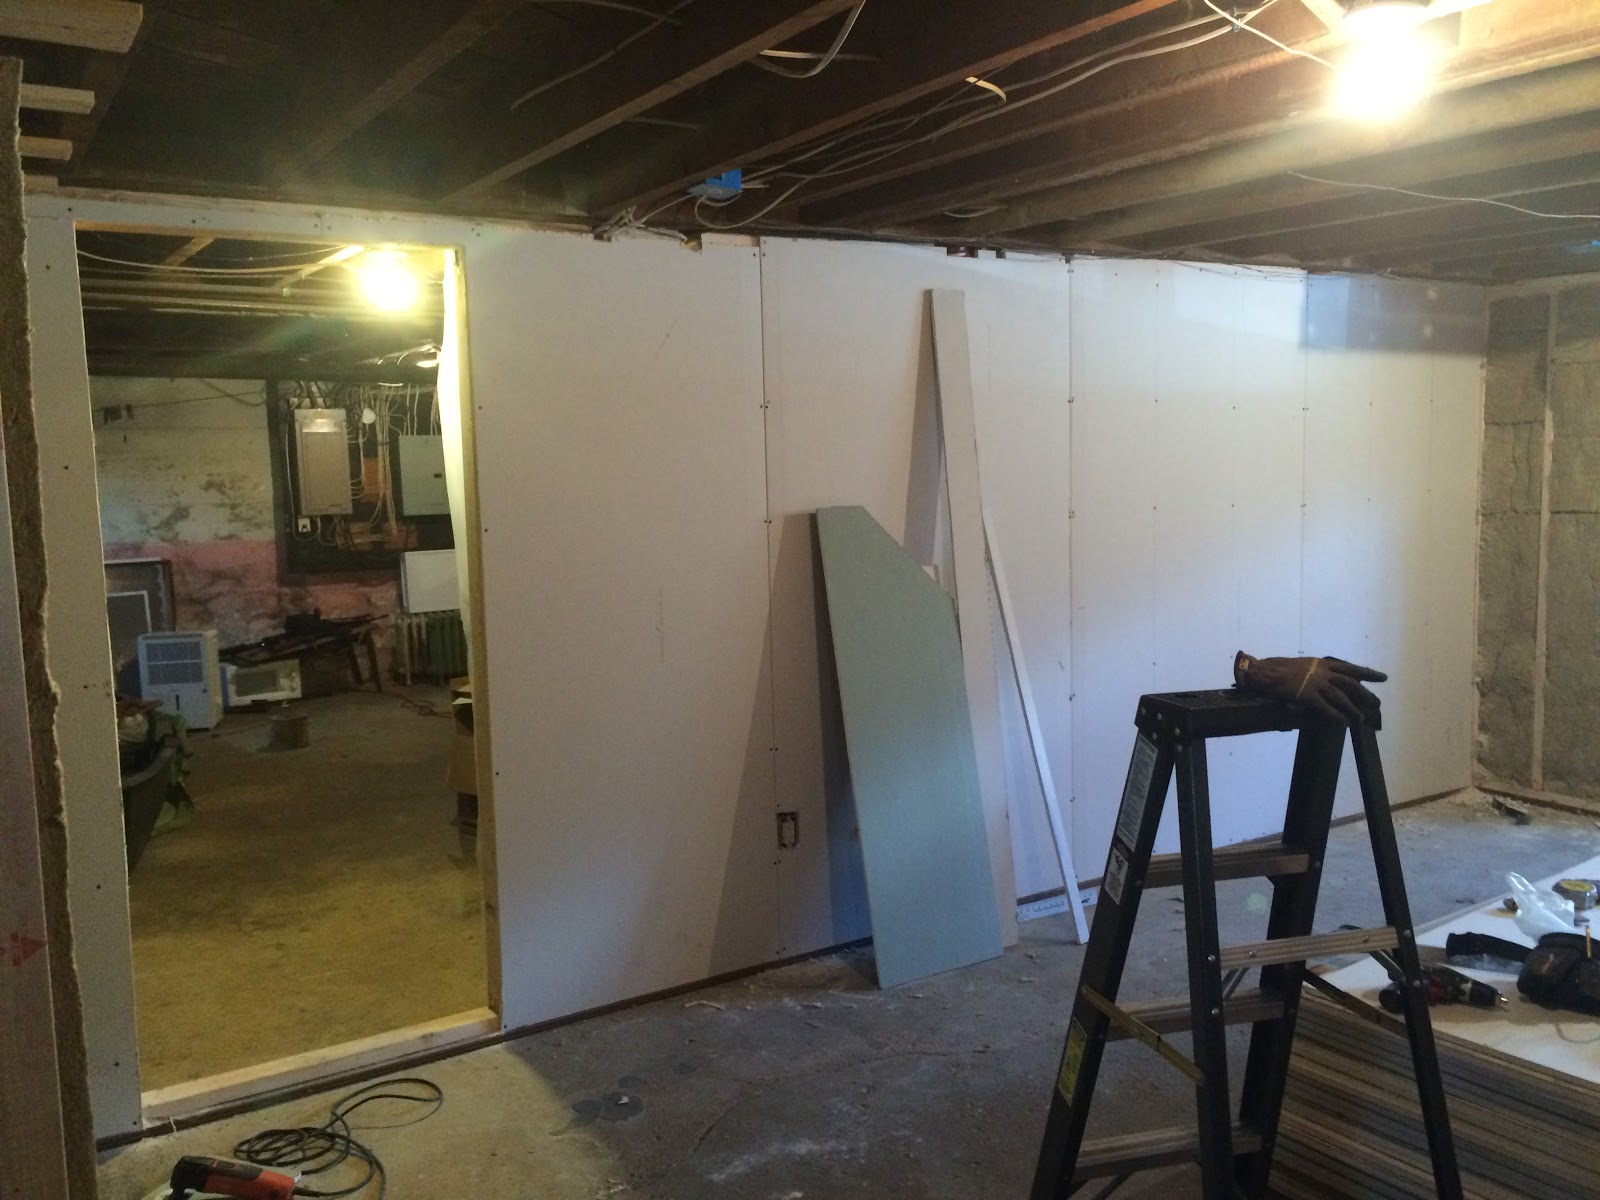
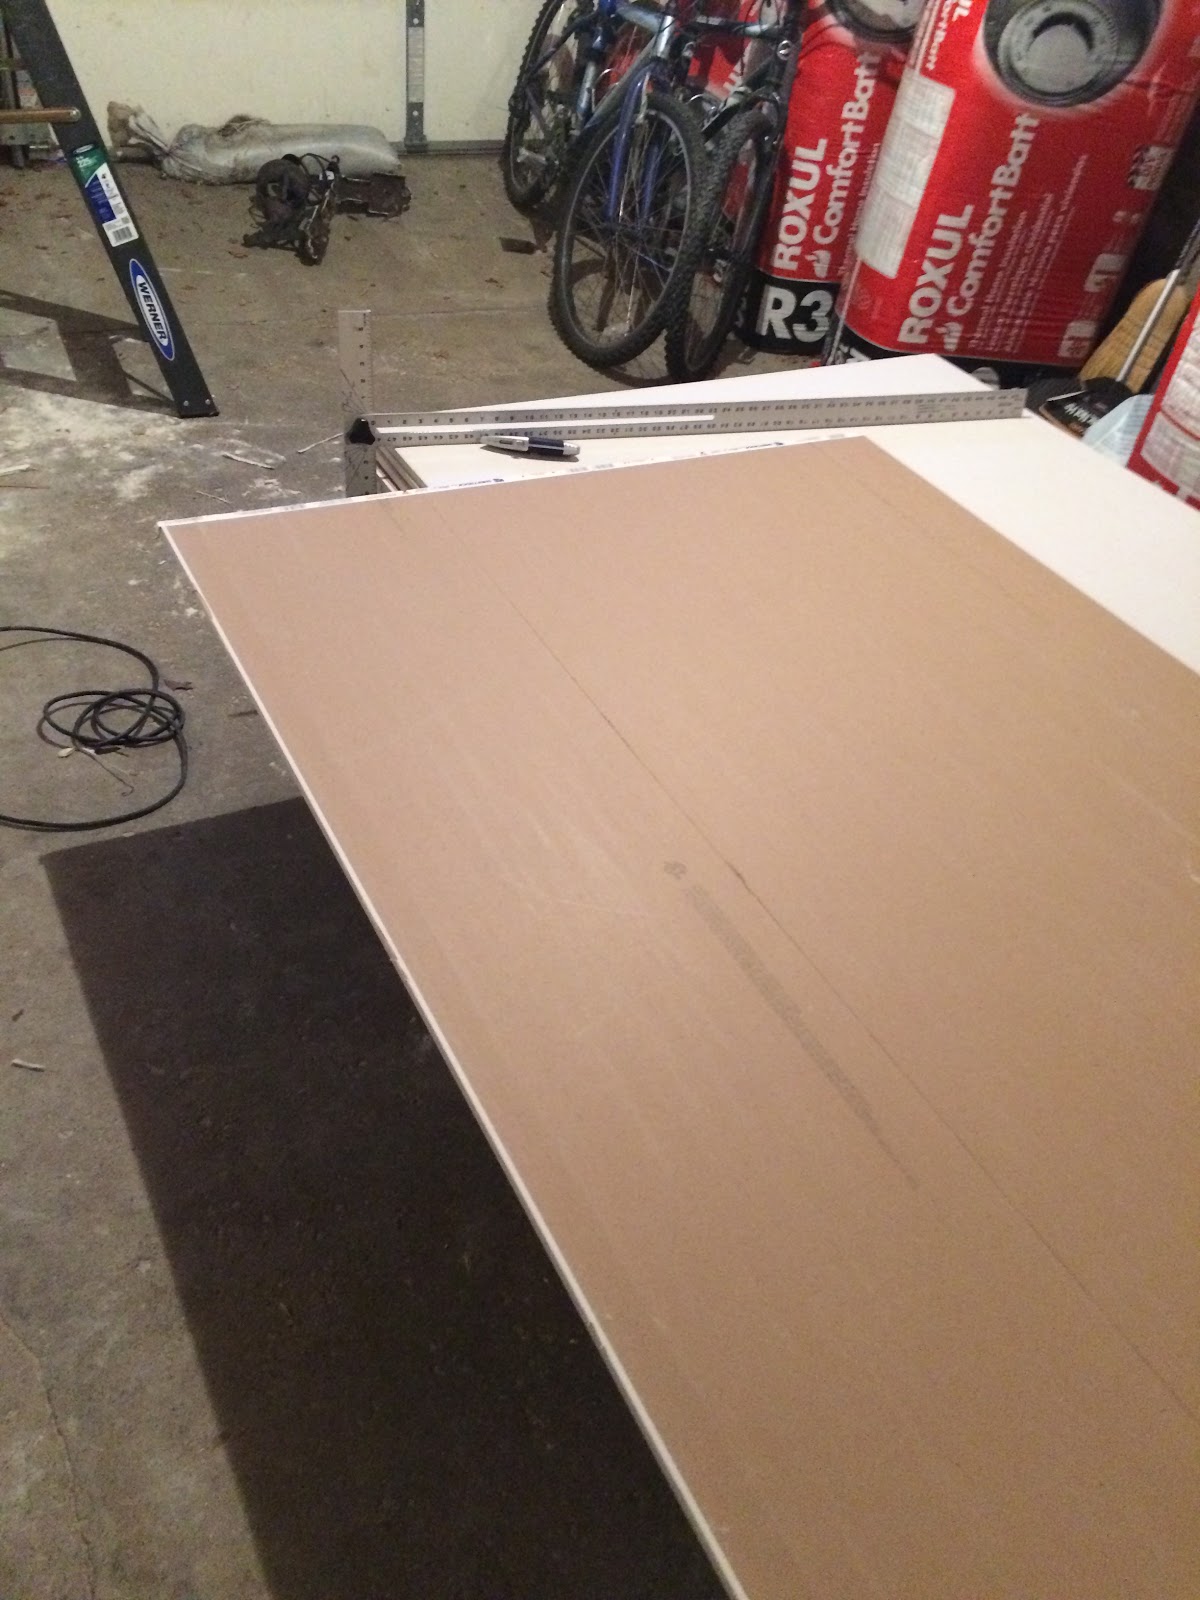
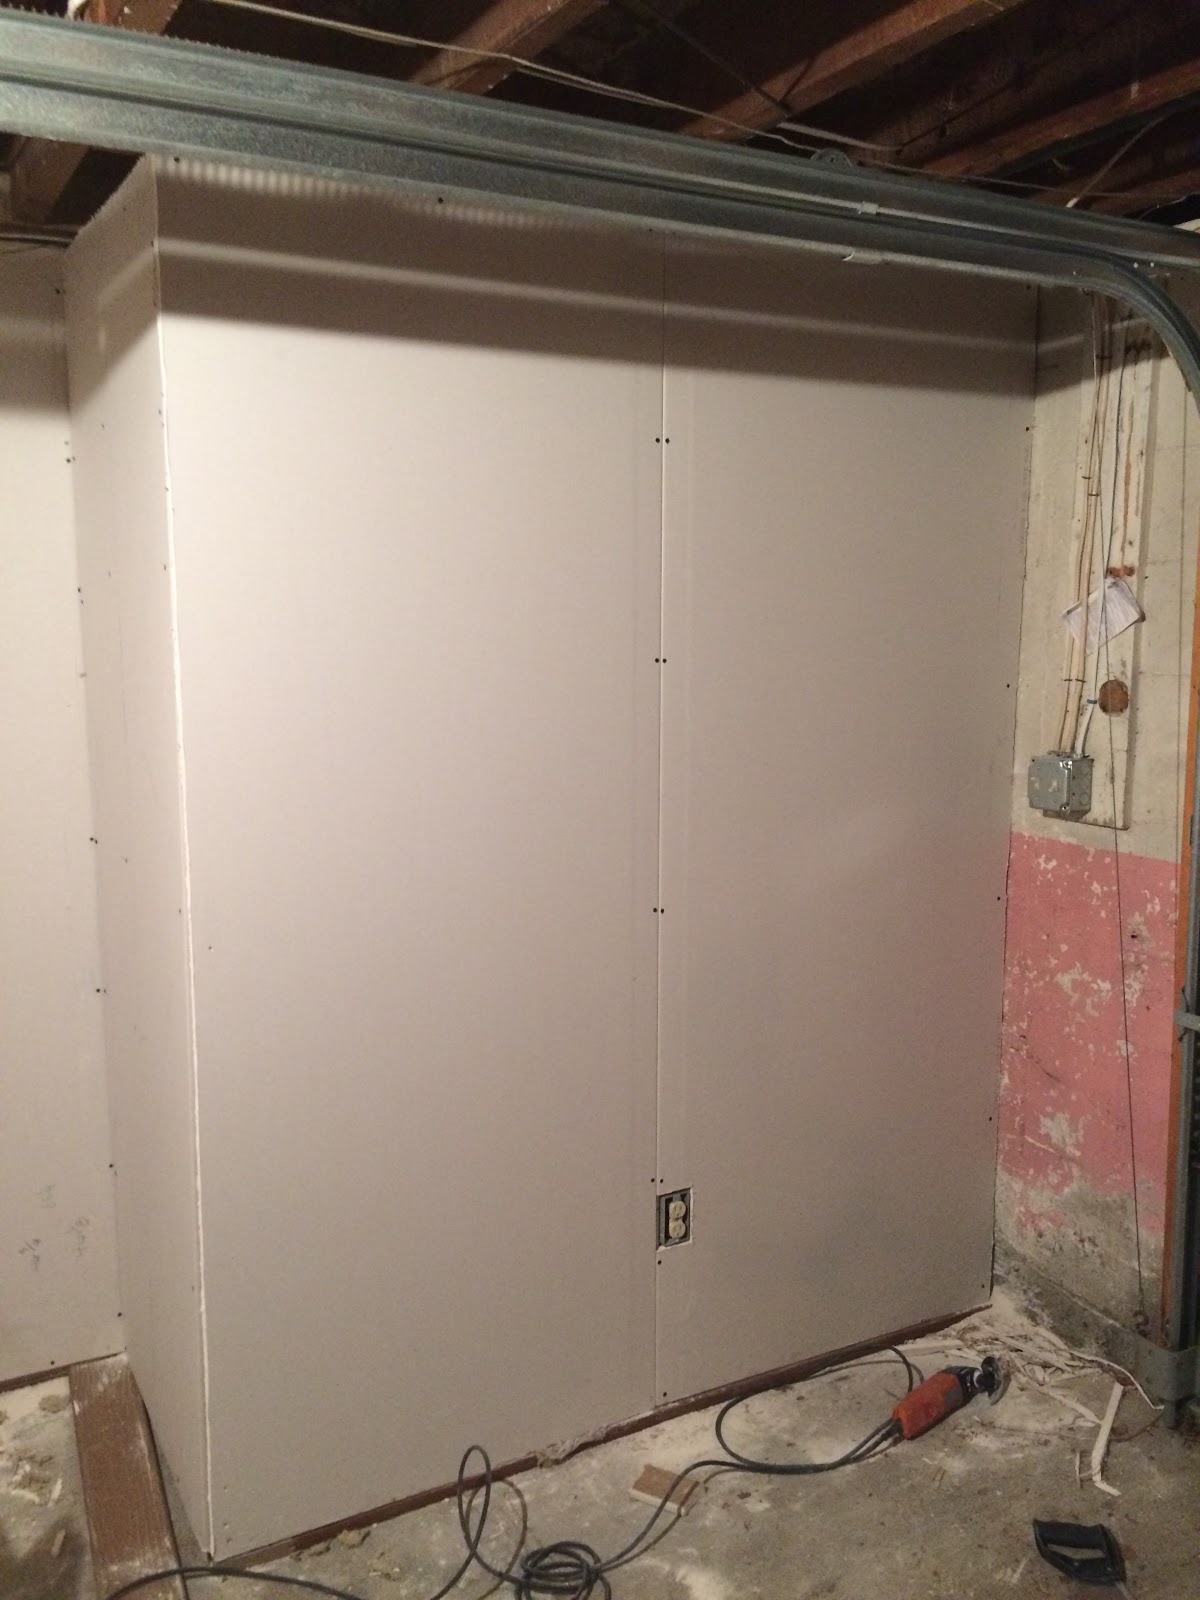
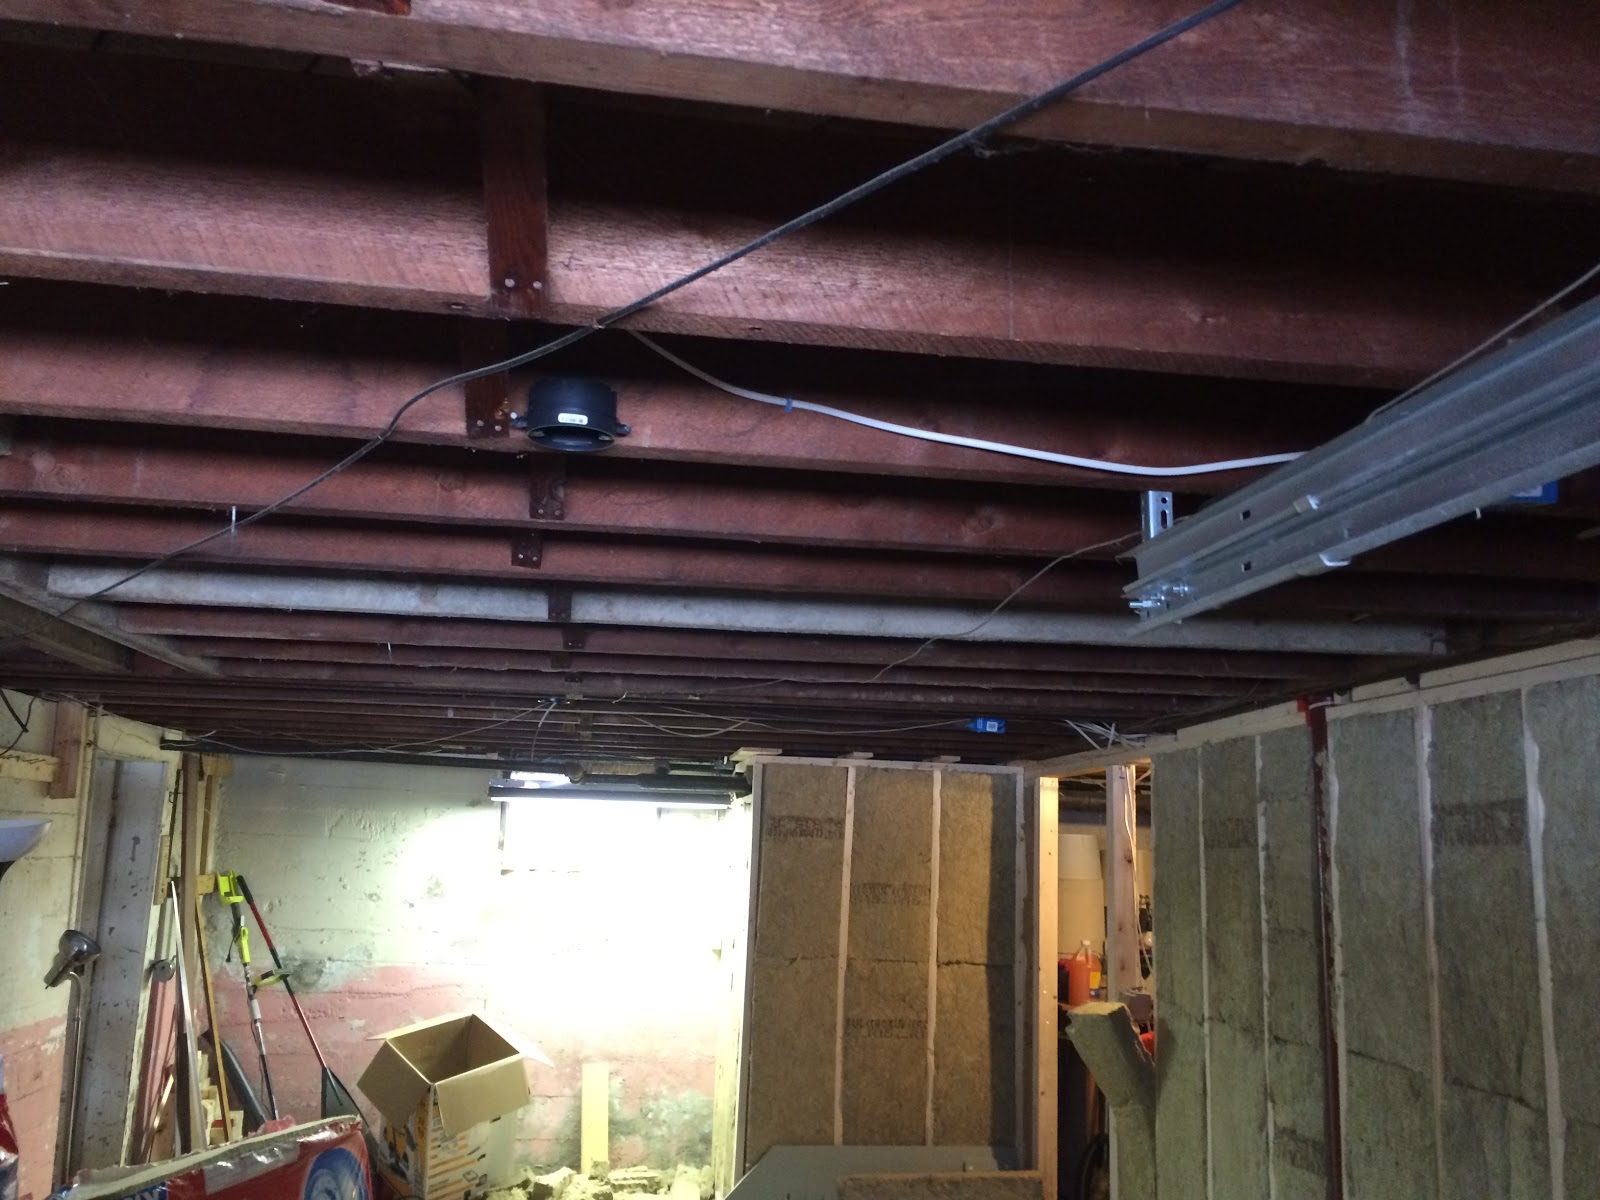
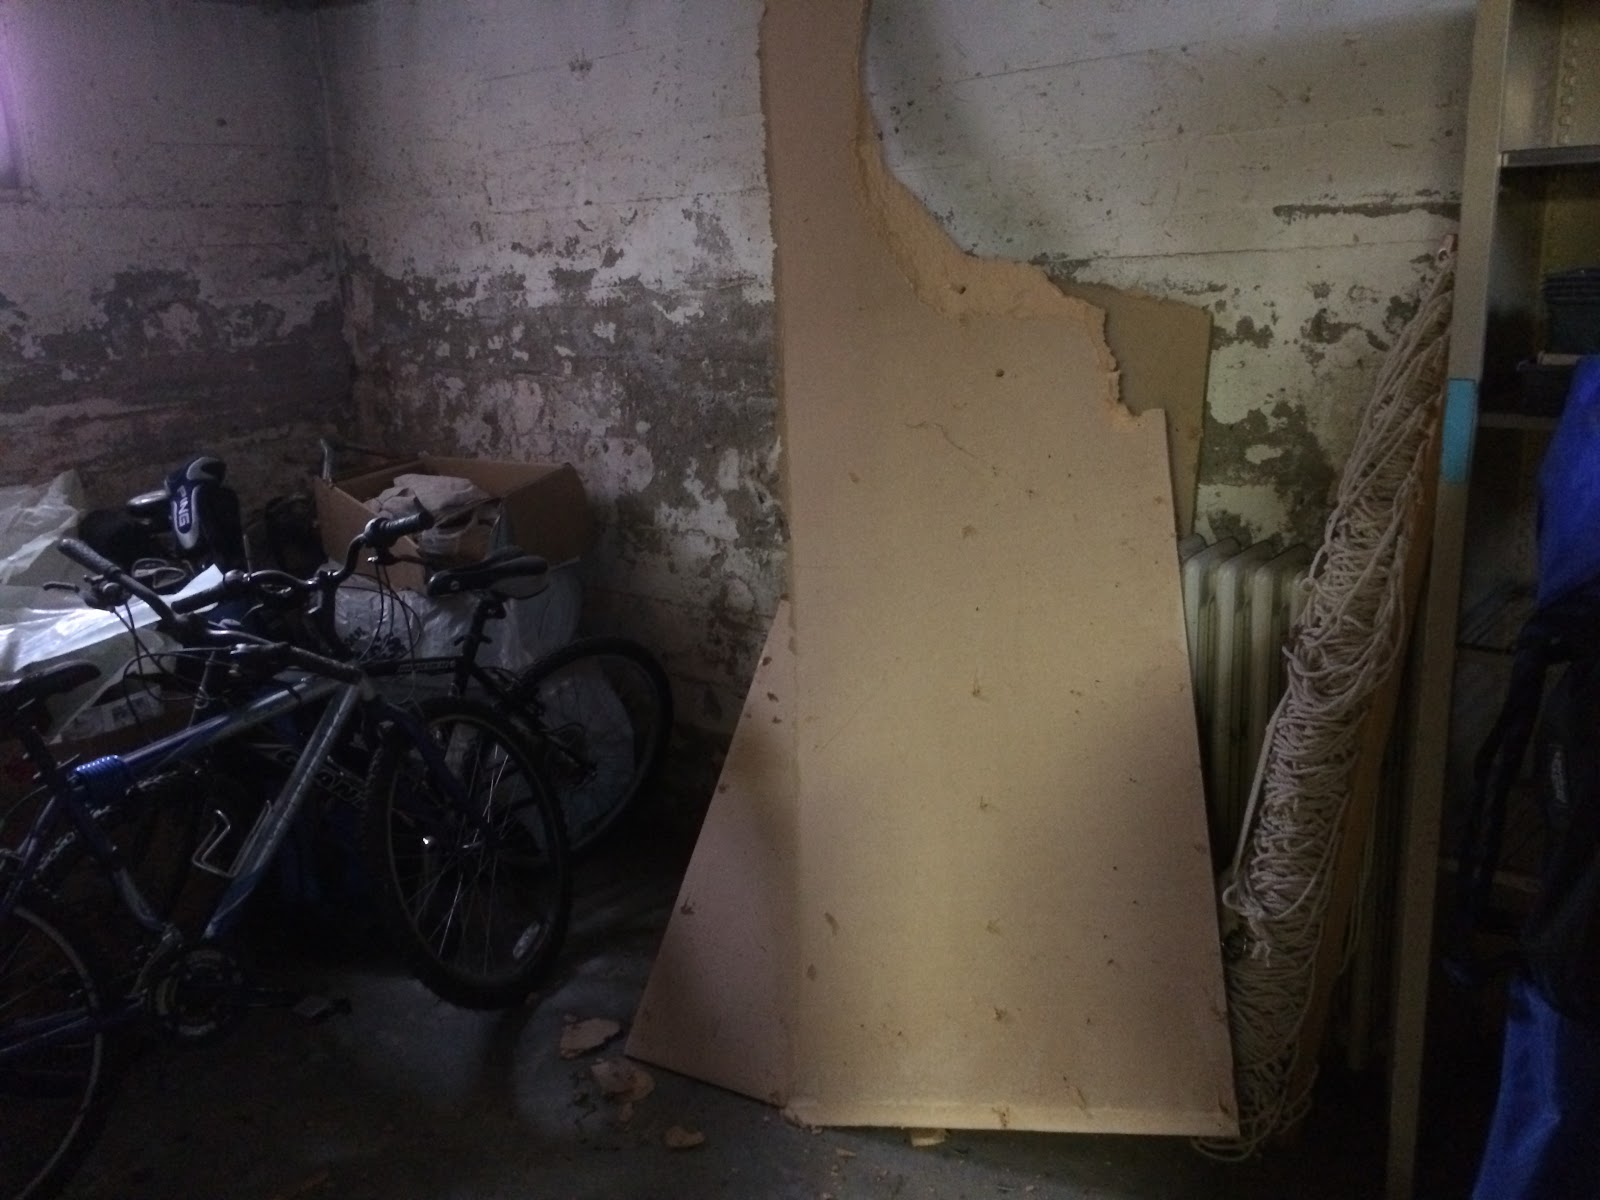
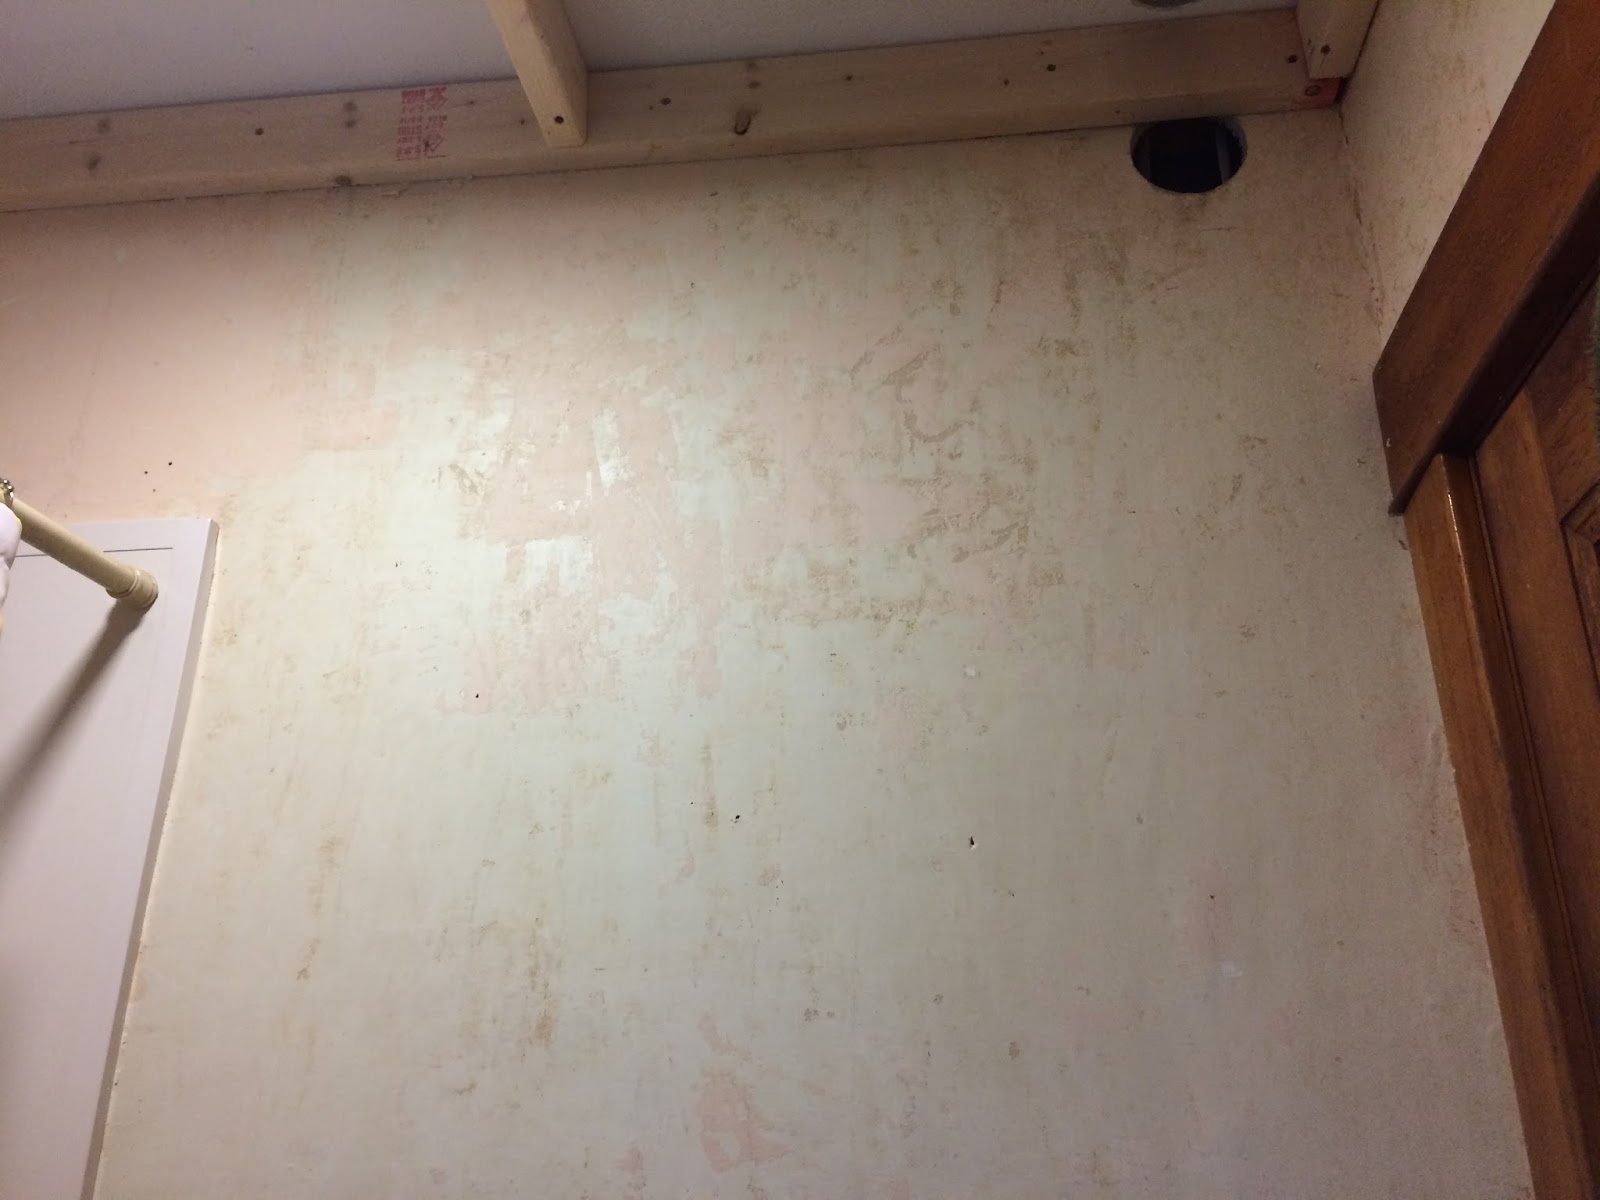
We started a project that is still under way, and is the largest structural change to the house: building a wall in the basement to make it into a true garage.

There were also a host of smaller projects, like gardening in the front yard, installing low-flow faucet & shower heads, adding a shower to the upstairs bathroom, putting in a new Nest thermostat, re-organizing the basement (post soon), getting a new washer & dryer, stripped & repainted two radiators, and got some new furniture.

So what’s on deck for year 2?

Here’s the wishlist:
– finish garage (and by extension, basement reorganization)
– gut weird back room and turn it into a man cave
– strip wallpaper and repaint: back bedroom, front bedroom, office, front hallway, nook area/game room
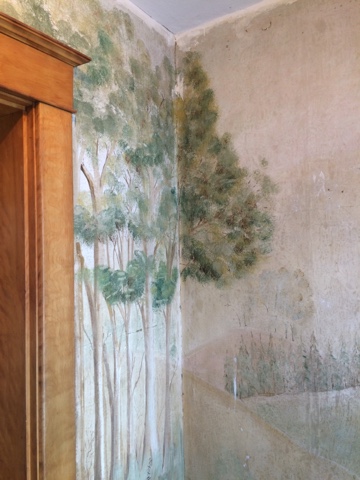
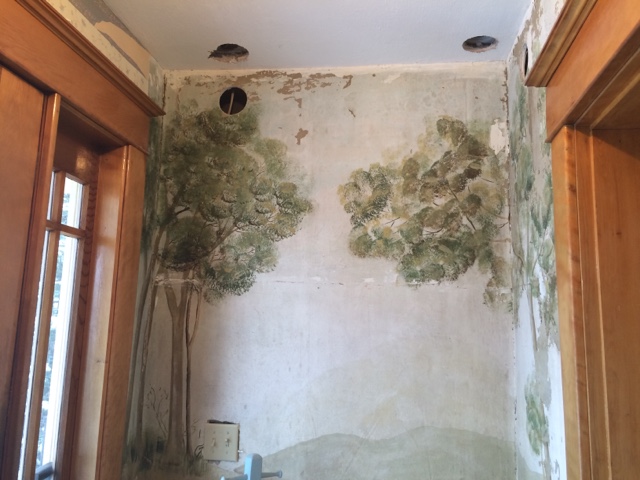
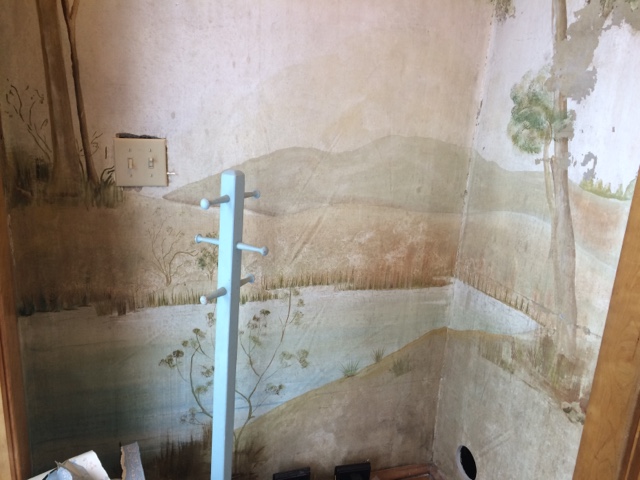
– conserve front entryway mural
– sleeping porch: repaint, replace glass panes, finalize furniture arrangement there
– most remaining radiators stripped and repainted (will probably hold on sun room and living room for now)
– landscaping and yard, including some raised beds for gardening
– drainage work along the north side of the house to prevent flooding problems

Which paves the way for big idea projects in year 3, like planting hedges, new kitchen counters, re-imagining both bathrooms, and the final rooms to strip & repaint, the sun room and living room.

house post

House Post: Back Bedroom Begins

Two weeks ago, we had a number of friends come up for a ski weekend. On Sunday, they said “point us at a project on the house, we want to help.” Ok then! The back bedroom was not all that high on the priority list, but it was the easiest next project for a bunch of people to tackle. So: start to finish, 7 people, 2 hours, all the wallpaper GONE!

There’s still cleanup to be done, and I have not touched it, since I’ve been preoccupied by the basement and the kitchen. But it feels good to have it ready to go when I get to it.
before

before-before (from the listing)

house post

House Post: Front Entryway

A few weeks ago, I found myself in the front entryway. Some of the wallpaper was peeling, so I tugged it. I truly had no intention of making it a project for the day, but – I started and it came off so easily that I couldn’t stop. 

Because this is what was underneath the wallpaper.
It’s damaged and faded, but SO beautiful. I cannot fathom the decision to cover it up with floral wallpaper. I just can’t.
We’ll see if it survives. I emailed pictures to a paintings conservator. I have only the bare bones of the education and skill it would take to restore it, but perhaps with some guidance we can bring it back. Here’s the worst part of it – the paint came off with the wallpaper. I was so over eager I just pulled. But on the flip side – if I had steamed it, the paint probably would have been more badly damaged.

So: the house holds surprises still!

house post

House Post: Kitchen Renovation Begins!

Our kitchen is actually in terrific shape. It’s one of the things that sold us (well, me) on the house. It’s spacious, thoughtfully laid out for its space, has tons of cabinet space, and everything in it is quality, from the cabinets to the appliances.

That said: it’s still pretty outdated.

Here are the pictures from the real estate ads.

The last is a close up of the wallpaper border. Yeah.
What the kitchen needs, over the long term: new paint, new counters, new floor, new hardware on the cabinets, patching the holes in the ceiling, new curtains over the sink windows, and a new microwave over the oven. Luckily that’s all cosmetic, the kitchen is perfectly functional in the meantime, and it can be done in slow, small pieces over the next few years.
So last weekend was the first small step: removing the wallpaper border.


SOOOOO much better already, right?!
It does leave the walls a bit bare, so that’s something to slowly figure out – how to put something of visual interest up there that fits our own design sensibilities but doesn’t clutter. I have some ideas but nothing that’s really landed yet.

In the meantime, I’m also researching new hardware and countertops. We’ll probably go granite, and we have some ideas for what type of granite. It’s not a next year project, that’s for sure – it will probably be the final piece of the design puzzle.

I’ve also picked out a possible wall color and may do a test patch in the next week.

house post

House Post: Drywall in the Basement

I know that you’ve all been desperately worried that things are not progressing on the house. Fear not. Still tons of work being done, still tons to do. I don’t think I really understood how all-consuming home ownership is.

Last weekend, my parents visited and we did a number of projects around the house. I spent a significant chunk of time helping my dad continue to work on the wall in our basement that separates the garage space from the main basement space. It has to have 5/8″ sheetrock on it to help it be fireproof so that it meets code. I guess garages are prime spaces to start fires. It will also have to be air-sealed so that noxious fumes can’t get into the rest of the basement.

So the first step was actually to put a vapor barrier on the warm side of the wall – which is what you see here. My dad did this one, thankfully, because I had been sitting on it for weeks and dreading it.
Then we sheetrocked almost all of the other side. Cue lots and lots of measuring, re-measuring, and swearing. My dad insists that a really good drywall guy could’ve done both sides of the wall in just a few hours, but whatever. It’s getting done, and the quote I got from the drywall guy was in the multiple thousands of dollars and way out of the budget.

The Monday after he left, I did those two sheets all! by! myself! Which kind of sucked but was also very validating.
Baby steps, baby steps! Next for that space: get the rest of the insulation in the ceiling, spray foam the gaps around the garage door, and then sheetrock the ceiling. Then buy & install a 90 minute fire door, and caulk along where the floor and walls of the basement meet. THEN I’ll think about re-sealing the floor, and maybe by next winter I’ll be able to park in my garage!
house post

House Post: Now is the winter of our basement (organizing)

We really haven’t done anything upstairs in quite some time, but have instead been focusing on a part of the house that was previously left to the metaphorical wolves: the basement.

It’s been a slow but steady process since. First, we framed out and then insulated a new wall splitting the basement in half so that we can eventually use it as the garage it was intended for. (It’s apparently dangerous to just park in your basement, what with fumes and oil leaks and so on.) I’ll do a longer post on that at a later date.

Then, the electrician came and we rewired the new garage area, added some lights in the non-garage area that was now dark from the wall, and added some new outlets upstairs.

in one part they had put up this gross old particleboard ceiling

I had to pull every goddamn nail to get it down
GROSS

can we just talk for a minute about how pulling this old insulation might be in my top 5 least favorite things I’ve done on the house so far? I wore a full tyvek suit and facemask and goggles and gloves and I still showered for 30 minutes afterward and coughed for quite a while. AWFUL.

Anyway, once the electrical was done we did some organizing. This consisted of moving some things upstairs to the attic once they had been consolidated (extra clothes, Christmas ornaments, camping supplies), organizing other things into tupperwares and labeling them, and throwing stuff away.

Throwing LOTS of stuff away. Dump run, ahoy!

We’re by no means done, but we made huge strides toward making it a functional & usable space. That will continue slowly but surely for the next two months, and we’ll also be slowly finishing that wall. Hopefully this summer we’ll have a clean, organized basement and a usable (and insulated) garage space!

house post

House Post: Wallpaper Removal & Paint in the Downstairs Bathroom

As I mentioned, when we put in the bathroom vent fan downstairs, I took the opportunity to strip the wallpaper.

when the door is open, that’s how small this room is.

On the one hand, the wallpaper came off beautifully, with just a light steam & scrape.

On the other hand, so did a few layers of paint underneath that, probably from all the years of too-high moisture in that small space.

Which left the walls looking rather chewed-up – the largest wall, directly opposite the toilet, in particular. So I did a skim coat on it. Probably not very well, but it was demonstrably better.

Then, after Thanksgiving, my mother sanded down my plastering and did the first coat of paint. I followed with the second coat a few days later, and ta-da!

We love the color. It looks sort of like melted raspberry ice cream, and is just the right amount of color-but-not-overwhelming for the space. It’s not too pink; it’s got more grey tones in it.

house post

House Post: Bathroom Vent Fans Part 2

Continuing in the exciting adventures of getting bathroom vent fans into our house: the upstairs bathroom.

The idea was that this would be much  more straightforward. The vent fan itself was already in the ceiling, put there by my father when we rewired the house. It just needed the venting itself. The theory was we would just pull up the floor and run the vent straight out underneath the attic floorboards.

That theory was wrong. See, our house is built in the Dutch Colonial Style, which means it has these charming features like a gabled roof, and all sorts of extra little flourishes to that roof.

Going straight out the attic floorboard meant we would be in precisely the wrong spot: coming out the corner of the roof. On the entire huge side of that house, we were 4″ too far toward the front.

We of course did not discover this until we had cut up allllllll the floorboards along that line. Sigh.
Eventual solution: come up and over the floorboards, angle back toward the center of the house just one bay, and then go out the side of the house.

So, yeah. It looks kind of awful. Really not my favorite. But, the longterm plans are to build a kneeboard when we sheetrock the attic. It will just look like a finished space and you will never know the venting is behind it. And I suppose it’s a small price to pay for not having bathroom moisture destroy the house.

house post

House Post: Bathroom Fans, Part 1

So after we insulated the attic, one of the next projects that came up on the Must Do list was bathroom vent fans.

Such a boring and pedestrian thing to have to do, but once you start air-sealing a house you need a system to get as much moisture out of it as possible. Bathrooms generate more moisture than anywhere else, hence, bathroom fans. Neither bathroom had them.

One was already sort-of done; it had been wired in and installed when we did the electricity. I’ll talk about that one later. The other…well.

The downstairs bathroom is tiny. It has enough room for the sink, toilet, and shower, and then to turn around. That’s it. The one exterior wall has a window, a corner/wall from the addition, and an eave that made for basically zero space to get a fan out. The joists ran the wrong way to run venting. Every idea we had was thwarted.

there were a bunch of these old masonry nails hanging out in the wall for some reason. don’t they look like shoe nails?

I had hired a handyman to come help out, and then worked alongside him to get this done, and it was complicated.

Step 1: Cut a hole in the existing ceiling to make room for the fan + venting.

Step 2: Drop a new ceiling with 2×4 beams to make enough room for the fan, complete with a corner chase

Step 3: Install a stupid complicated venting system.

Step 4: New drywall on the ceiling

(Step 3.5 was to strip wallpaper and repaint the bathroom, about which more later, because since we were basically redoing the bathroom, why not make it look better at the same time?)

Step 5: As much as it physically pained me, we had to trim about half an inch off the bathroom door in order to get the right “draw” for the fan to actually be able to pull air out of the bathroom.

Steps I did not include: cutting a hole in the exterior and installing the vent outside, and painting the bathroom ceiling. You’ll just have to trust me that we did that, too.

Total PITA, but on the plus side, when we turn on the bathroom fan during and after a shower (the switch is a timer) there’s barely any fog on the mirror during the shower, and it vanishes shortly after the shower is over. Huzzah for that.