house post

House Post: Master Bedroom

This is not entirely the post I hoped to write about the master bedroom. Sigh.

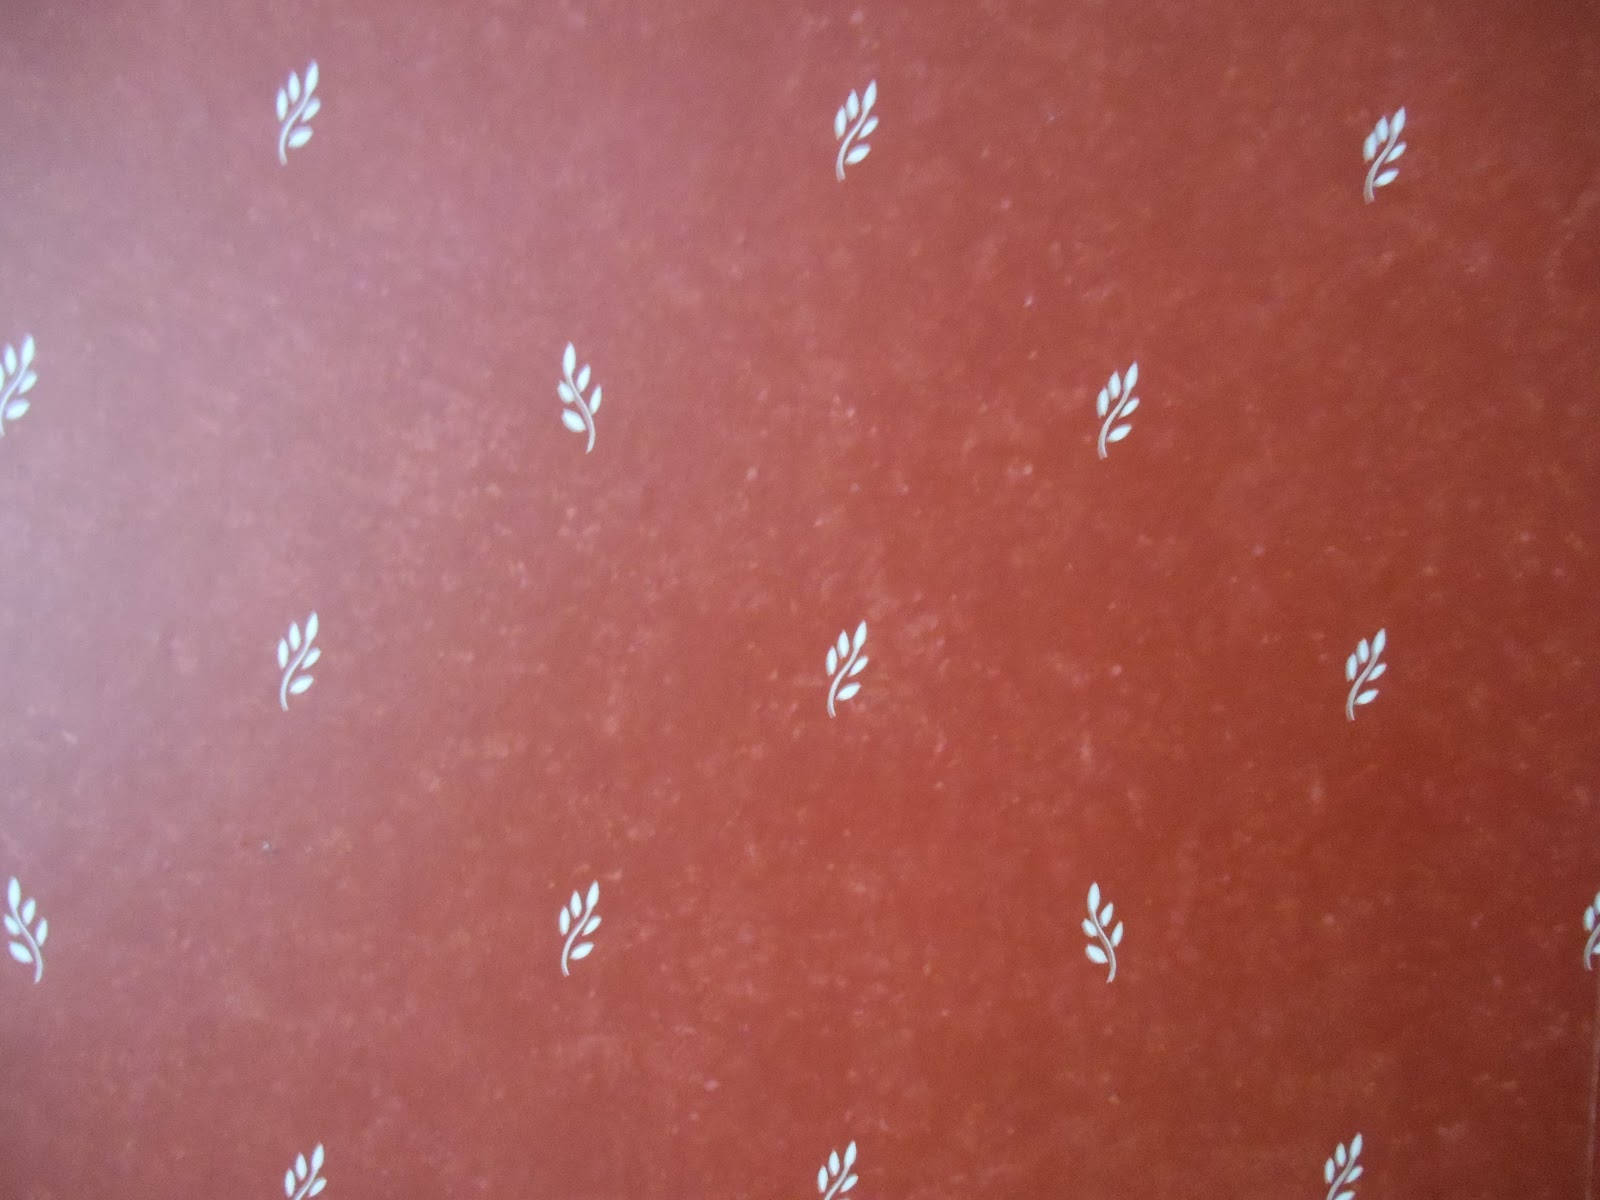
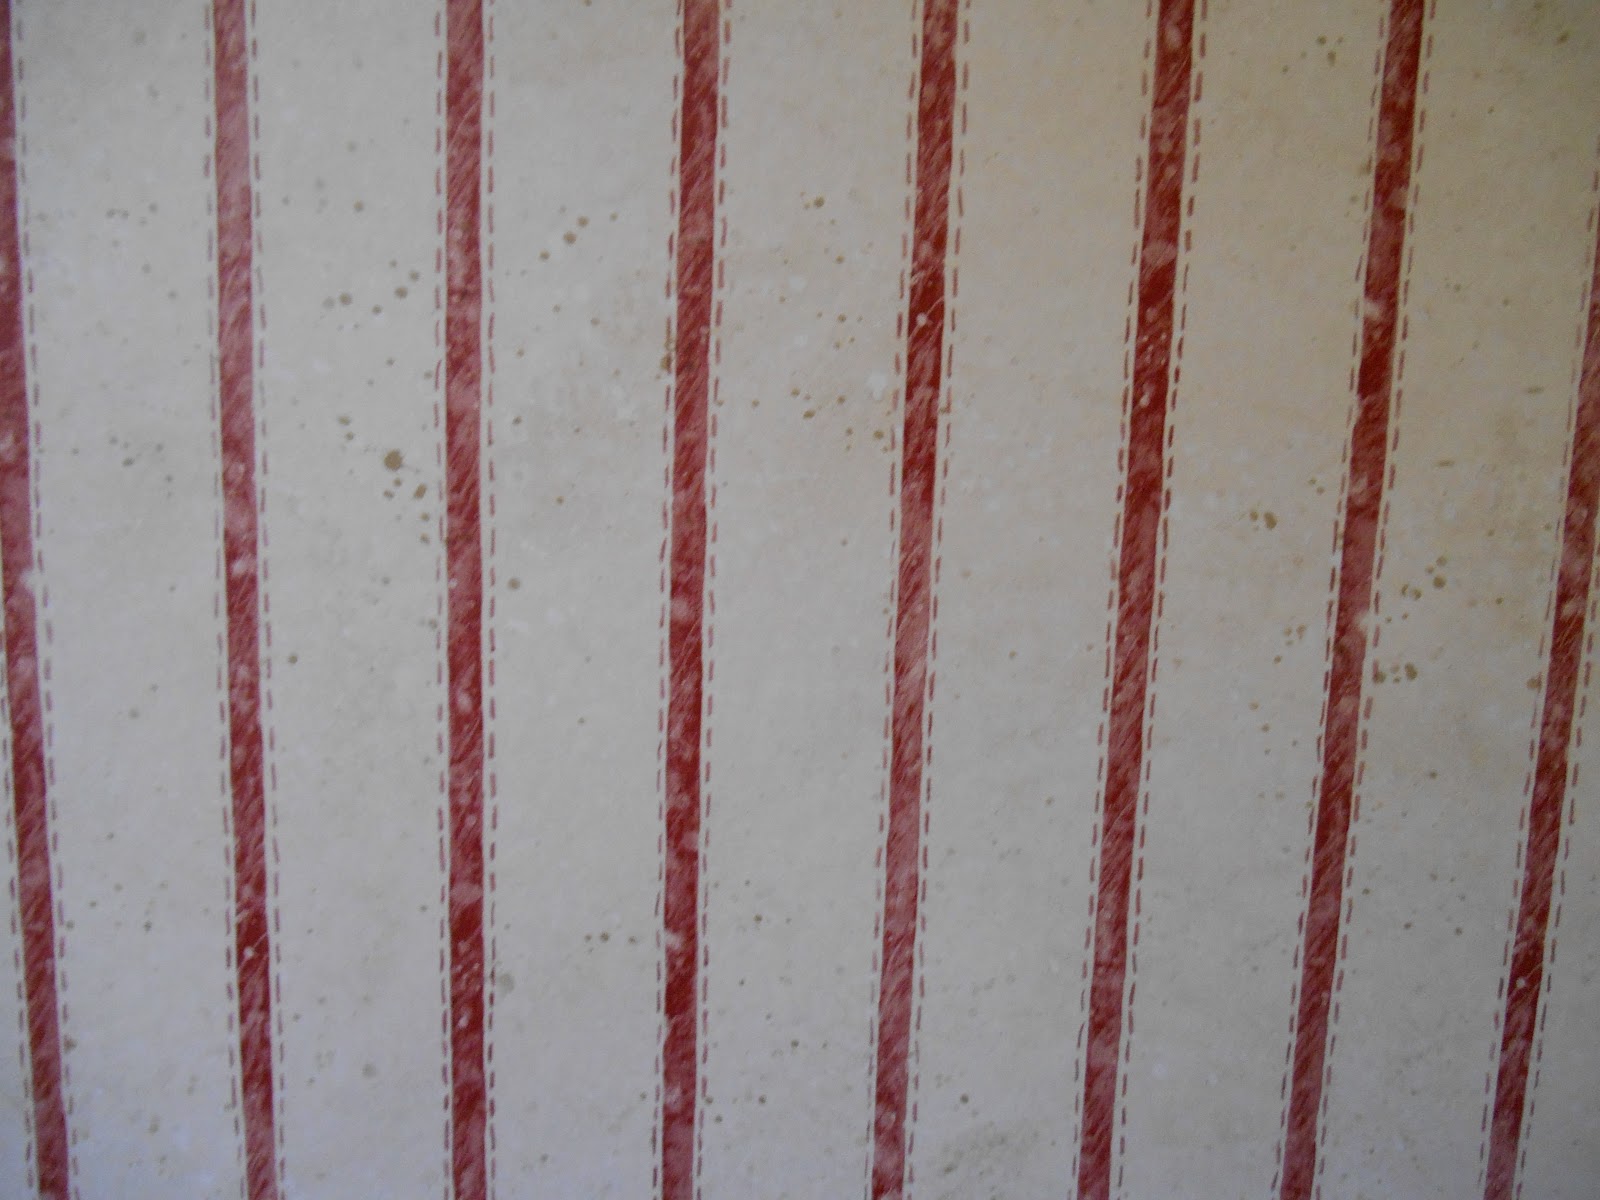
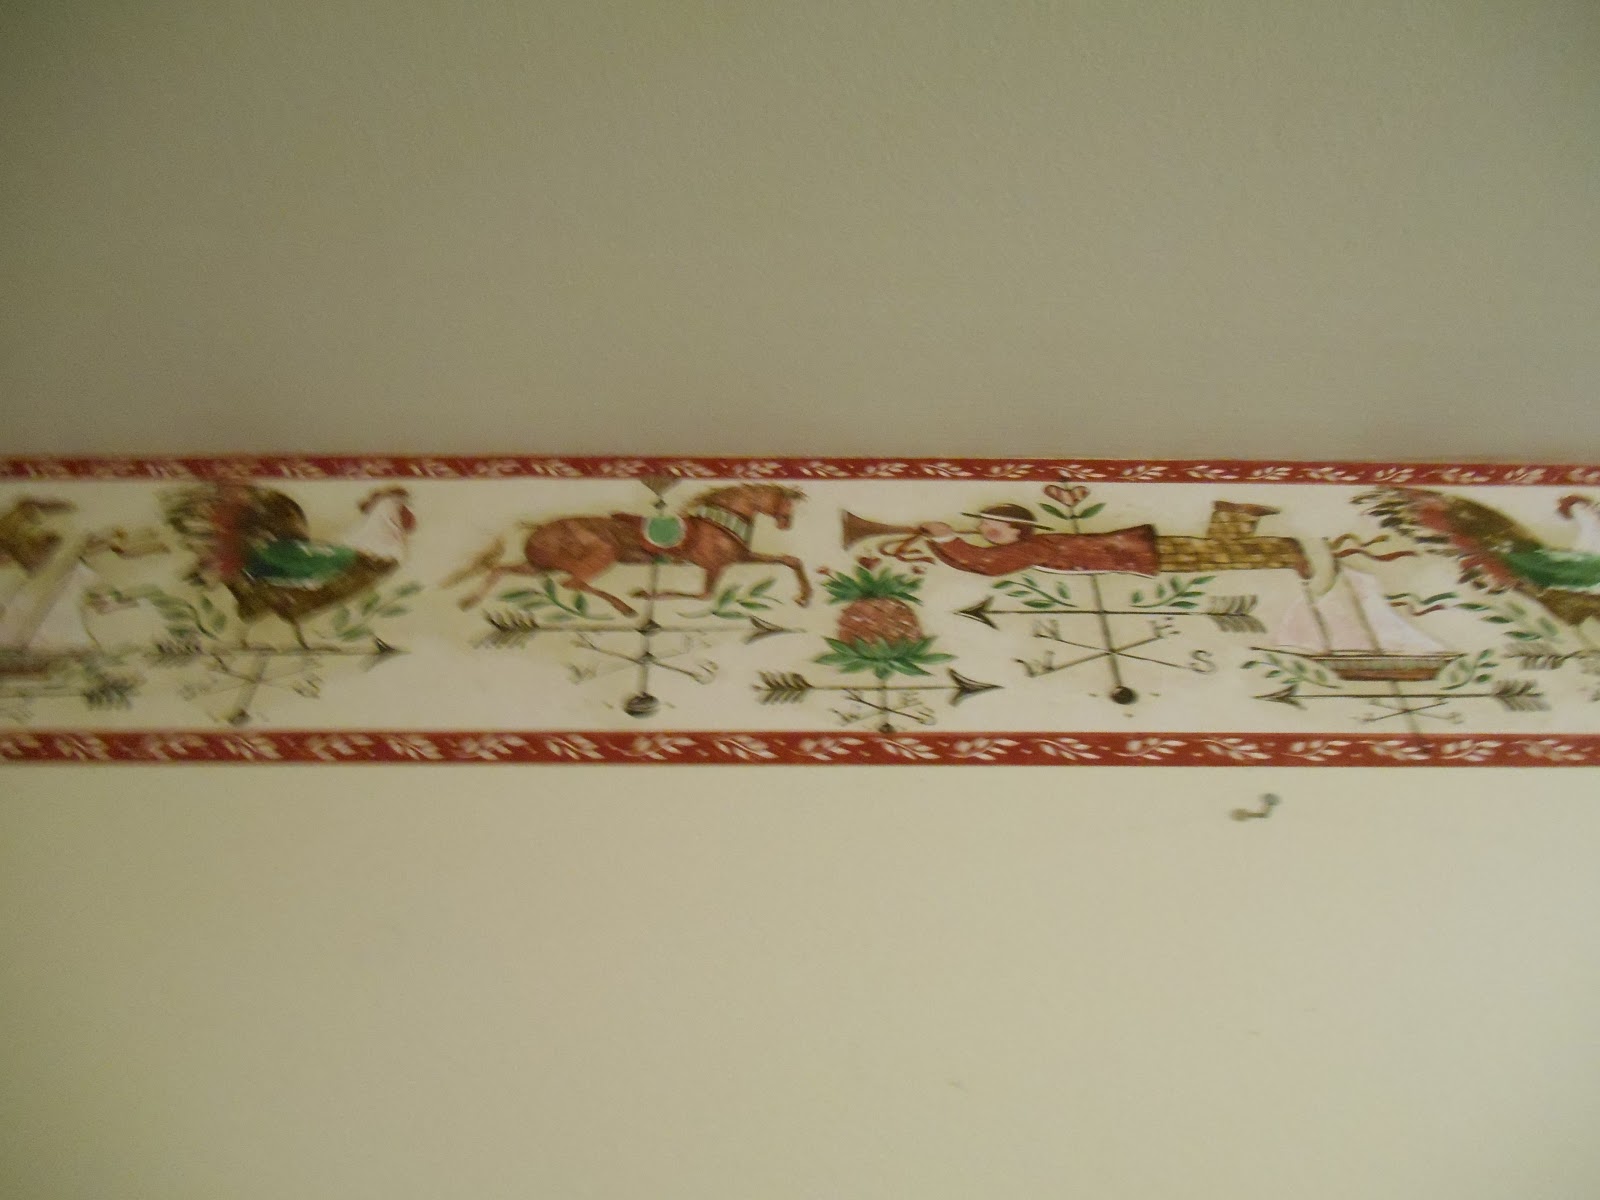
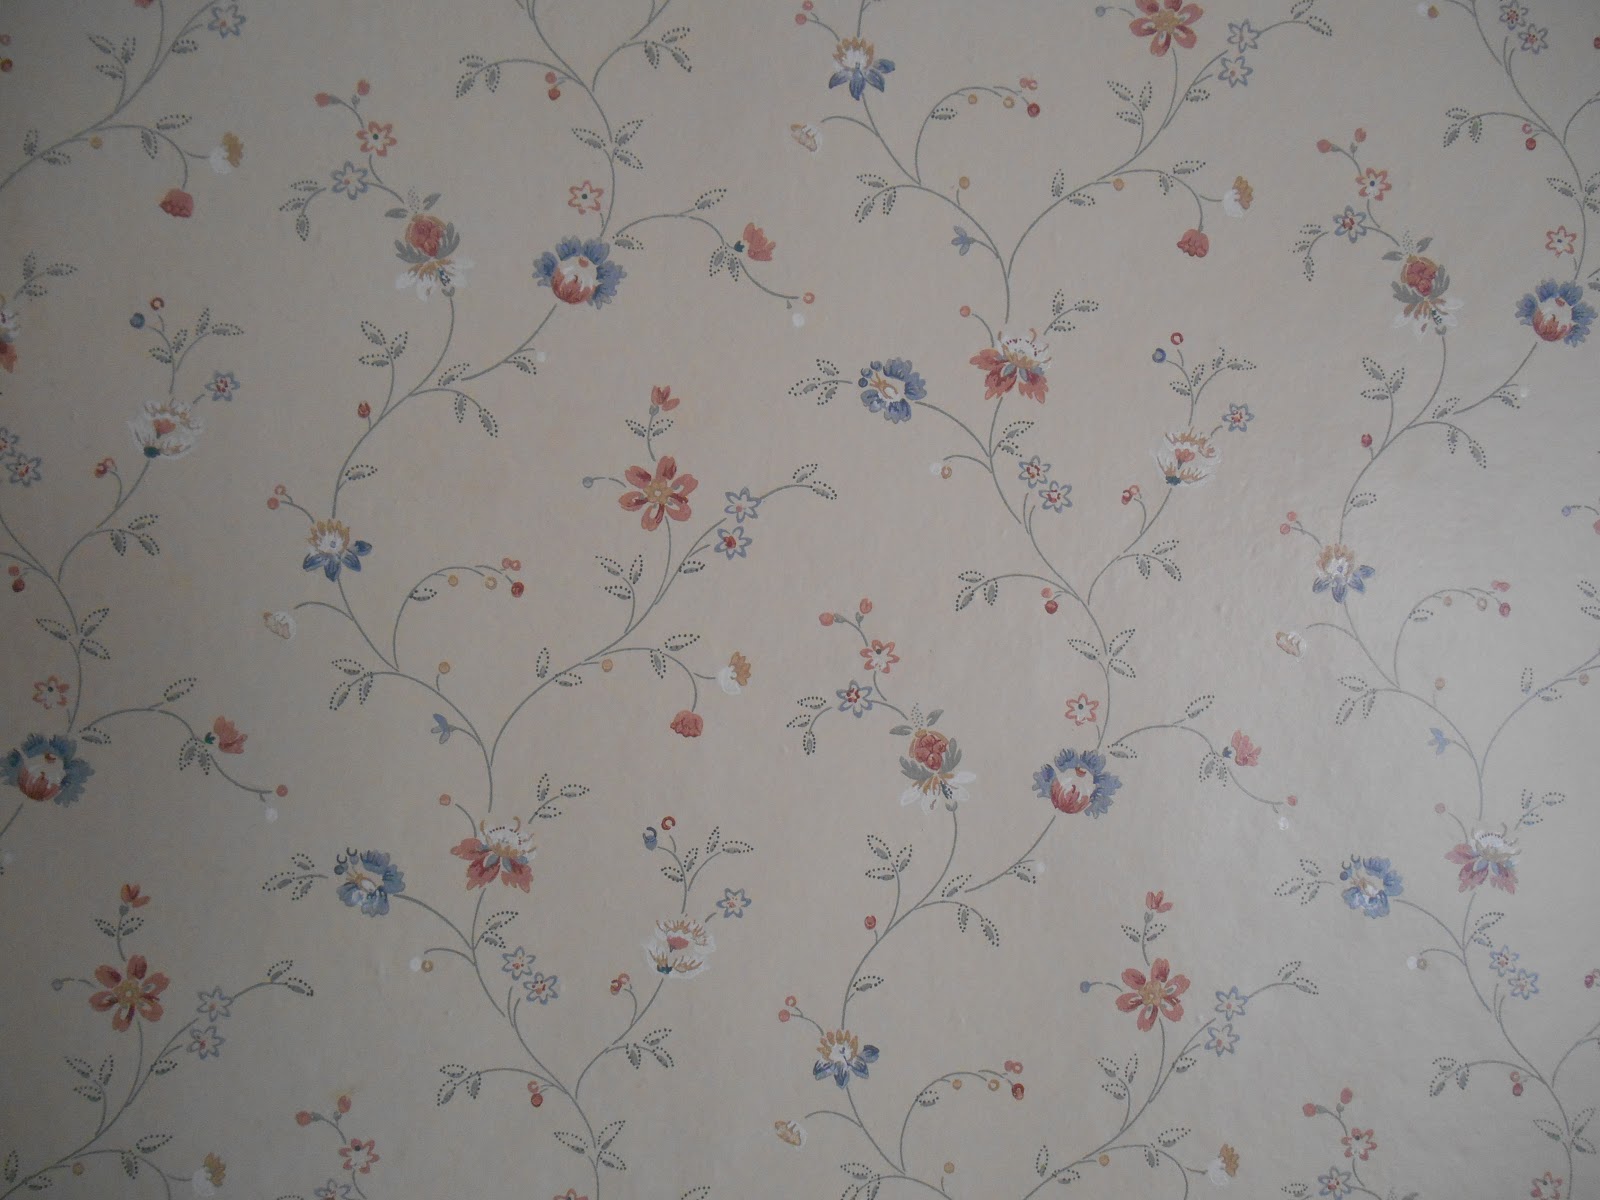
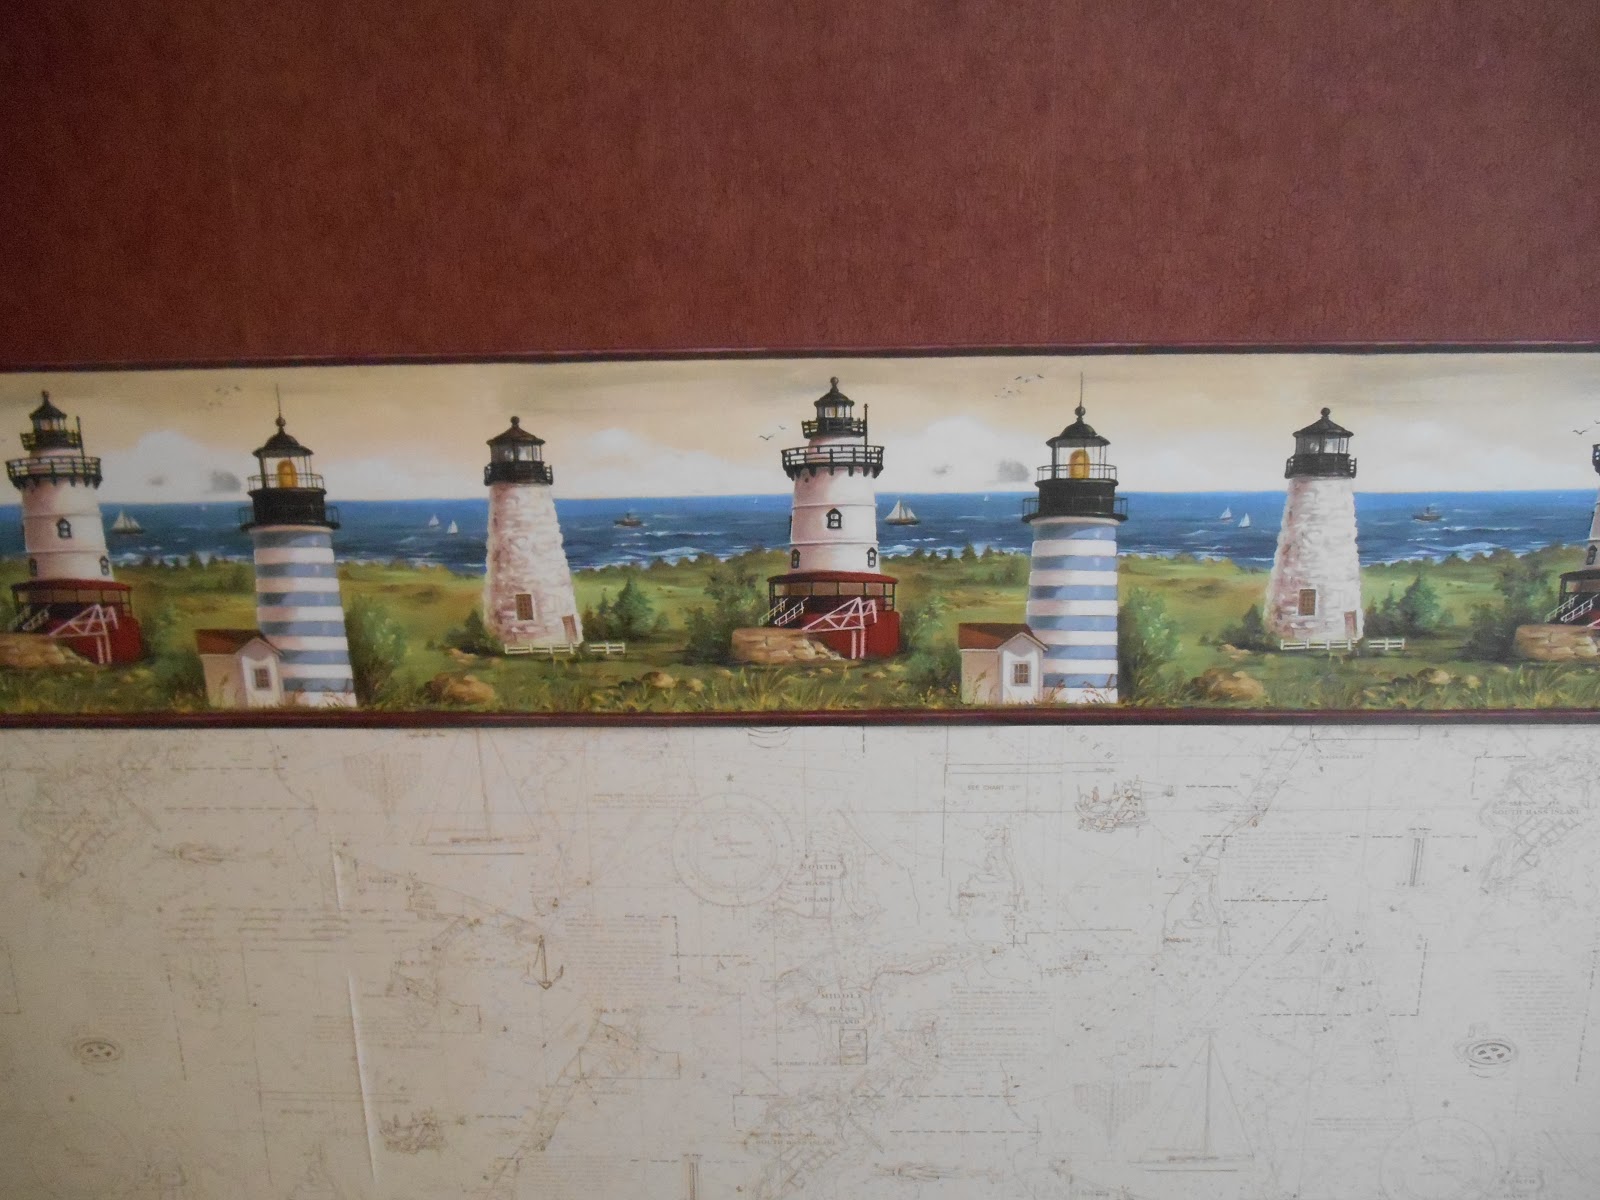
So: as mentioned previously, there is a lot of wallpaper in this house. Eventually, I want it allllll gone.

The first room we are doing will be the master bedroom, for two reasons. First, the carpet is disgusting – the pad underneath is so old it crunches when you walk on it. Like you can feel it sort of grind under your heel and it makes this noise like a dying cockroach and also it is this green color that ugh.

Second, I would like at least one room to be nice and done and then I can have a nice bedroom and be done with it and move on.

Before

We left the master bedroom empty when we moved in, and have been living in the other front guest room for now, which is no hardship at all because it is only a smidge smaller than the master and is right across the hall.

So here is the workflow: remove wallpaper, patch cracks, caulk windows, prime, repaint, pull up carpet, move furniture in, have lovely new bedroom.

Step 1: Remove Wallpaper

This was the easy part!
The top vinyl layer peeled right off with fingernails. No problem at all. Kind of fun to do, actually.
The bottom paper layer then steamed right off. Tedious, but simple and straightforward. (Did I mention my in-laws bought me a wallpaper steamer for my birthday? <3) Get it wet, shimmy it off with a putty knife, move on.
Total time elapsed: about two days, or say about 10 hours.

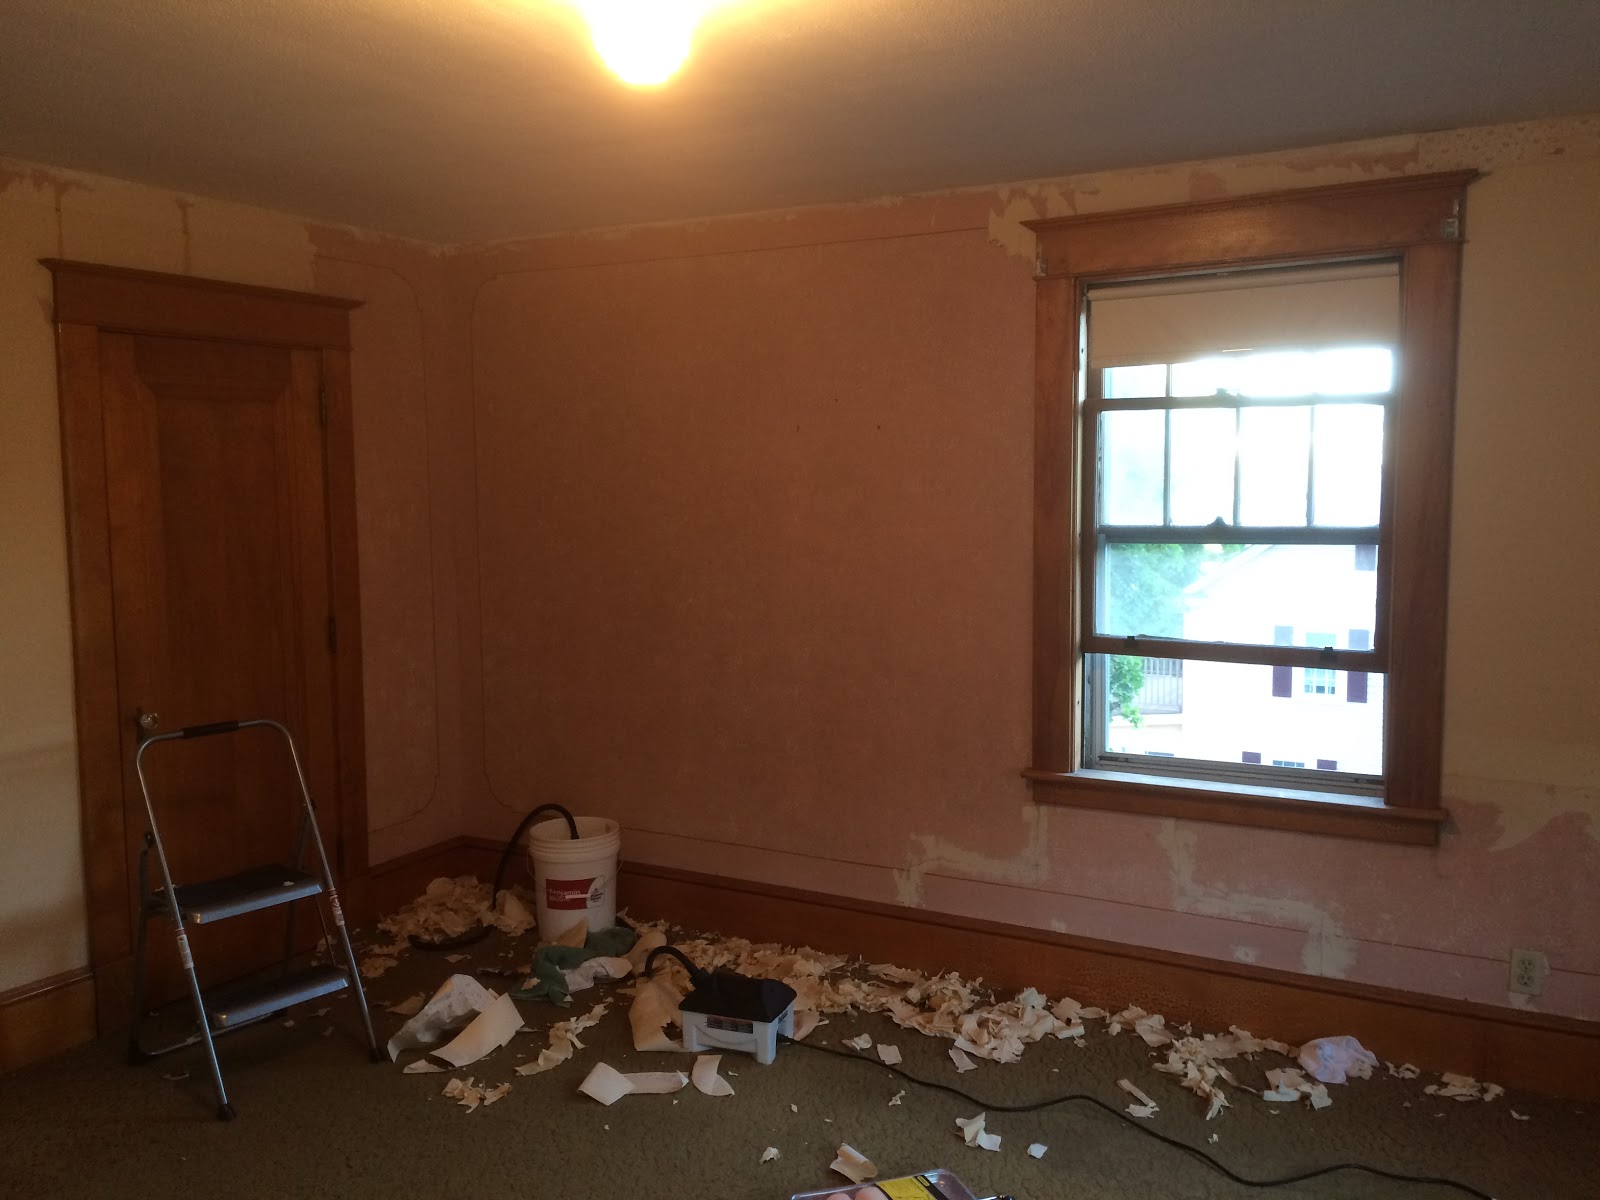
Then we hit a brick wall known as “ancient wallpaper paste.”

See, it’s not enough to get the wallpaper off. You have to scrub off an additional layer of wallpaper paste underneath, or, apparently, it traps moisture and in a very short time your pant peels right off and then you are back at square 1.

Common wisdom says: most wallpaper paste is wheat-based, so it should dissolve with water, or at the very worst some dish soap, or vinegar. Wipe it off with a sponge, it’ll take a while but it won’t be too hard.

I say: hahahahahahahahaha. *sob*

I tried: hot water, Dawn, dishwashing soap, vinegar, vinegar + Dawn, vinegar + dishwashing soap, 3 different kinds of “wallpaper paste removal” products. I used a sponge, then a stiffer sponge, then a scrub pad, then a grout brush, then a heavy-duty brush that attached to the end of my cordless drill. I soaked it, left it, soaked it, left it, and tried again. No change.

Fiance and I worked hard for 2 hours and got about a four square foot area done. Yeah. I know it’s still there: I can see it, a thin gummy film over the paint. It clings so fiercely that when it is gone, so are the top two layers of paint.

I hesitate about sanding it off, because while I have good evidence that the wallpaper was applied in the early 1980s, I have no idea what’s underneath it, and I am being extra-cautious. It may come to that yet.

So, back to the internet. I now have a new array of chemicals and will keep spot-testing until I find one that strips this #@!#!%$##@ stuff. Until then…we are stalled in this room, though by no means on the house at large. There’s TONS of other stuff going on & coming up in the next few weeks, including the Big One: rewiring the house from basement to attic.

house post · laundry

House Post: Horse Laundry, or Living the Dream

Our house came with one washing machine: an older Kenmore, inefficient and top-load. It was a workhorse but could also die at any moment. There was a dryer hookup but no dryer.

We knew we would have to buy a washer and dryer, and had budgeted accordingly. A friend was buying a new washer and dryer – apartment-sized and a better fit for him – and sold us his barely used, HE washer & dryer for a fraction of the cost of new. Excellent!

Then I had a stroke of genius: could I double-plumb the washers?

So I started.

Things I had to do: replace the shut-off valves (the original 1920s copper valves had finally given up mid-install), bifurcate the drain pipe, bifurcate the intake valves, rewire the dryer plug, trim the new drain hose to size, and reconfigure the dryer vent hose.

Five hours and four trips to the local hardware store later, I had achieved laundry nirvana.

house post · landscaping

House Post: Planting the Front Walkway

The whole yard is more than a little overgrown, and will take quite a bit of work to tame. I have some vague ideas for the rest of the yard, but I’m waiting and considering and letting ideas bounce around in my head and settle before I go anywhere with them.

I had an idea for the front walkway start to bounce around a few weeks ago, and in the last week it coalesced. It started with some solar LED lanterns I found at Walmart, which matched both the style and the coloring of the house, and then took off from there.

Before: weedy, overgrown, kind of boring, etc.
Step 1: Dig out the turf in a small line on either side of the walkway. This sucked. A lot. I can’t overestimate how much it sucked. I did the whole thing on my knees with a plastic hand tool, which really aggravated my back. I can’t recommend it.
I spent a lot of time thinking about placement, etc. They are not in a perfect line, but rather a sliiiiiight curve to match the walk. It grieves me a little bit, but the lanterns are easily moved and the daisies will fill in anyway.
The plants are “Brightside” Shasta daisies. They are perennial, and will grow in more thickly each year. They’ll also be on the taller side than I might’ve liked, so in a few years if they get out of control I may move the lanterns. We’ll see.
Step 2: Plant the daisies and set the lanterns. I may have half-assed the sod removal on the right-hand side a little bit. #sorrynotsorry.
Step 3: Mulch et voila!
I still have to remove the piles of sod – you can see them a bit on the side of the mulch – and cut a stronger edging line. A smarter gardener than I would’ve done this from the beginning.
A smarter gardener would’ve had better tools, too, and wouldn’t have hated doing this so much, probably. Ah well. At least it looks good!
house post

House Post: Features I Love

So, last week I regretted the wallpaper decisions in the house. There are, however, some really wonderful features about this house – they’re why we fell in love with it in the first place.

The house was built in 1928, and has a ton of classic charm. It’s somewhere in between a Craftsman and a Colonial, with 1920s elements too. It holds together surprisingly well, stylistically. The previous owners went all the way into late 1970s/early 1980s Colonial Revival (see also, wallpaper). We’ll be taking it more in a Craftsman direction.

In no particular order, my favorite features.

Three – count ’em – sets of French doors: dining room to living room to sun room.
The gorgeous simple design of the front door.
The swinging door between the kitchen and the dining room – servants, anyone?
The newel post at the bottom of the stairs. Sigh.
Every single door and every single window has the same matching woodwork and doors – all in perfect shape.
Detail of the matching doors. In real life they are closer to the warm wood tones of the above picture than this lighter image.
Every single door handle also matches, and they latch with the loveliest click.
Steam radiators! They hiss and pop and they make everything cozy. They also look awesome.
Sleeping porch on the second floor – these windows will pop out and be replaced with screens.
house post

Every single wallpaper pattern in my new house

My new house was built in 1928, and it has a lot of classic, gorgeous features. I will share those another day.

It was remodeled in the late 1970s/early 1980s. It was a good remodel, with lots of money and lots of thought. The kitchen in particular is a work of art that I keep learning new ways to appreciate (even if it is a bit outdated).

The wallpaper, though…

So before I complain about the wallpaper let me say that the previous owners are lovely people, and the wife obviously put a great deal of thought and heart into choosing the wallpaper. It was professionally done, and the degree to which the panels line up and look great is astonishing. After 30+ years, it’s barely peeling.

But ohmygoodness, is it dated. And sooooooooo not to my taste.

So, here, a sample of every different pattern of wallpaper in the house.

house plans · house post

House pictures: before

In lieu of horsey content (soon? maybe? hopefully? he’s getting his toes trimmed today and fingers crossed he will be more comfortable and the farrier will pass positive judgment on the abscess), have some “before” pictures of the house. As you will see, it needs fairly extensive cosmetic work throughout.

Living room

Sun room

Kitchen

Bedrooms

Upstairs hallway & bathrooms
I have more pictures, but you get the idea. I think I am going to become intimately acquainted with the art of wallpaper removal over the next few months. (Years?)
The first real renovation, the master bedroom, starts this weekend!